图纸下载
http://img2.pixiaojiang.com/20230522ACC119.pdf
Instruction
Step 1: Sew A09 by wrapping the middle of A08.
Step 2: Sew A07, A08 on A01 according to the orienting line and shoot rivets. Here please notice that DON'T sew green stitching lines on 2 sides, we will sew later.
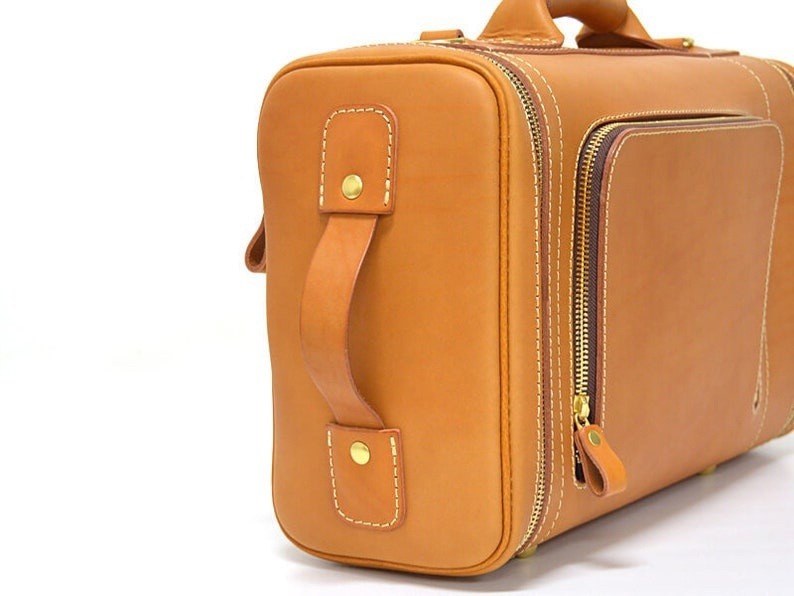
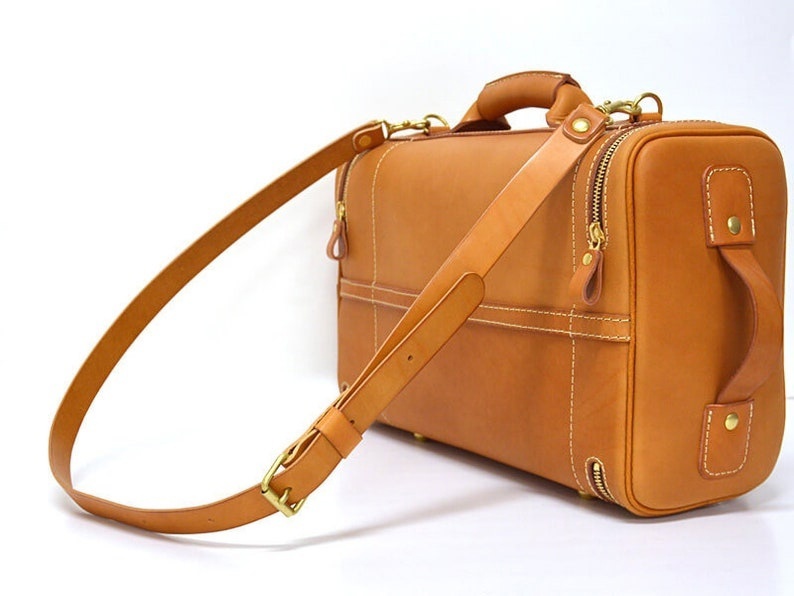
Step 3: Install 2 pieces of tabs with D-ring on and shoot rivets.
Step 4: Sew 2 pieces of zippers on zipper holes. Here please notice that, when meet A07's green stitching line, sew A07 together with A01.
Step 5: Sew middle zipper on.
Step 6: Install 4 foot nails.
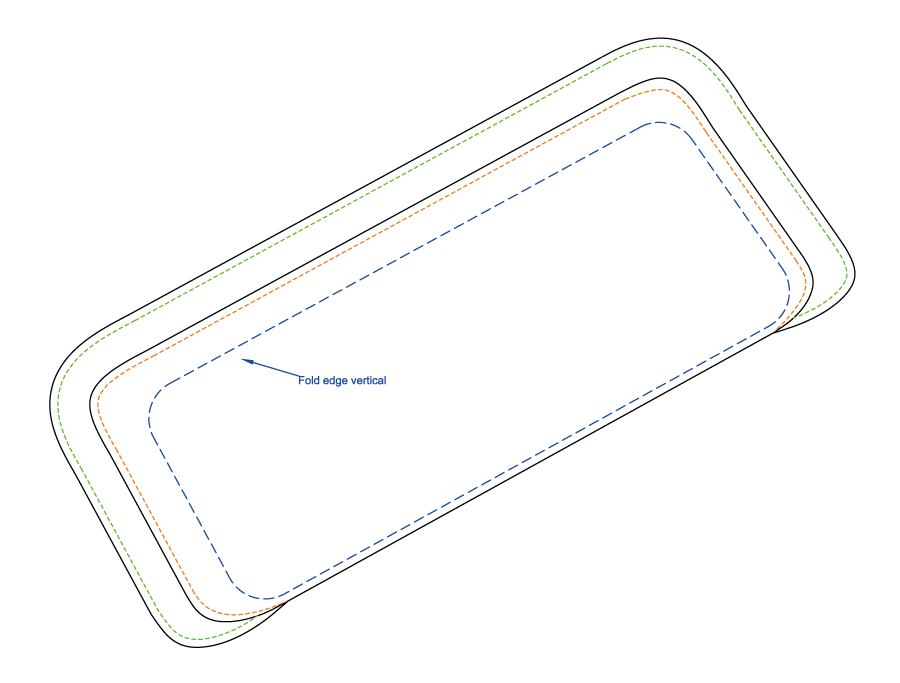
Step 7: Fold A11's edge vertically, and then sew A12's orange stitching line with the vertical edge.
Step 8: Then thin 2 shadow areas of A01, glue the thinned area together, then sew 2 pieces of A13 on overlapped area, one piece on grain side, the other piece on flesh side.
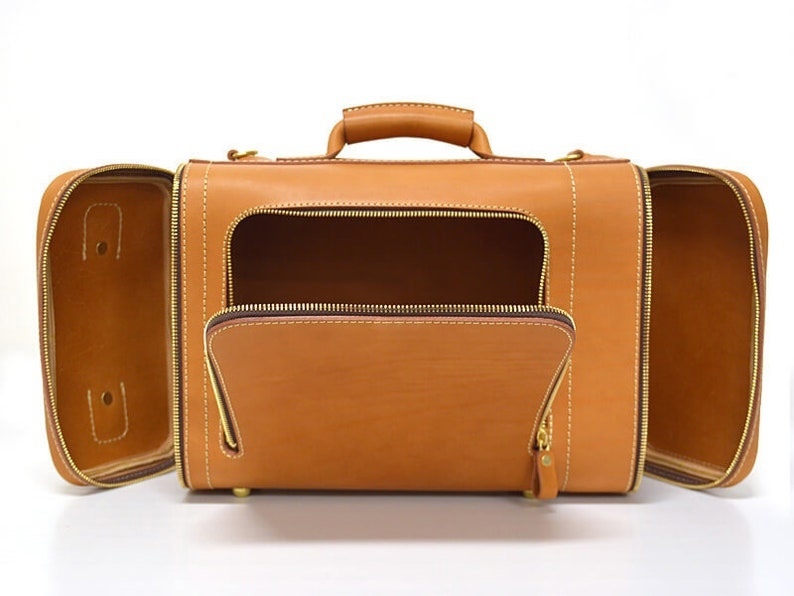
After doing the above steps, sew Step 7's combination "in" A01 along the green stitching line to form the 2 separated pouches.
Step 9: Now things become easy. Sew A04 on A02, Sew A05 and A06 on A03.
Fold A14 along blue dotted line and then sew it along A02's edge, when you sew it, keep flesh side outside, after sewing, converse grain side out.
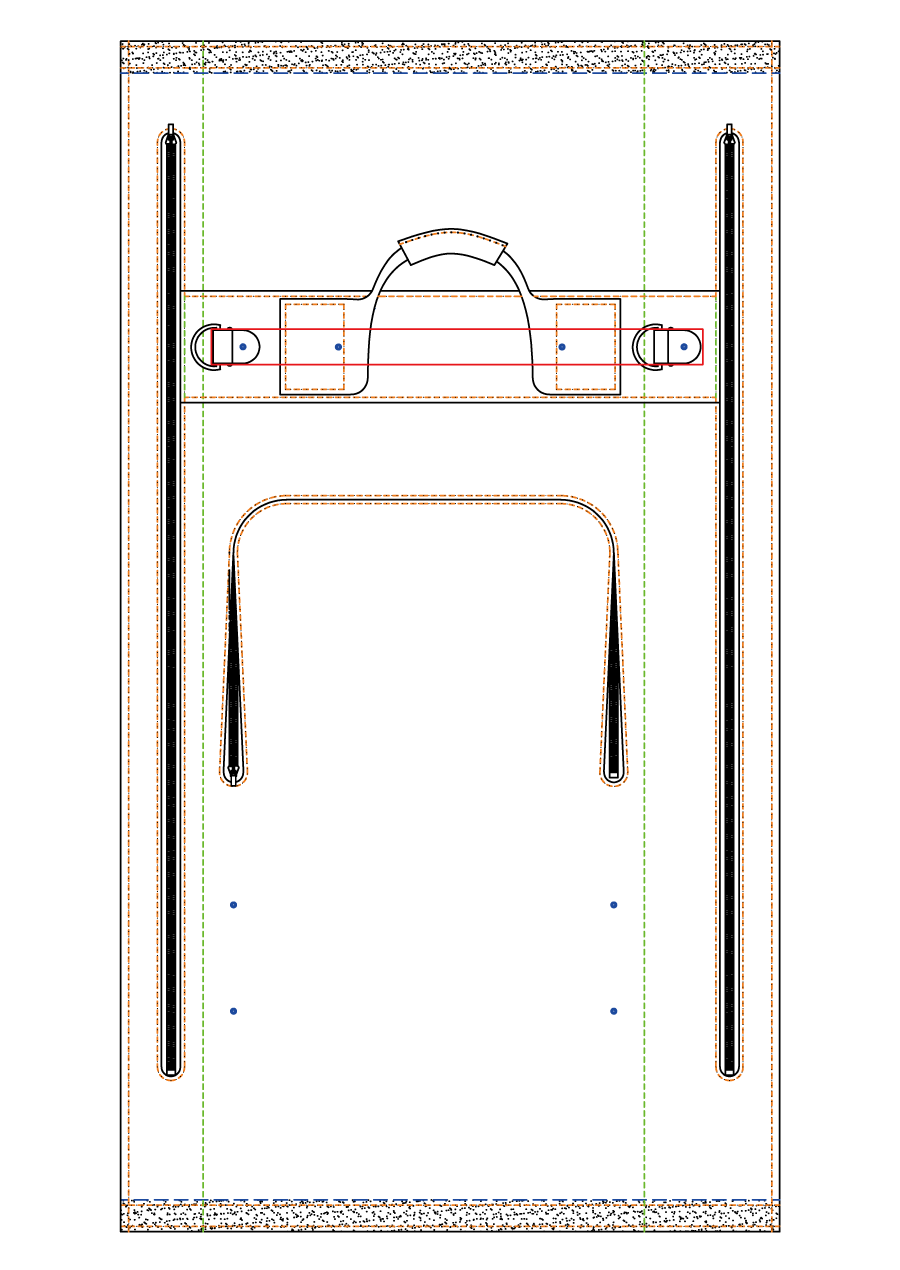
Advice: You can add a piece of stainless steel bar on the flesh side of red square area to have a strong support.
Notice:
1, You can burnish edges for aesthetic if you use vegetable tanned leather and use edge paint for aesthetic if you use chrome tanned leather;
2, Thin the edge before sewing is always advised;
3, 1oz=0.4mm;
4, Here is the line instruction.
手工皮具图纸
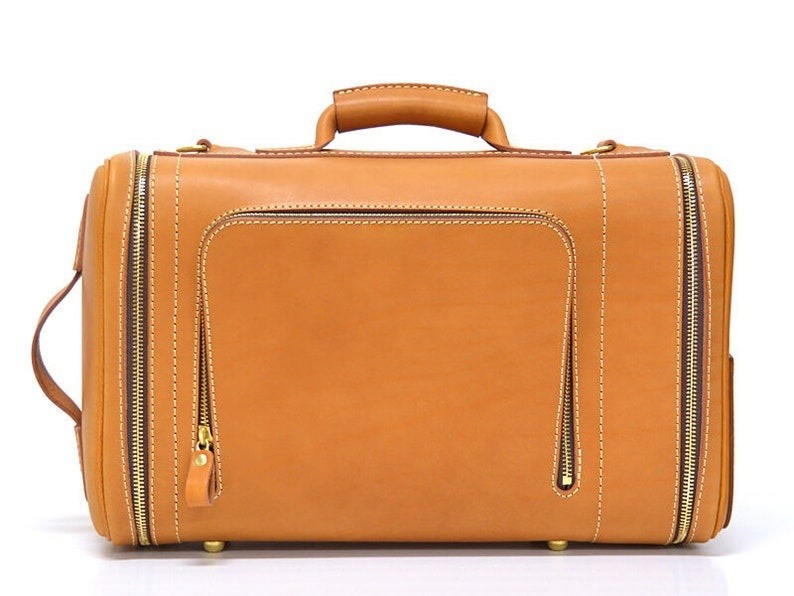
旅行箱