


Step 5: Continue Building the Bag


Design Feature 2
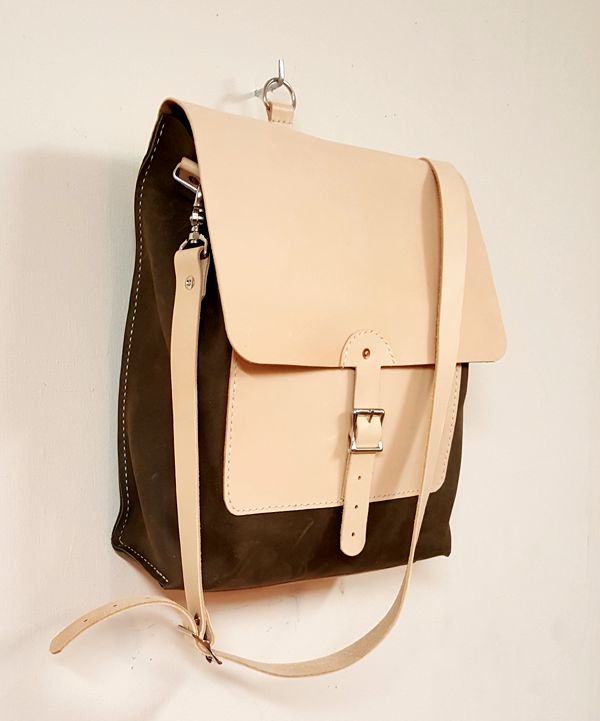
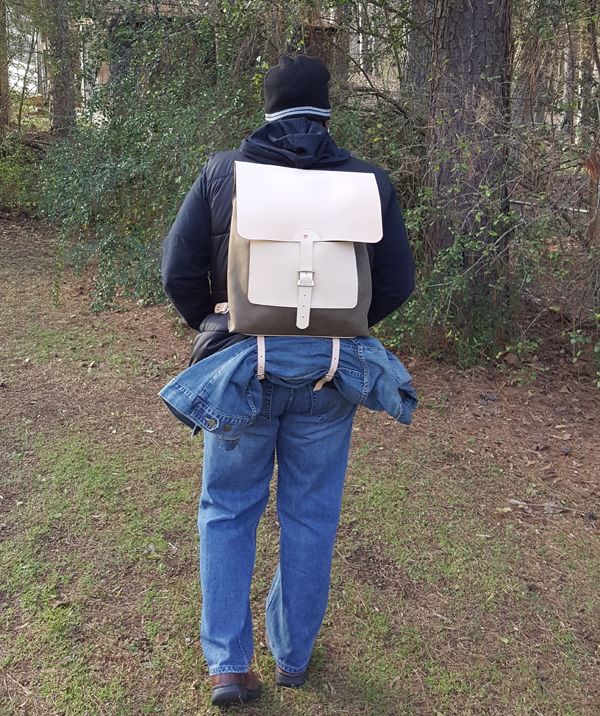
As this bag progresses, another feature I want to add, is a place to strap things to. Maybe a jacket or even a blanket roll, in the event I am out camping and need additional ways to carry items. An example of what I am trying to achieve can be seen in picture 6.
Looking for an easy way to add this feature, I finally decided on placing the piece at the bottom of the bag and adding two adjustable straps to secure the items in place.
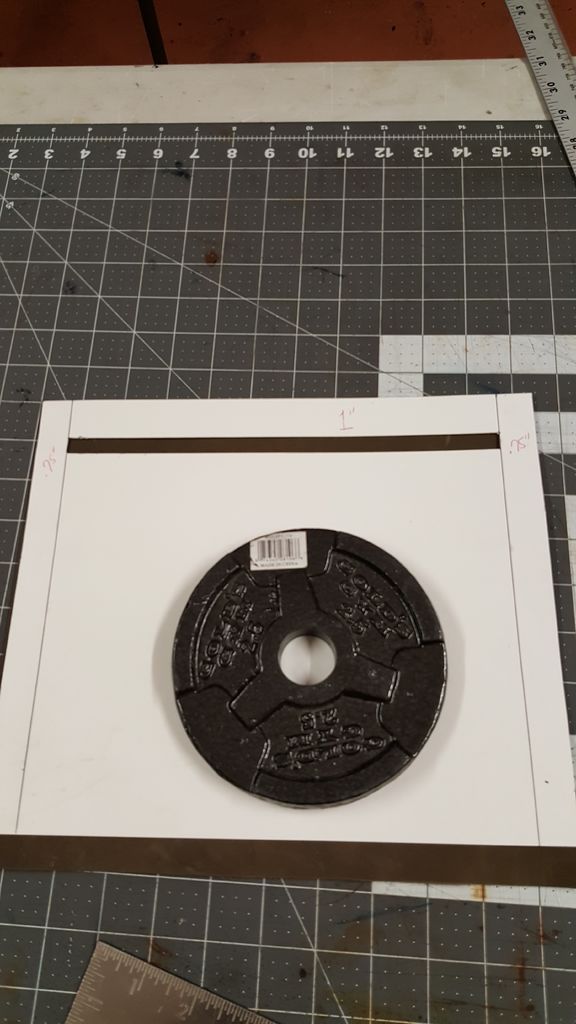
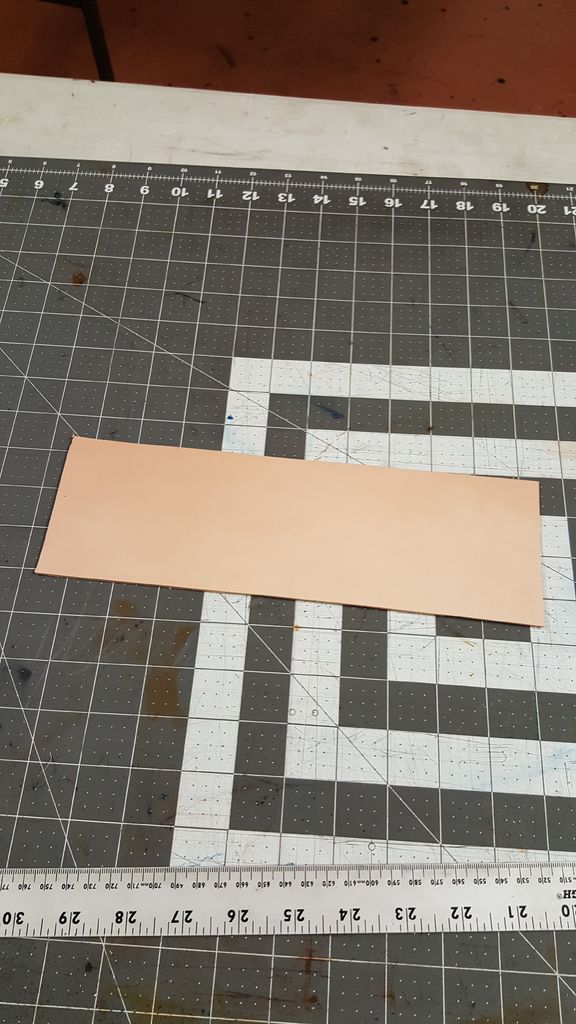
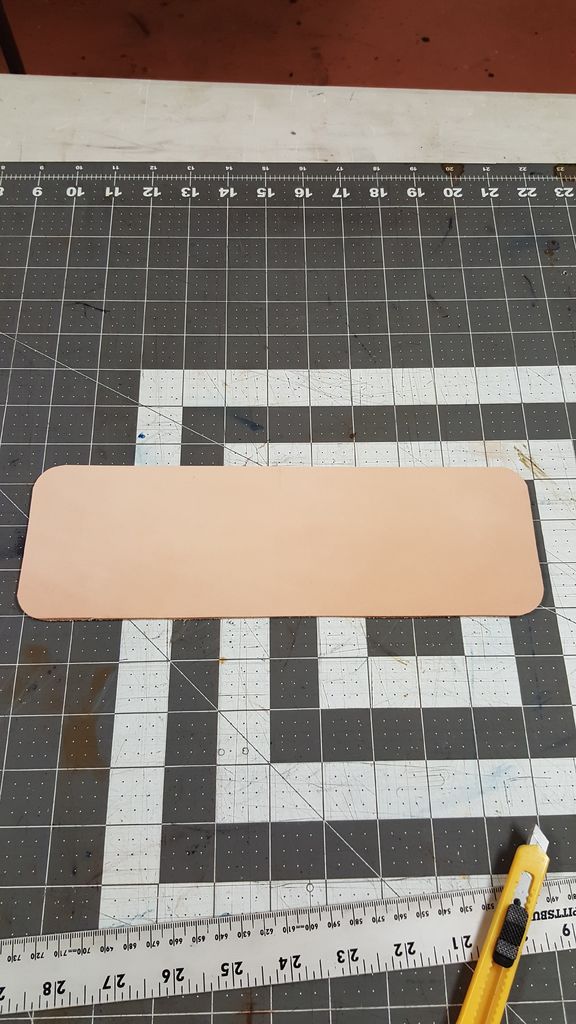
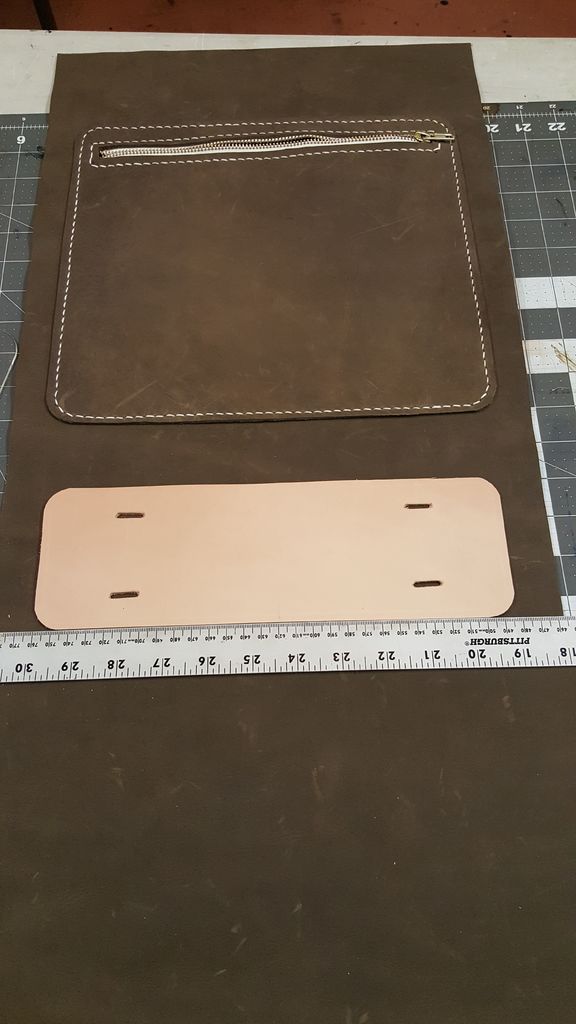
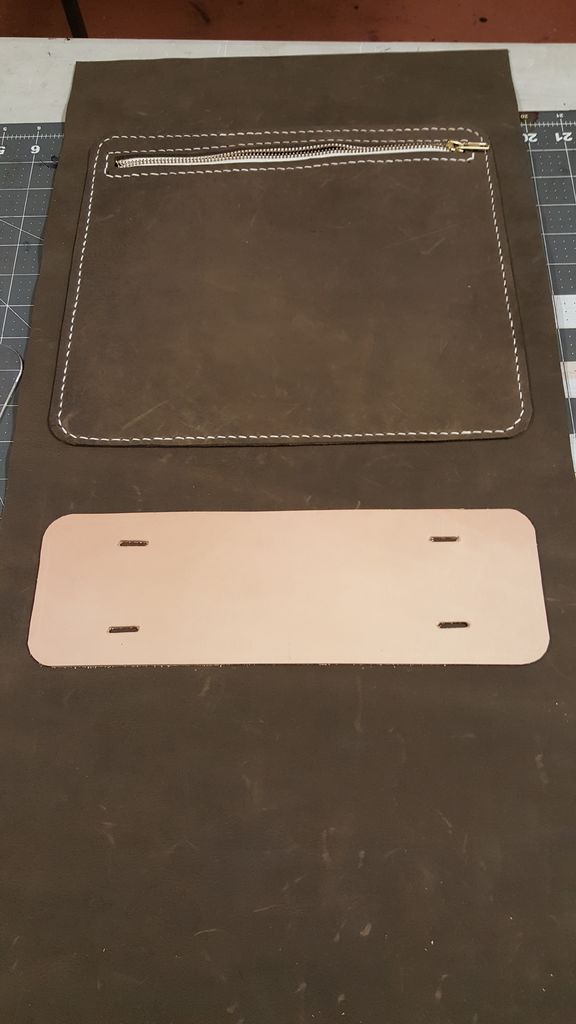
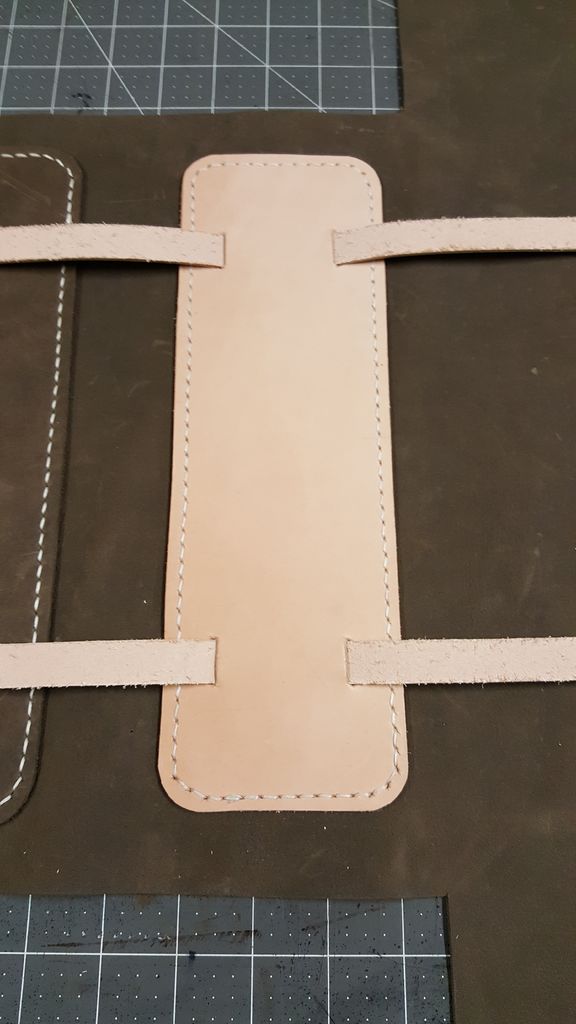
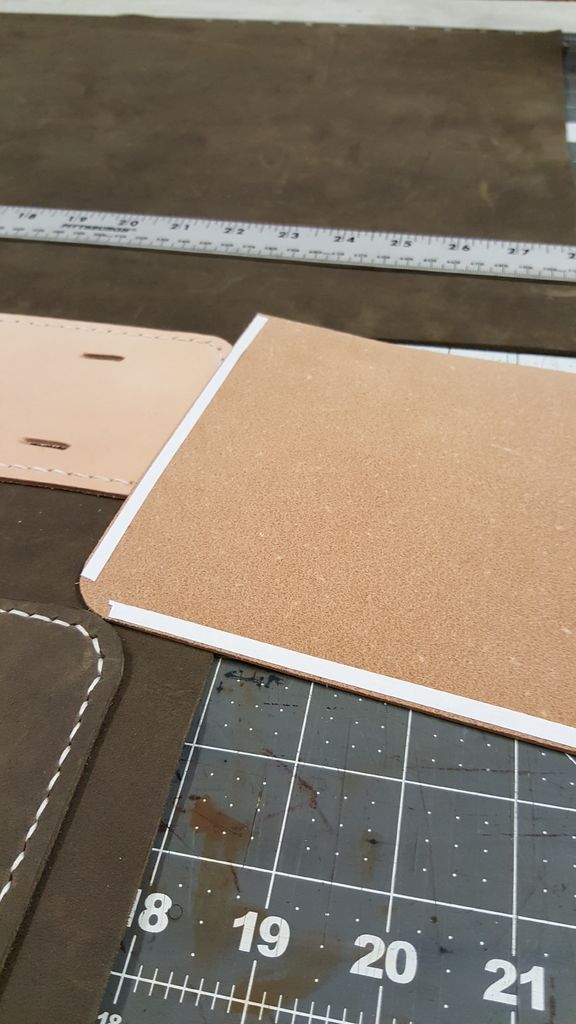
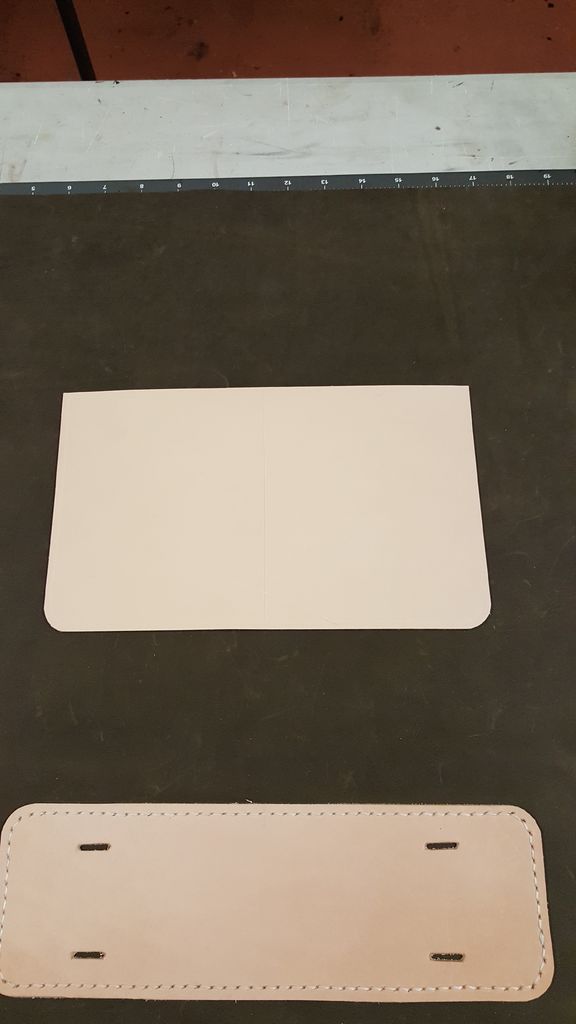
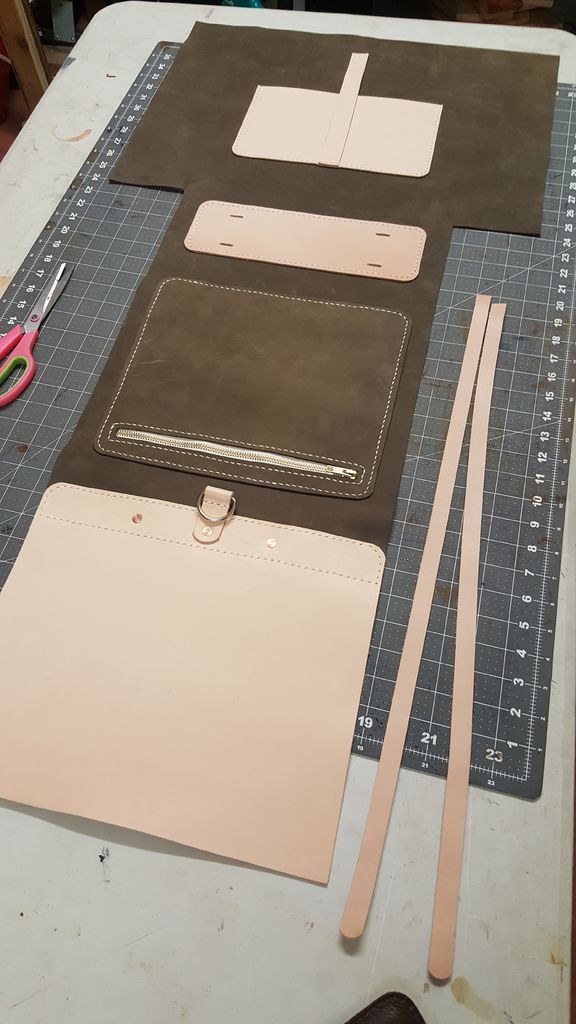
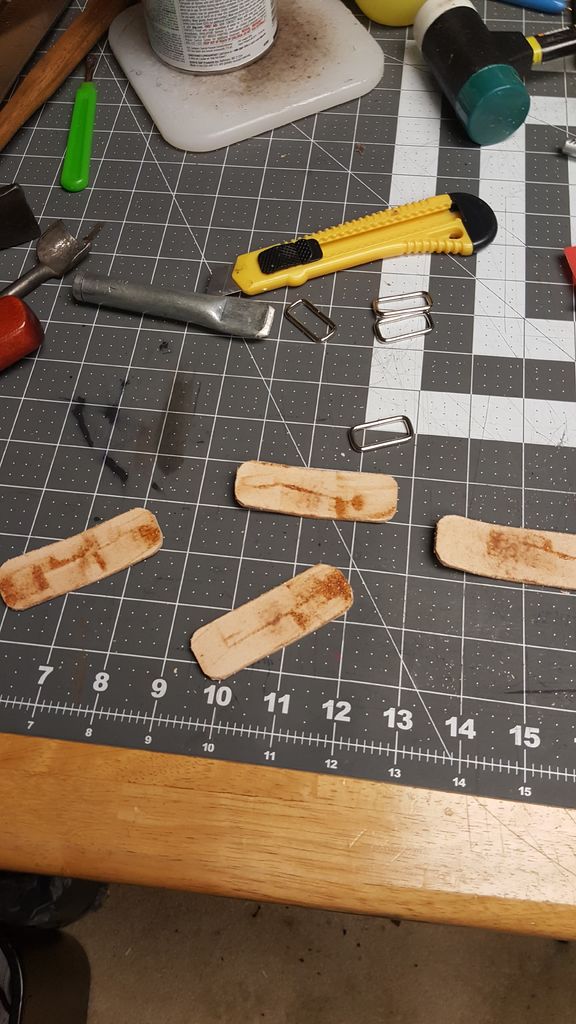
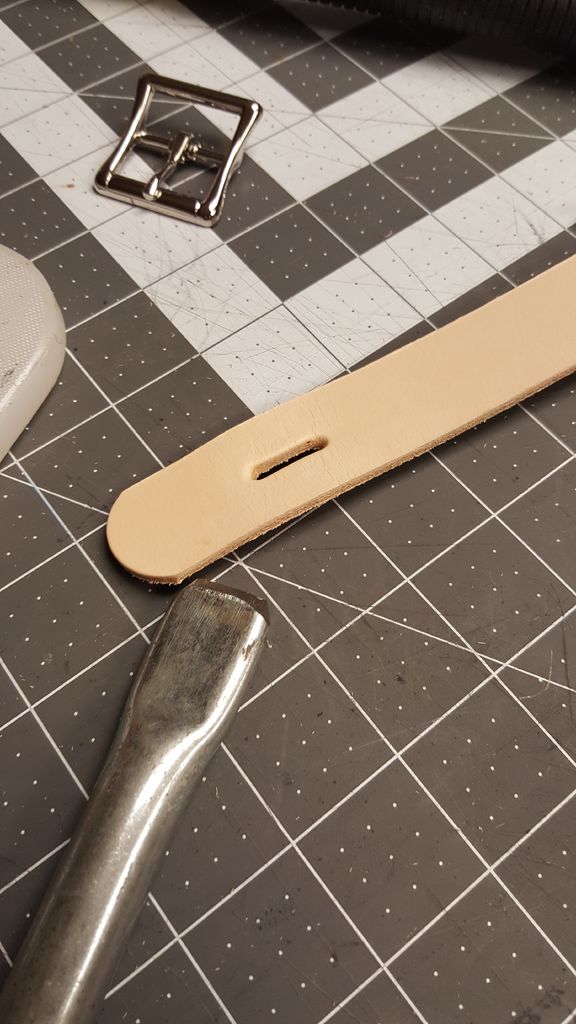
I first cut a piece of vegetable tanned leather to size. I settled on 11.5" (L) x 3" (W). Using a 1/2" oblong punch, I punched 4 holes, equidistant apart, to feed the straps through the bottom piece. (See pic 4)
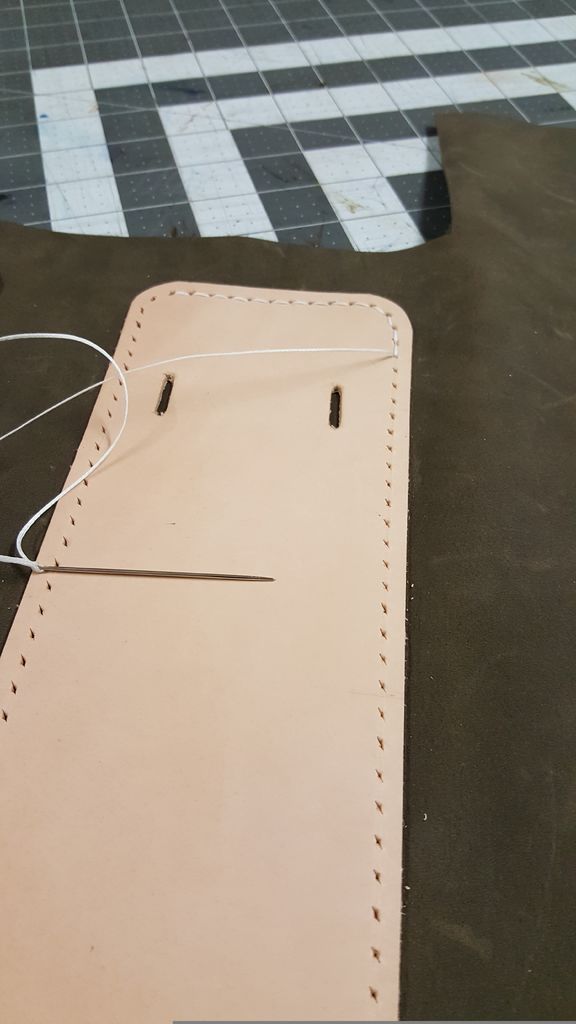
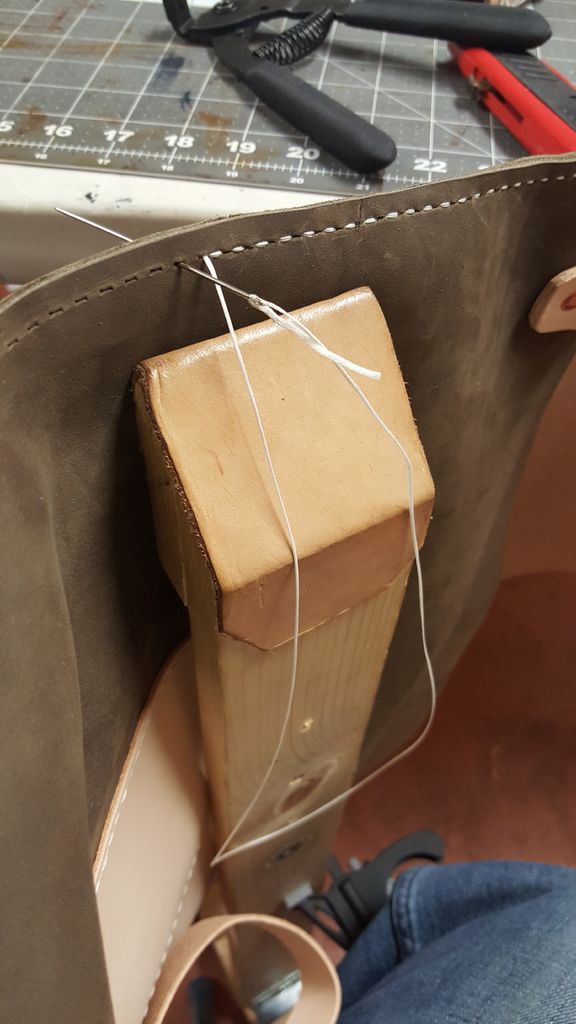
To attach the flap to the bottom of the bag, I will start with double sided tape. I will center the piece on the bottom of the bag, then temporarily secure in place. Now I will mark my stitching line 1/4" from the edge of the bottom flap with a stitching chisel all the way around the flap. After punching your stitching holes, sew the flap to the bottom of the bag using the saddle stitch technique. Once complete, lets start on the adjustable straps.
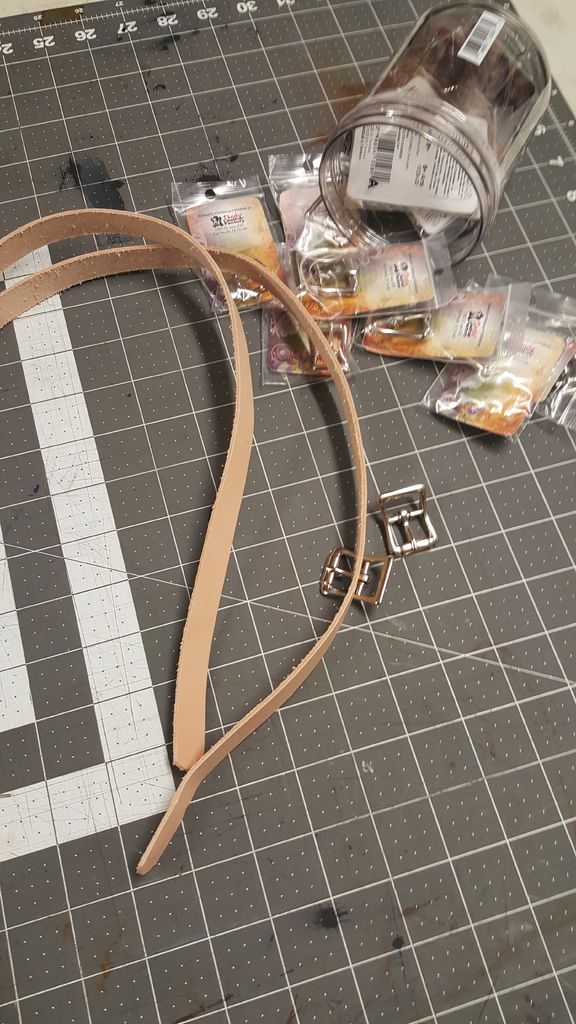
Adjustable Straps
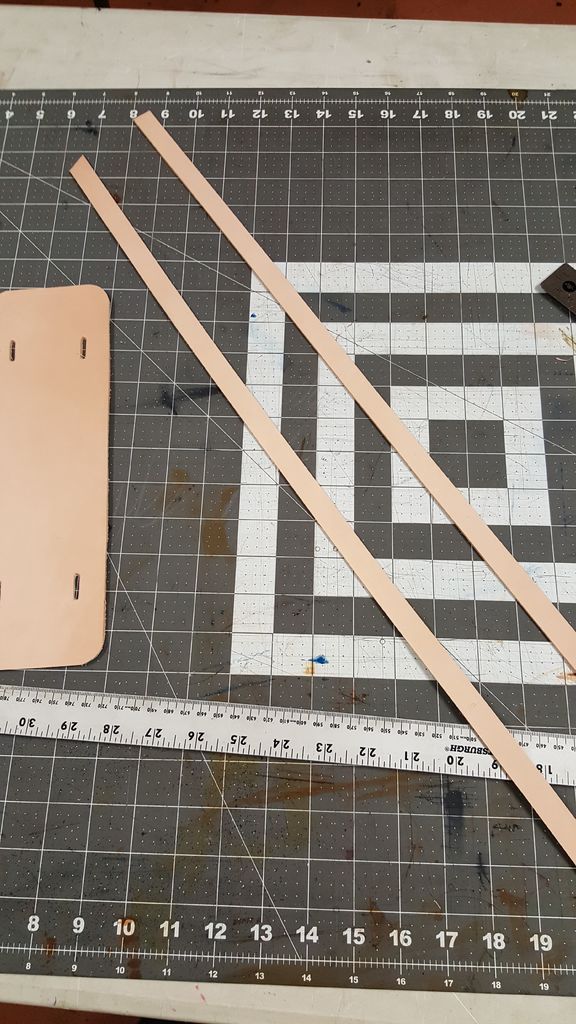
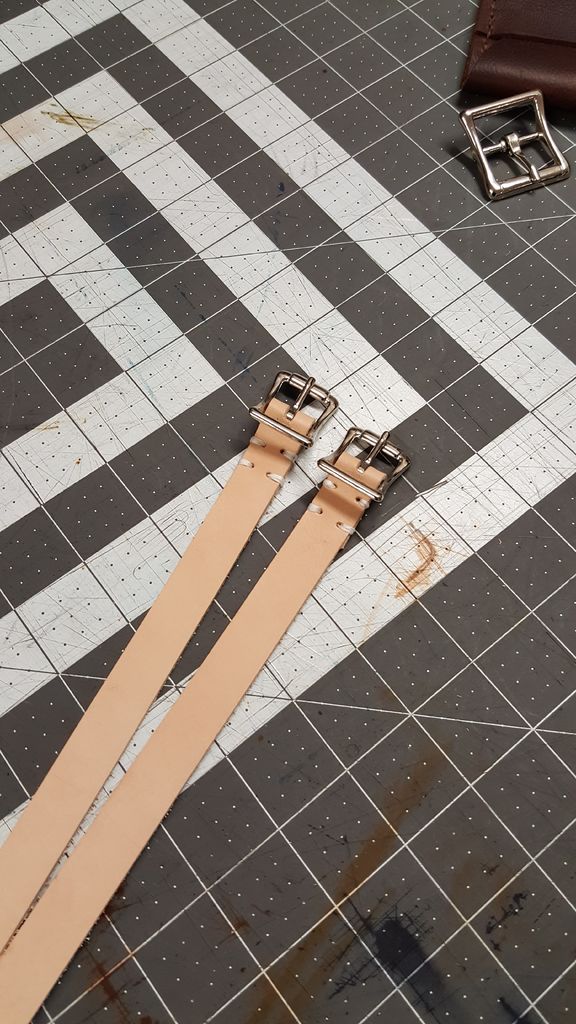
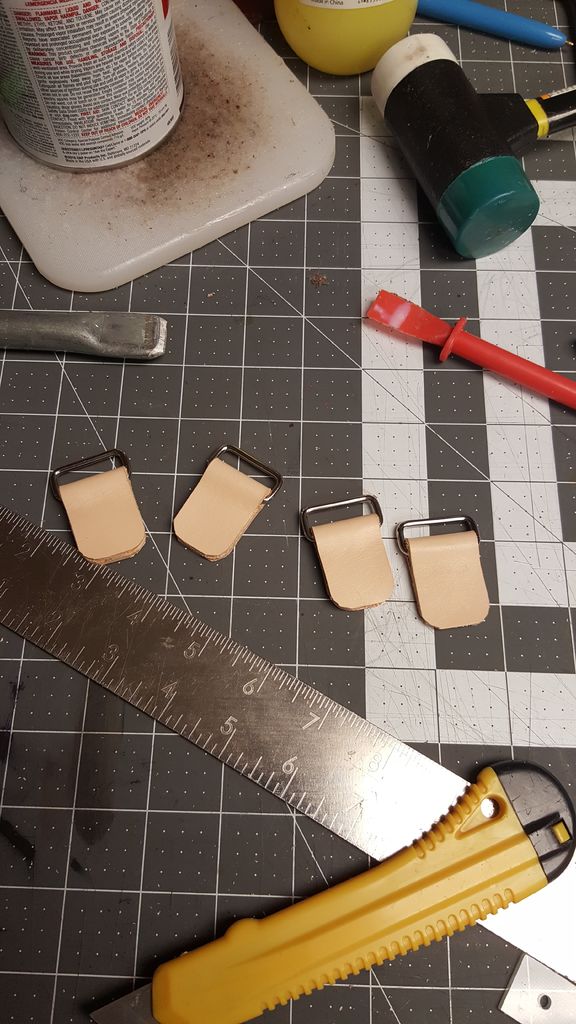
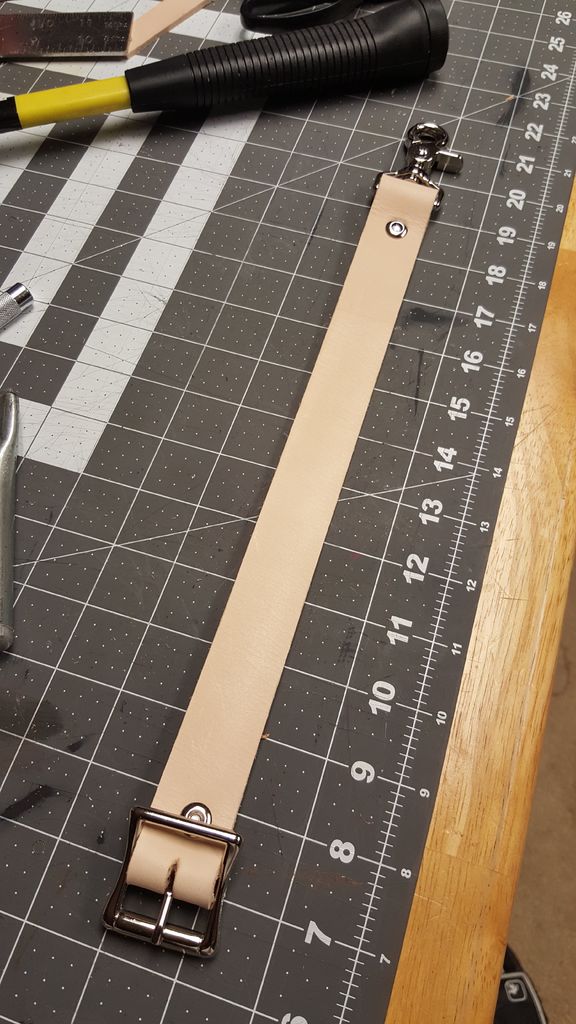
The straps are cut 5/8" (W) and at this time the length is random. I will cut them down to fit later. I will install the belt buckles, and secure them by stitching the sides together.
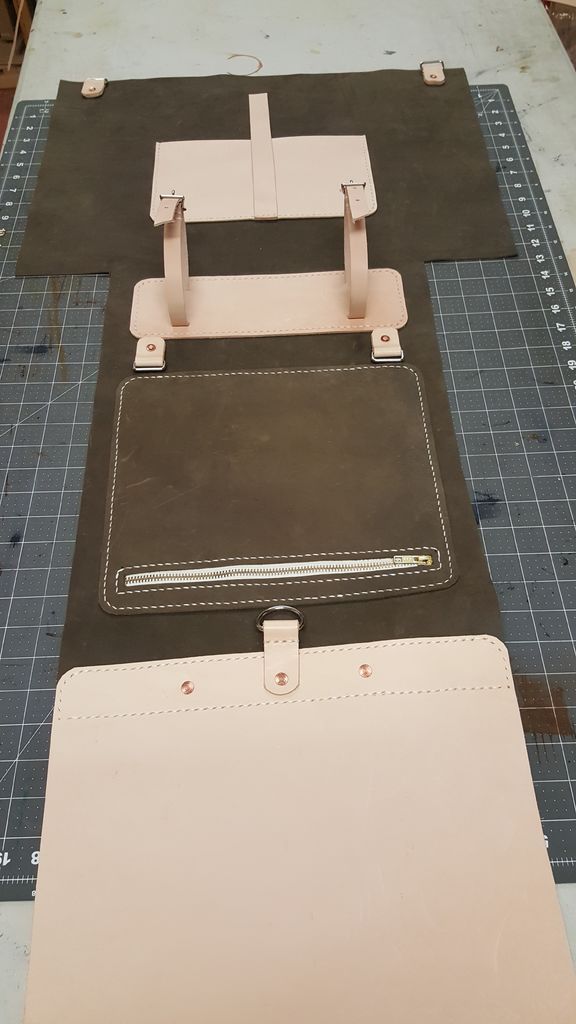
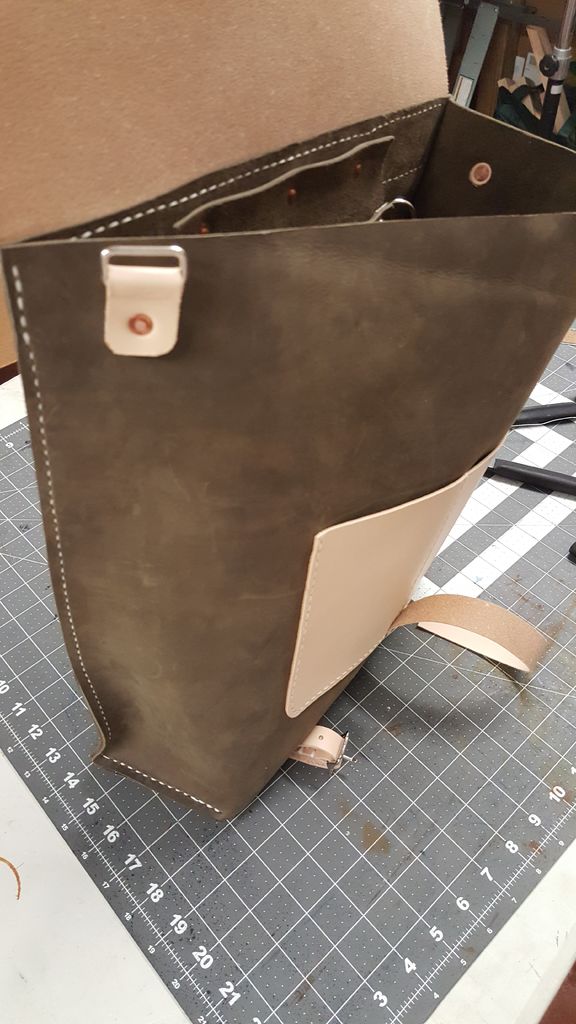
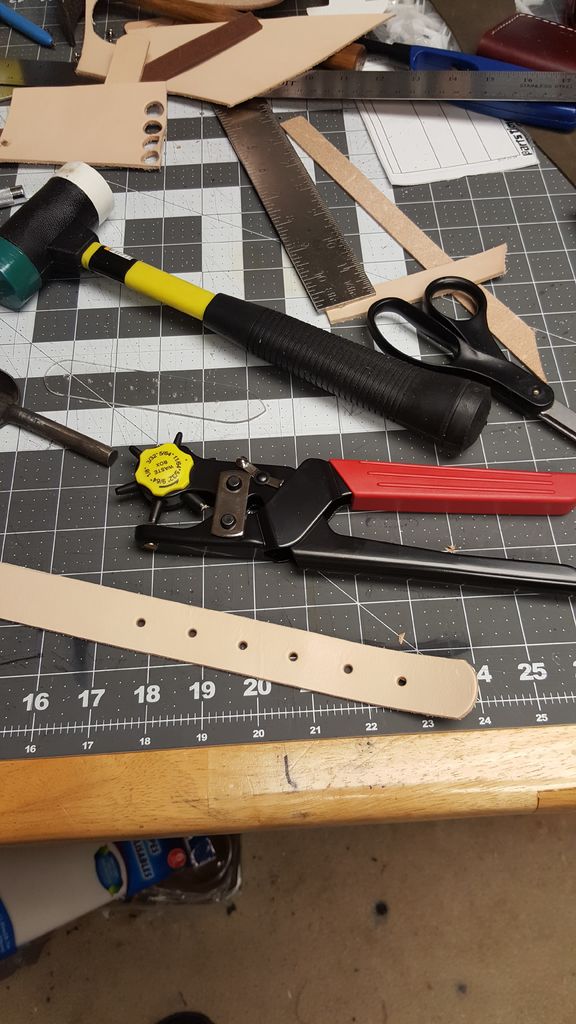
After testing the fit, the straps length can be cut down, and buckle holes punched spaced 1" apart using a hole punch.
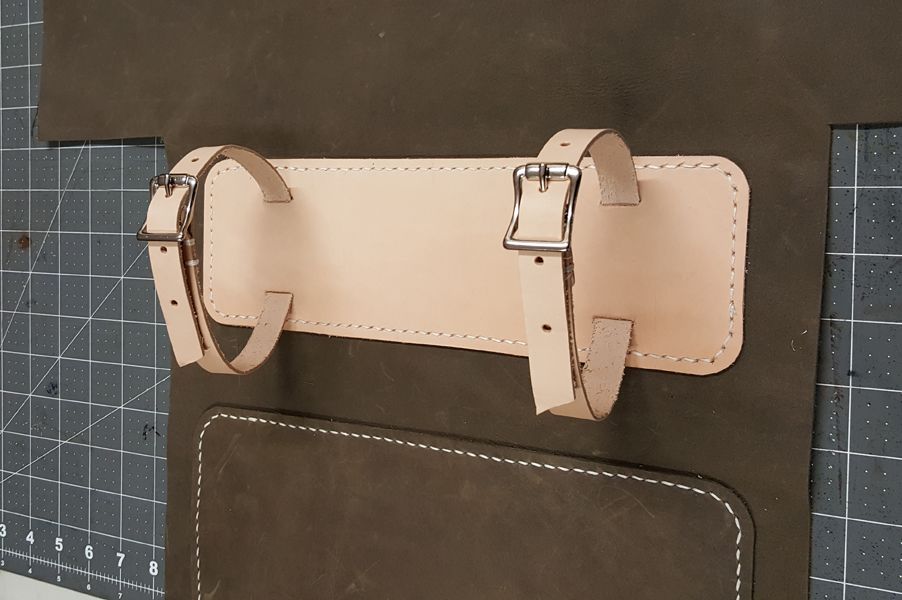
The last photo shows the finished result.
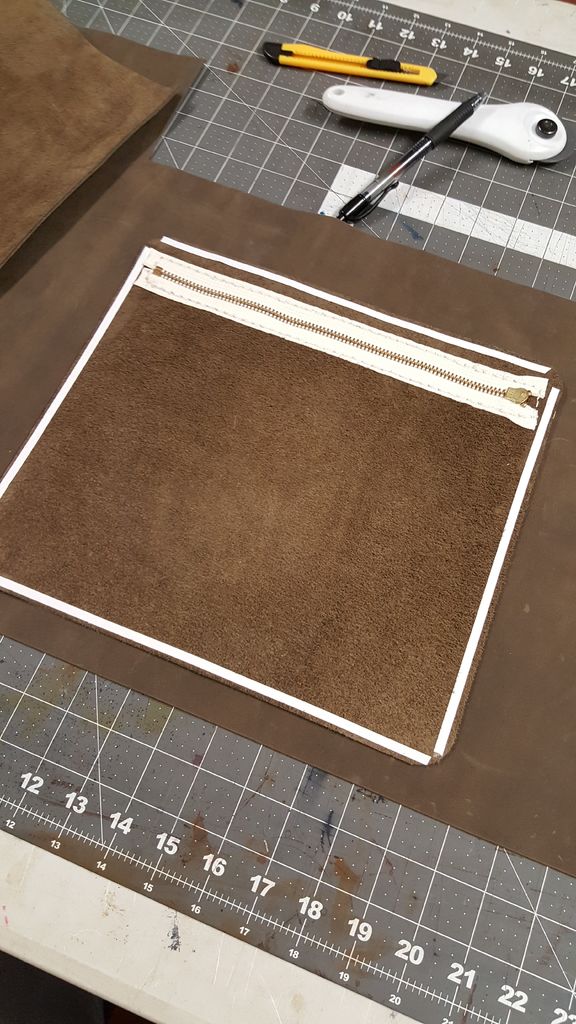
Step 6: Dressing Up the Front.


Design Feature 3
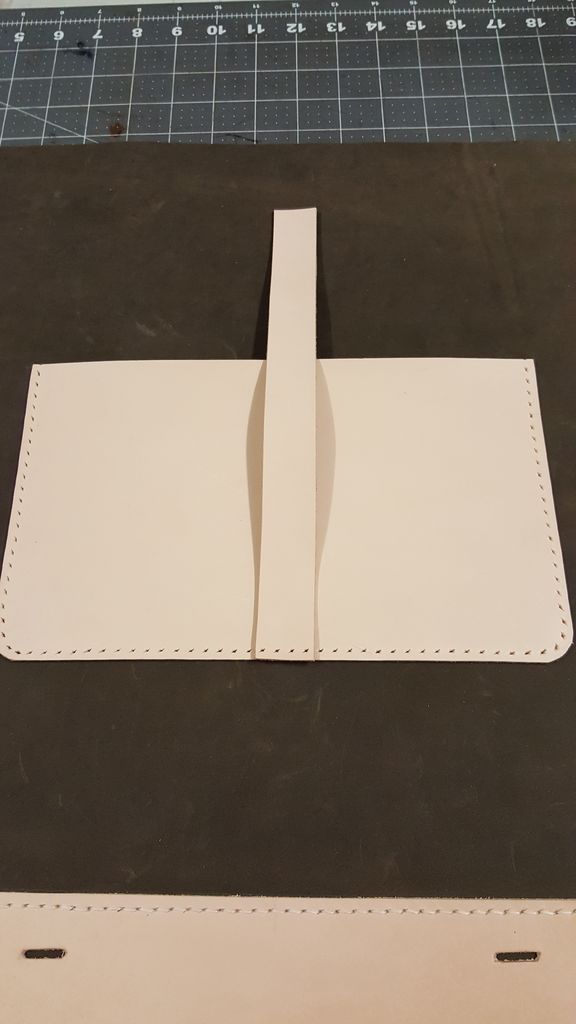
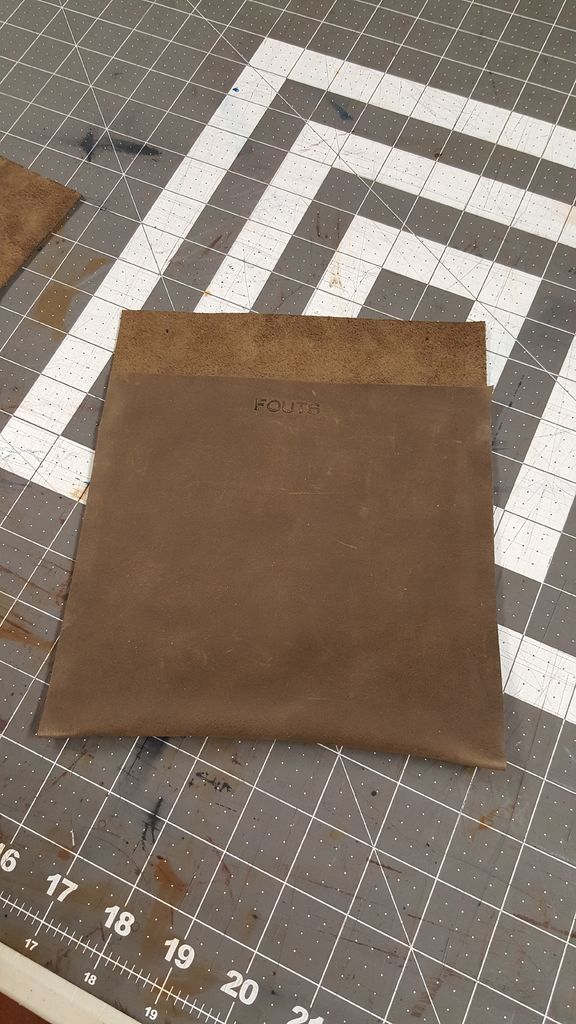
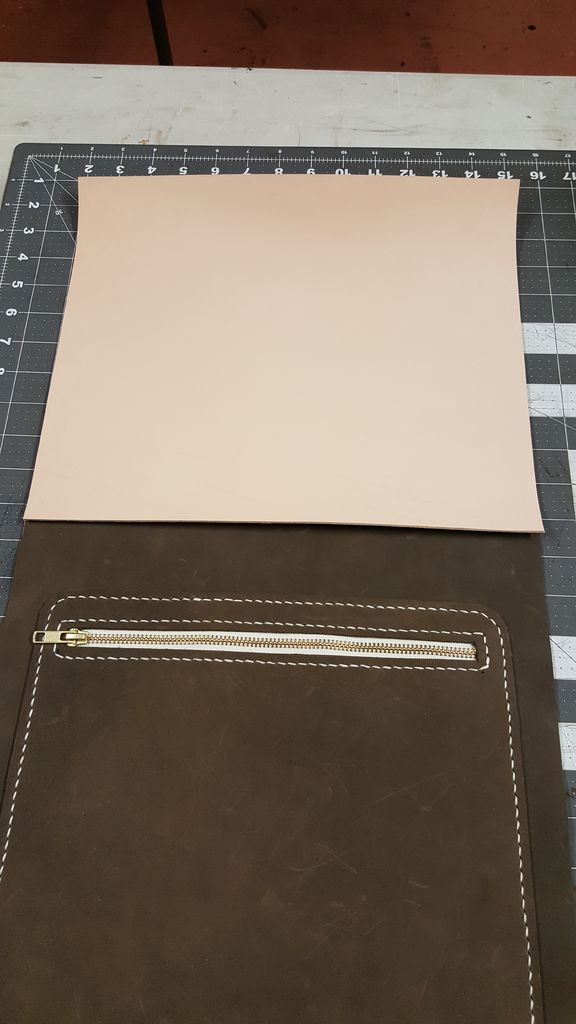
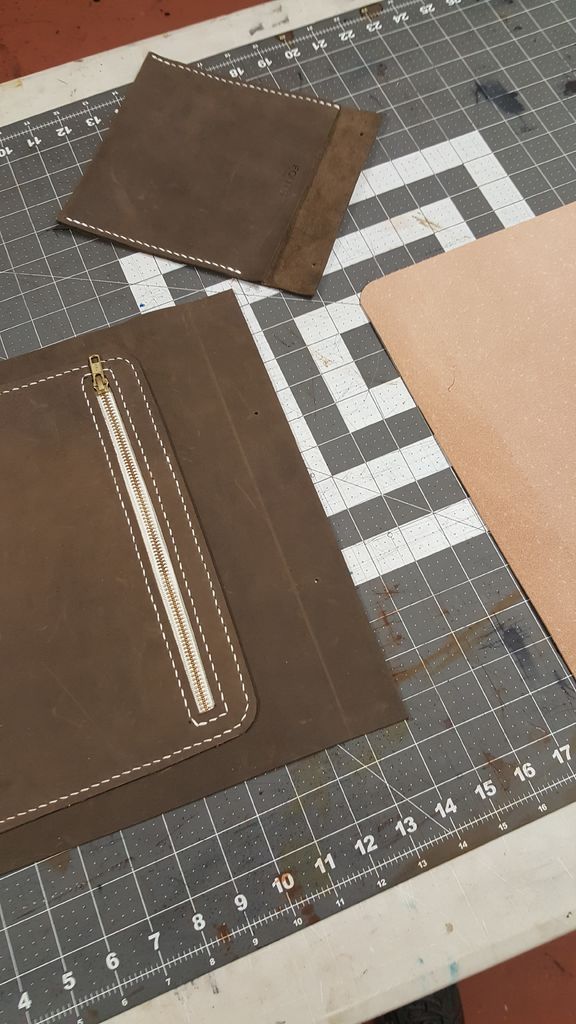
The front of the bag looks rather plain, so I want to add a couple pockets to hold travel notebooks, pens, pencils, or other items I want to get to quickly, as well as a buckle strap which will later hold the flap of the bag closed.
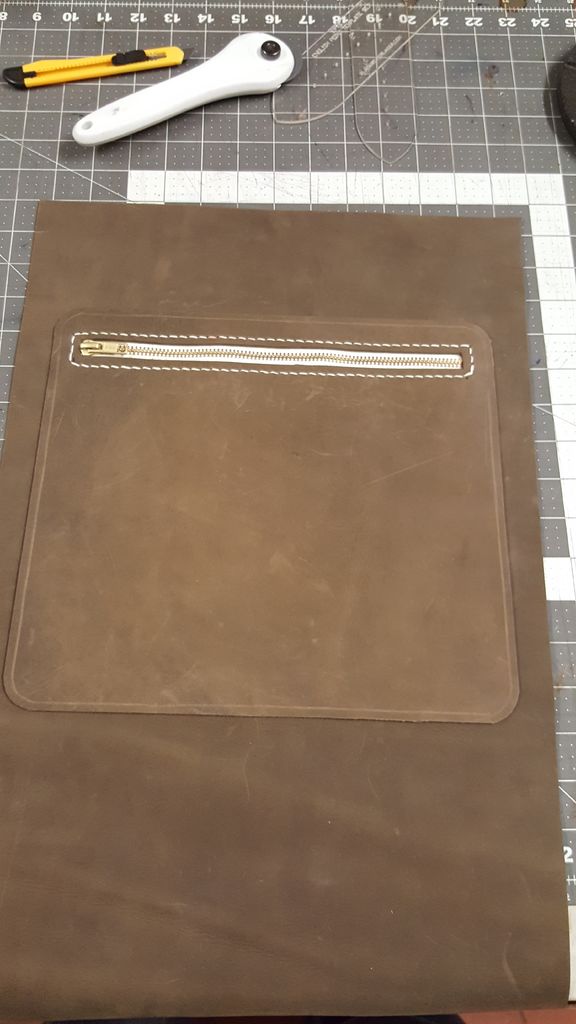
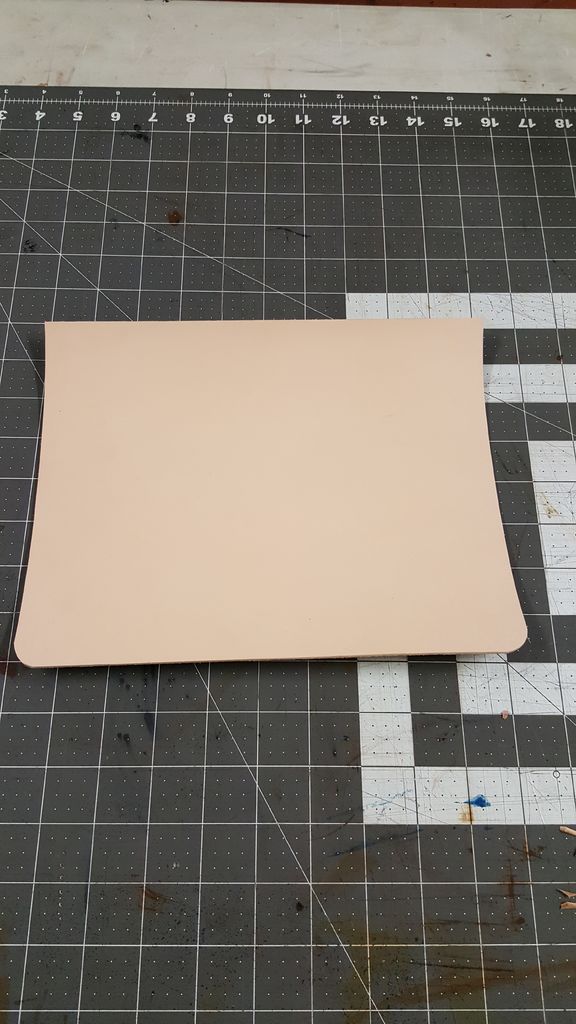
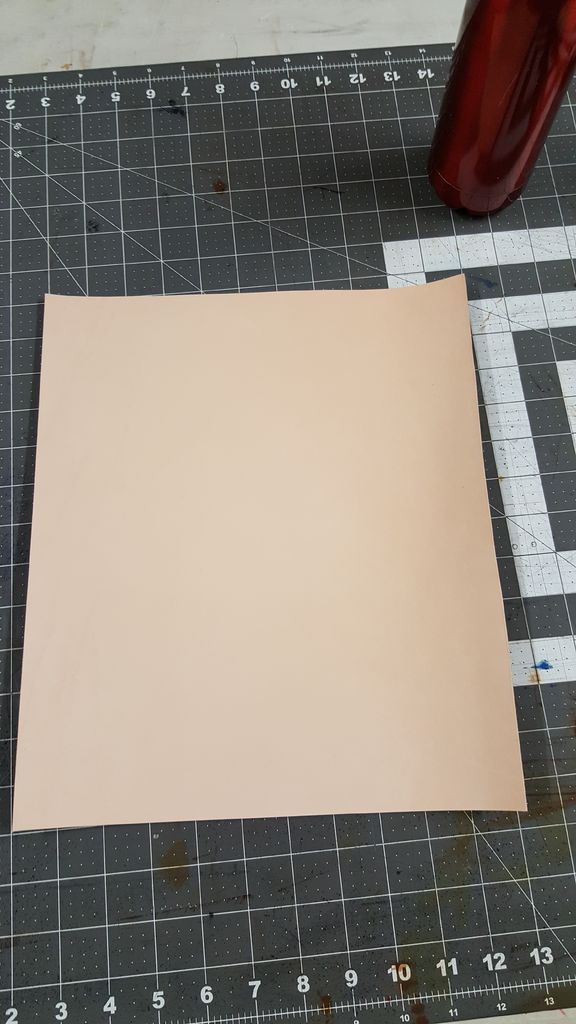
I will take a piece of vegetable tanned leather and cut it to approximately 10" (W) x 6" (H), rounding off the two bottom corners. Next cut a strap 1" thick, length random at this time. Position the piece of leather centered on the front of the bag, temporarily securing with double sided tape.
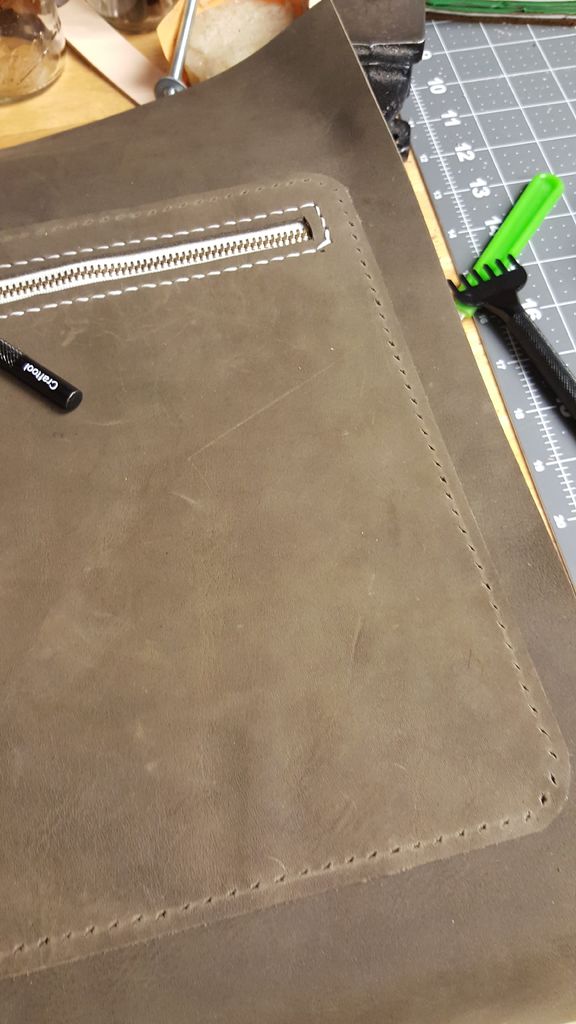
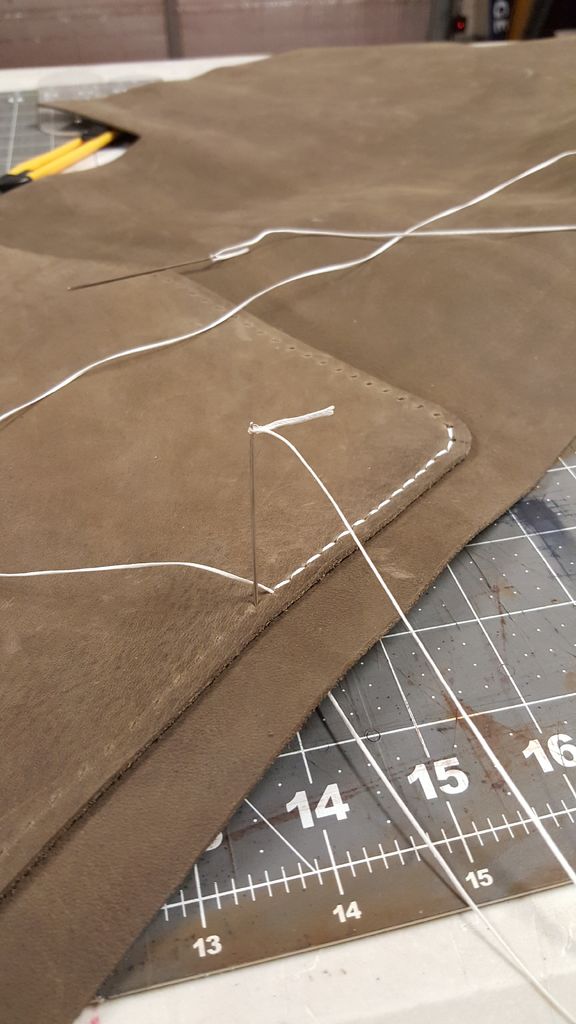
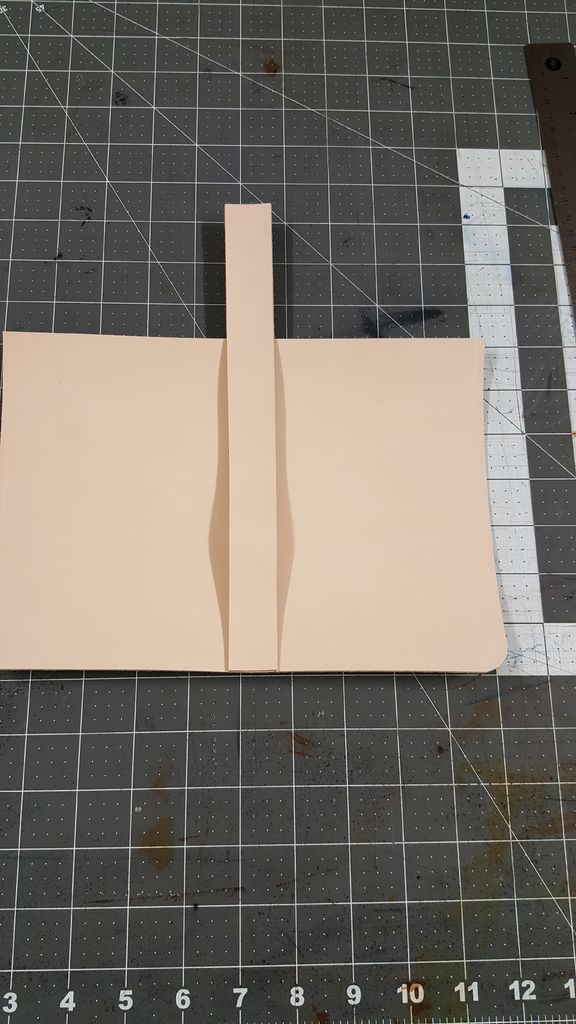
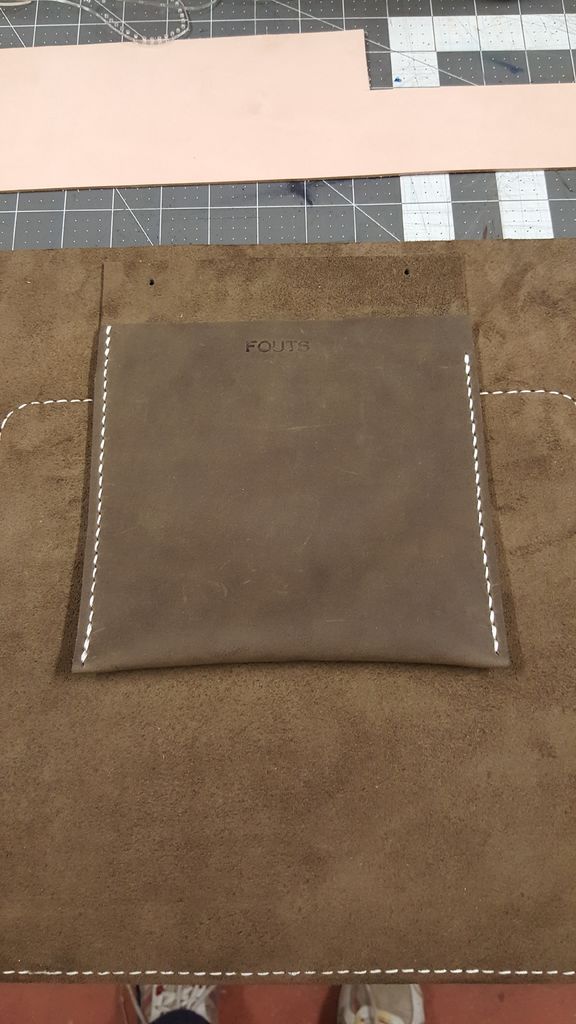
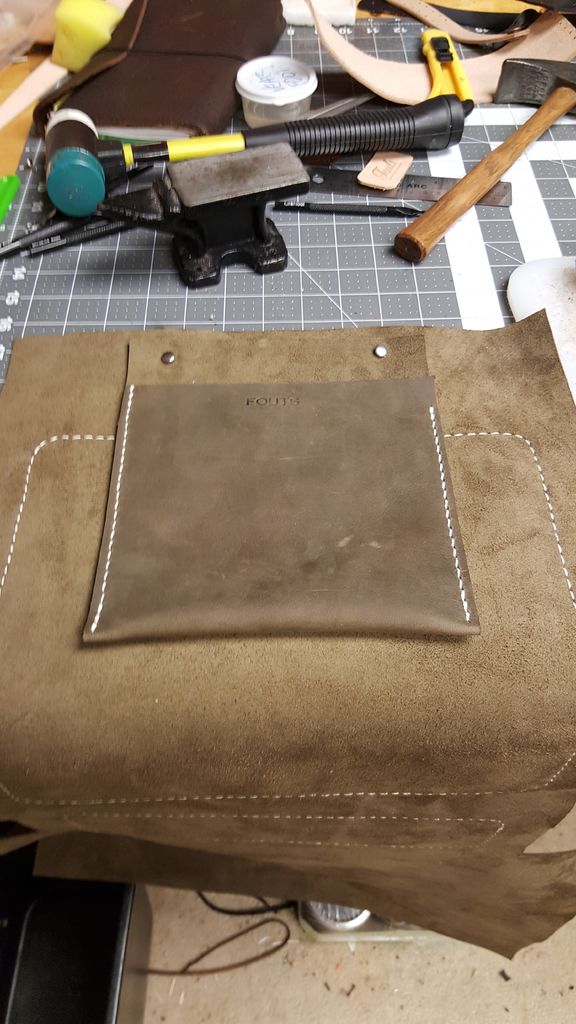
Upon looking at it, I decided that it would look better with two pockets, so I divide the pocket directly down the center. Mark your stitching line 1/4th inch from the edge going all the way around the pocket, then divined the pocket in half using a ruler, and mark a center line from top to bottom. Punch your stitching holes using the stitching chisels, then sew the pocket to the main body of the bag using the saddle stitch.
Note: As you can see from the last photo, I forgot to sew on the 1" buckle strap. It happens that it is not a big deal, as I can simply sew it on now, but be careful when designing parts of your bag because sometimes, if you forget a step, it might not be so easy to correct.
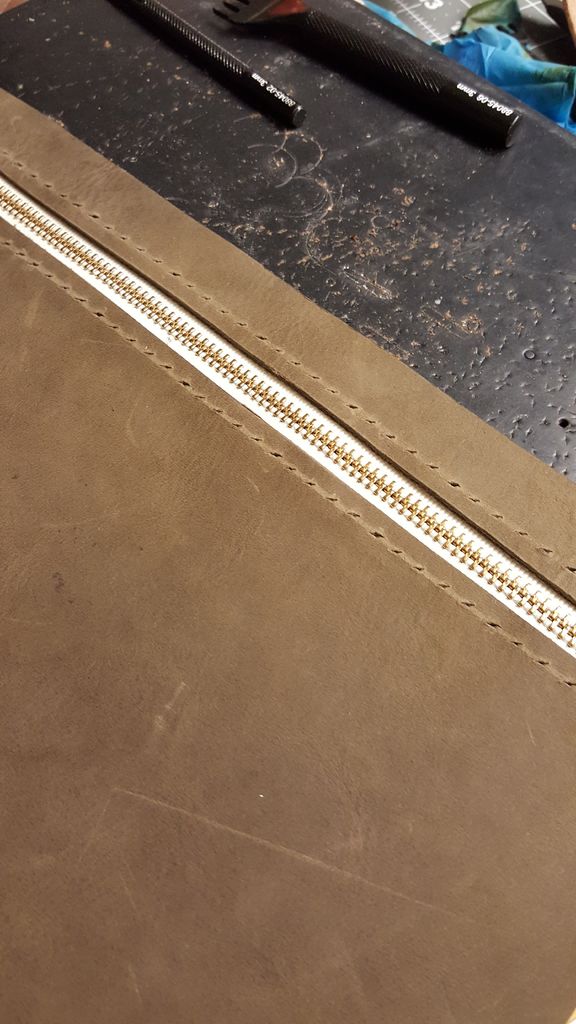
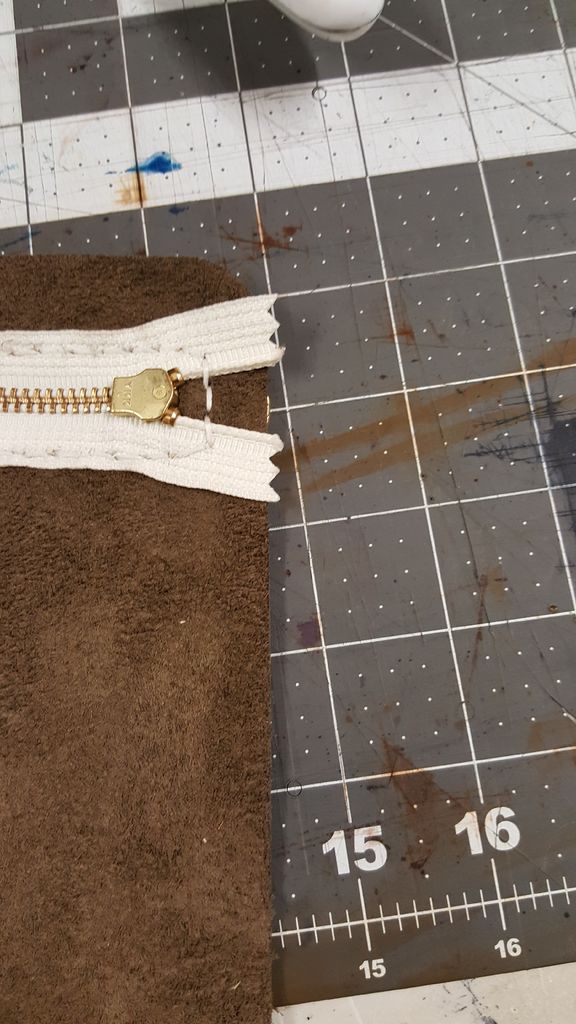
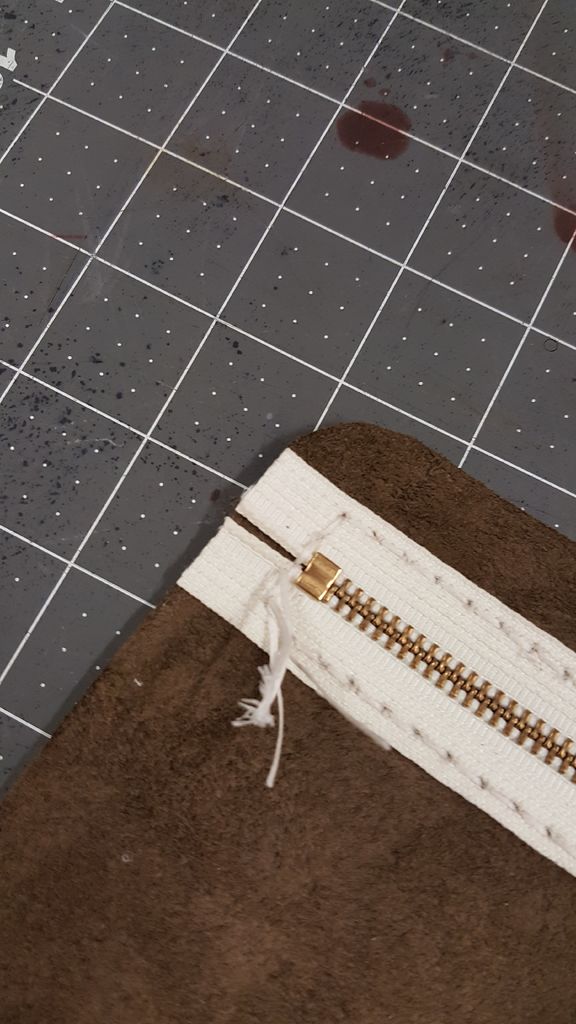
Step 7: Design Feature 4
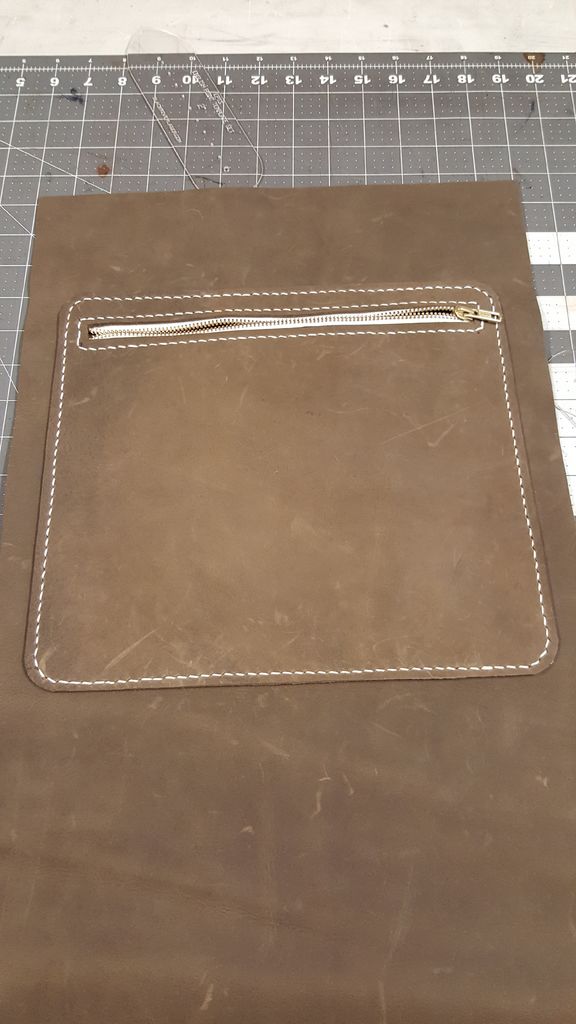
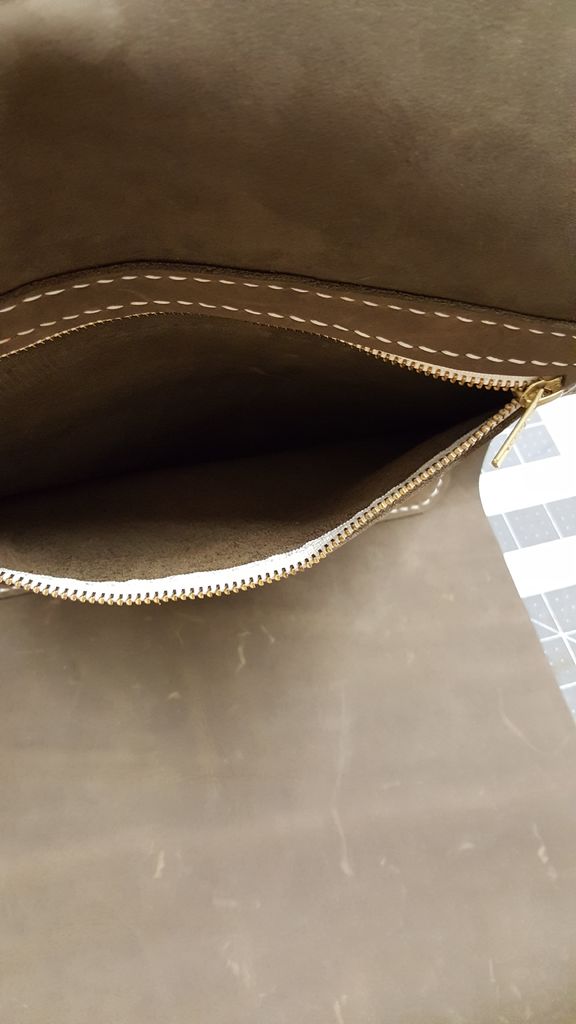
An Interior Pocket
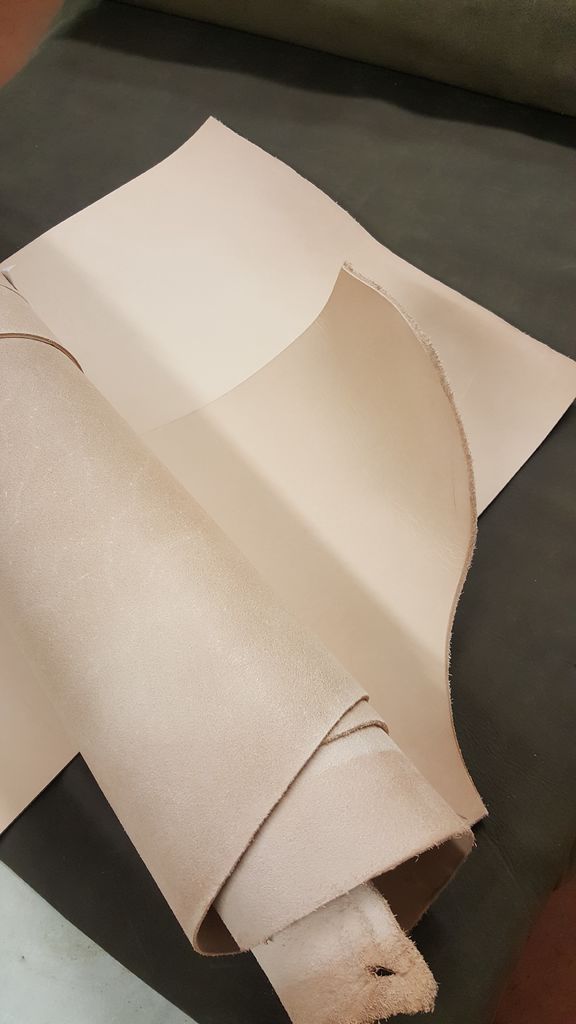
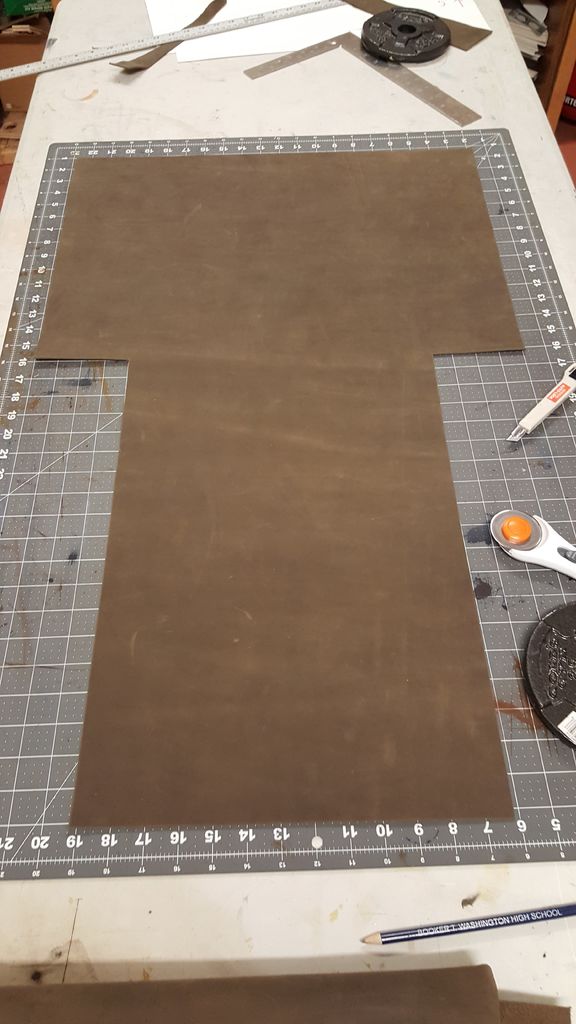
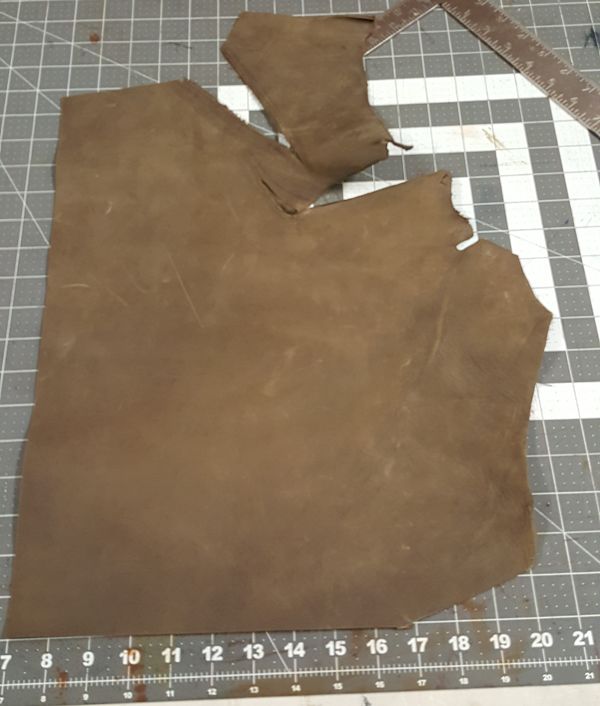
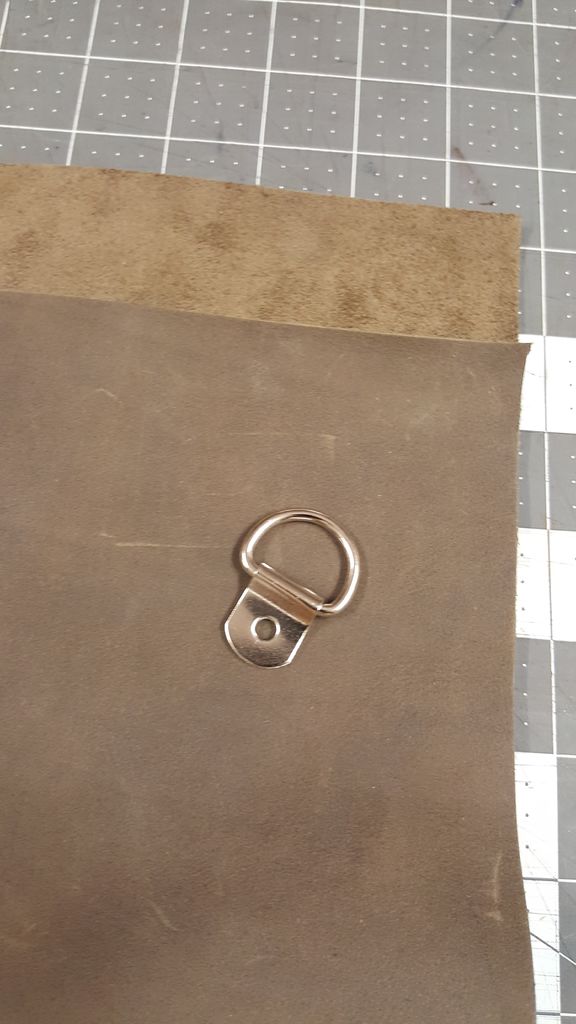
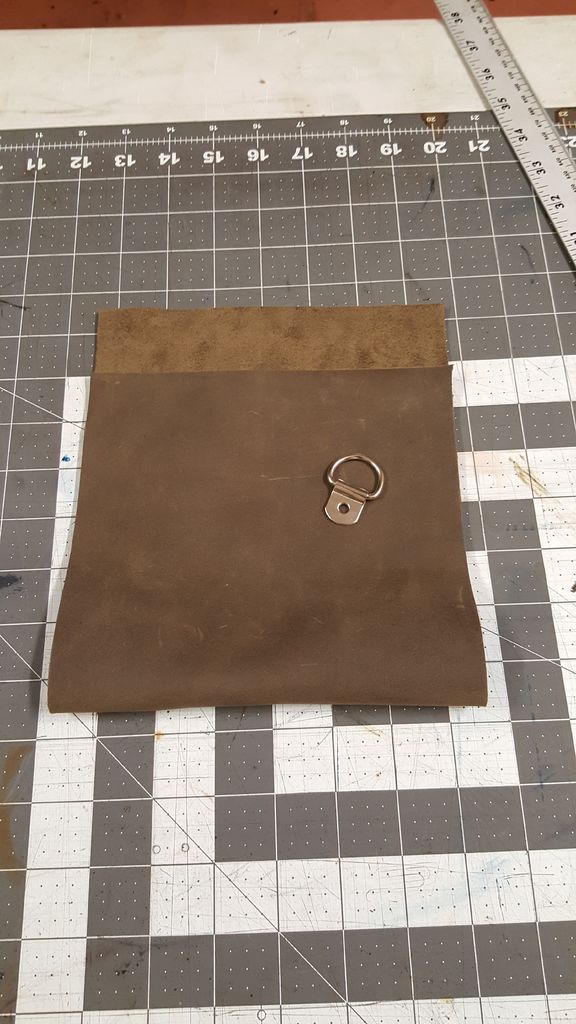
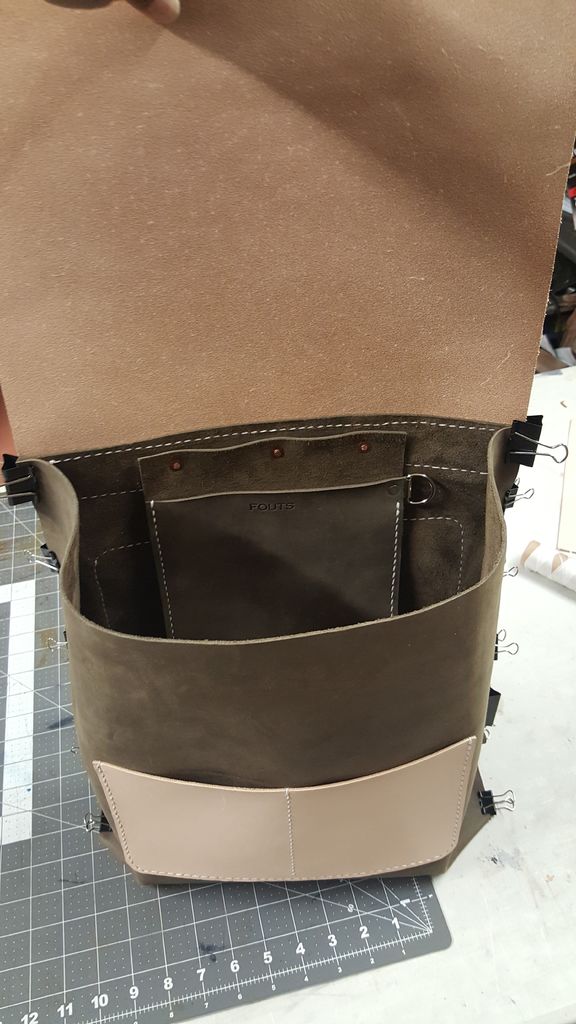
Using another piece of scrap leather from when I cut out the main body of the bag, I decided to make an interior pocket that would hold my cellphone, wallet, keys, etc.
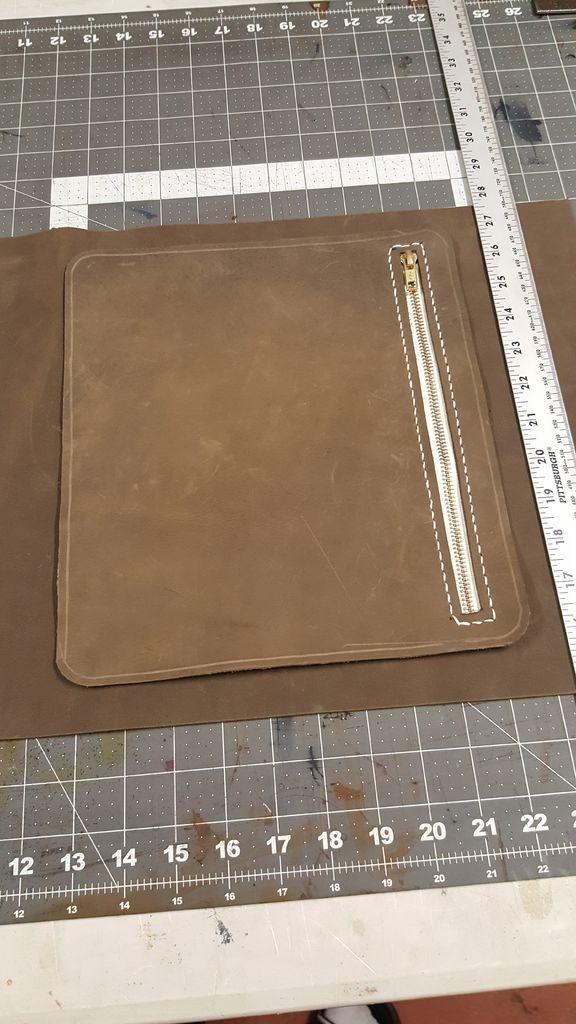
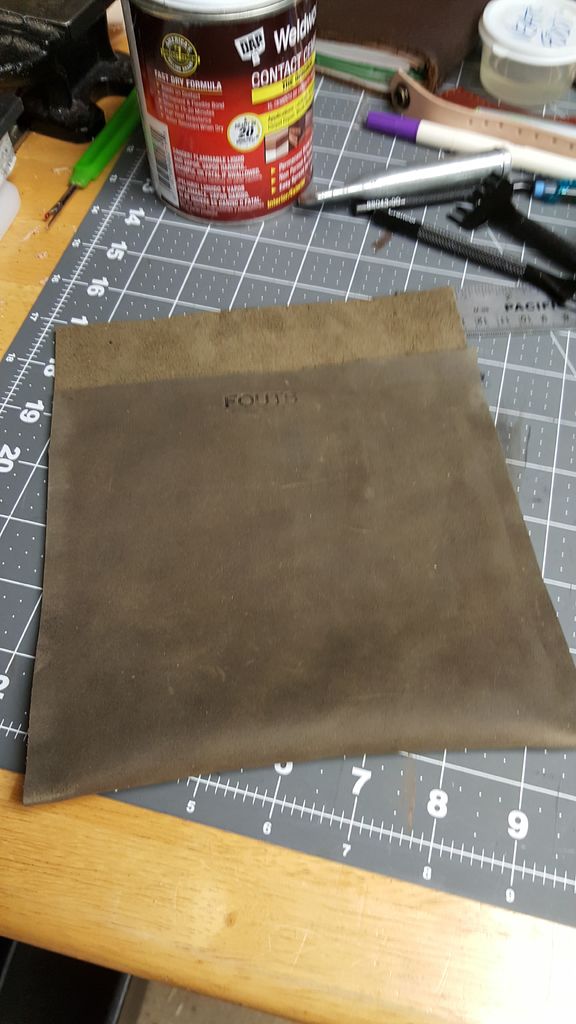
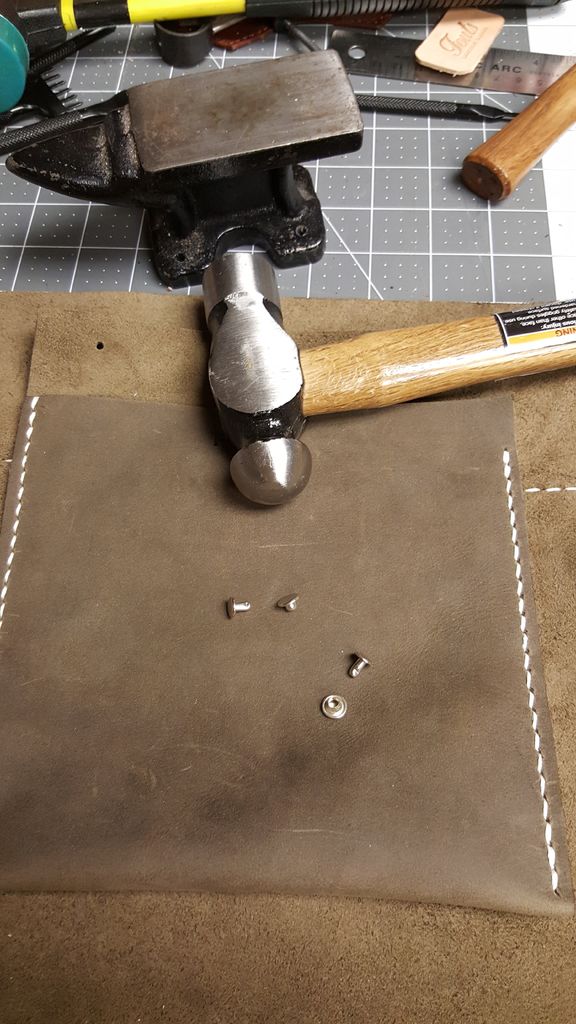
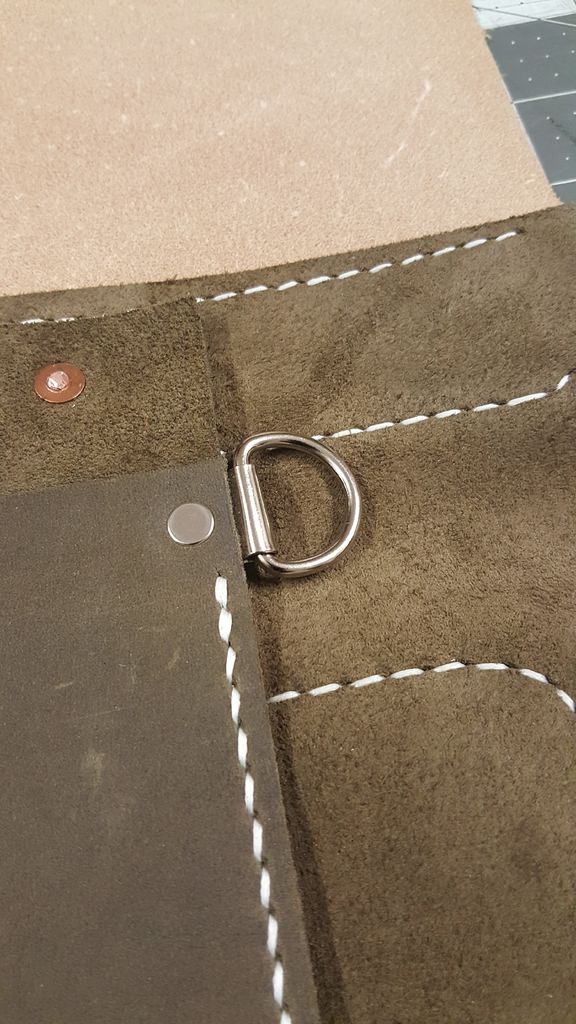
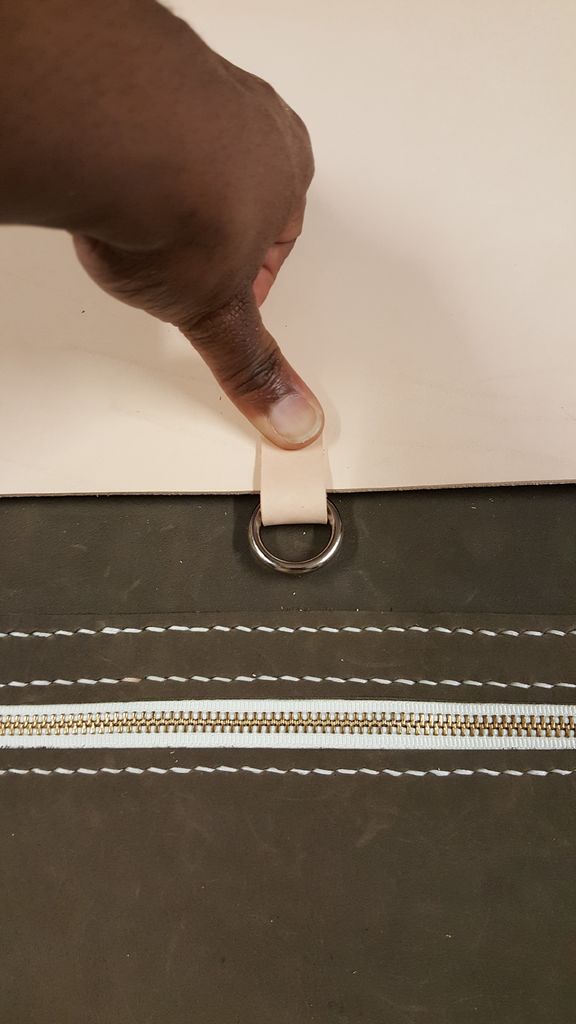
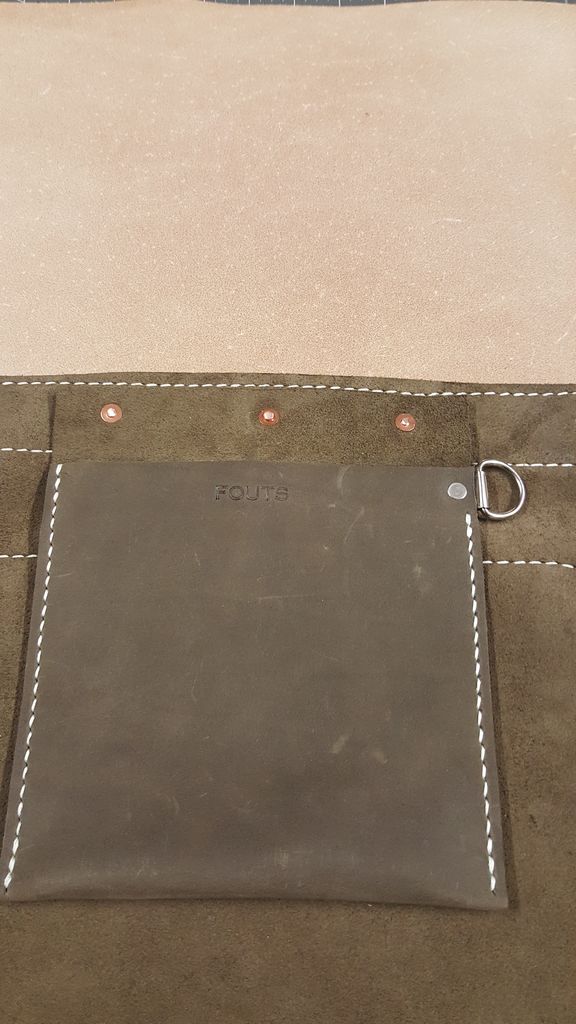
I cut the leather scrap to approximately 7" (W) x 15" (L). Leaving 1" at the top, fold over the leather to make a pocket. Using Leather weld glue, glue the sides together. (You can also use the double sided tape here) My personal key ring is a strip of leather with a trigger snap on the end for clipping my keys to my belt. Because of this, I want to add a Dee-Ring to the pocket that would allow me to clip my keys to the pocket, so they won't get lost in the bag. I next mark my stitching line 1/4th from the edge, and sew the pocket together using the saddle stitch. At the top right of the pocket, I will add the Dee-Ring and secure it in place using rapid rivets.
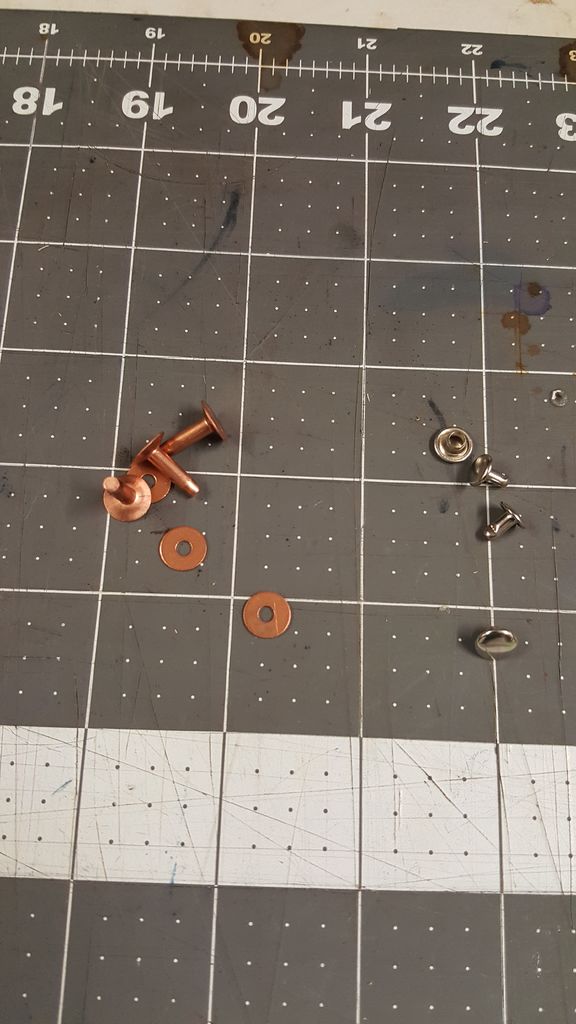
Note: Before securing the interior pocket in place, I realized that the pocket would be in the way when I went to secure the front flap to the bag. I caught this at the last second. After taking some time to think about the design of the bag, I decided to switch from the rapid rivets, to the copper rivets which will provide a stronger hold when going through so many layers of leather, and to install the interior pocket AFTER I have installed the bags front flap cover.
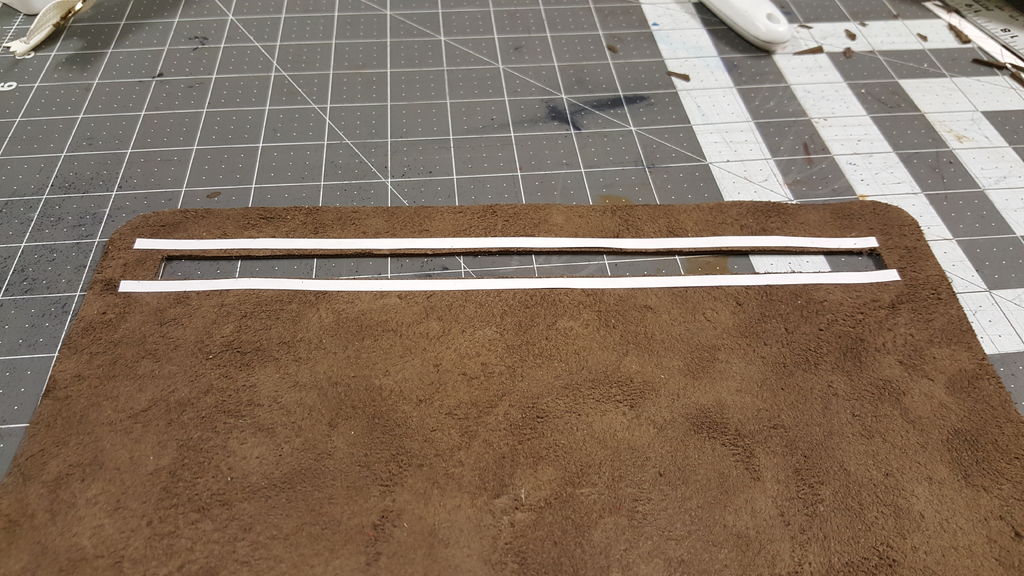
Step 8: Adding the Bags Cover Flap
Bags Front Flap
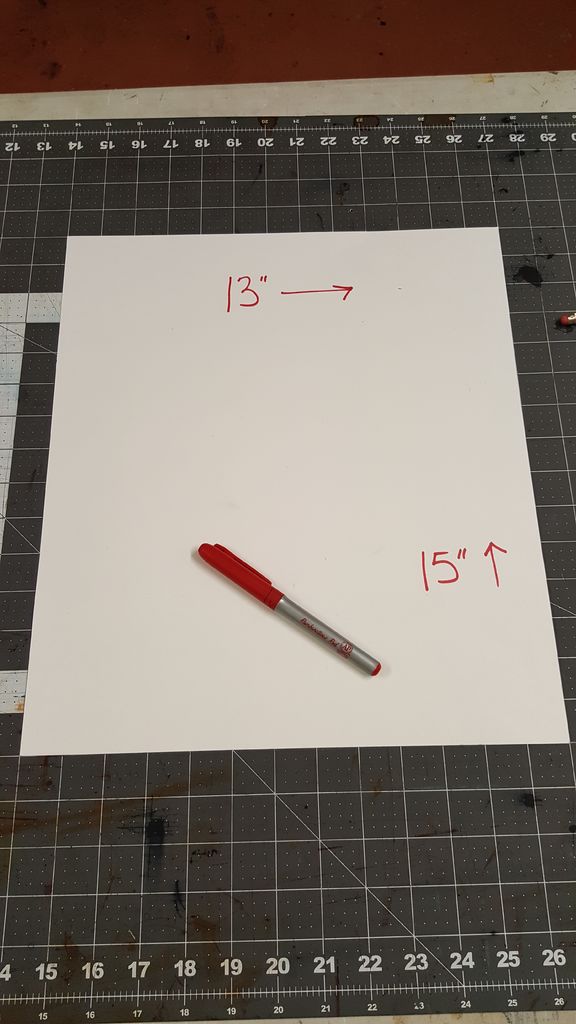
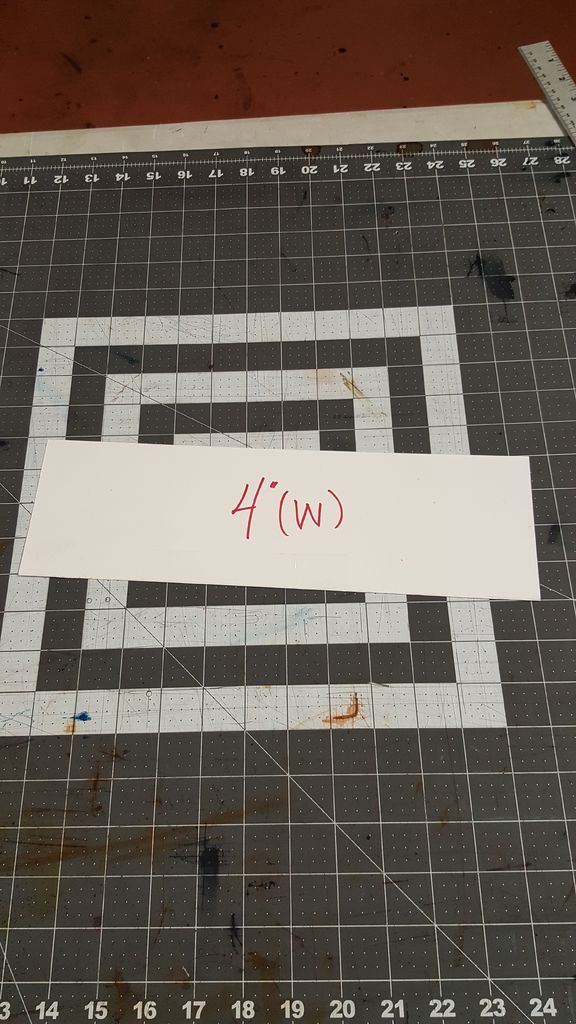
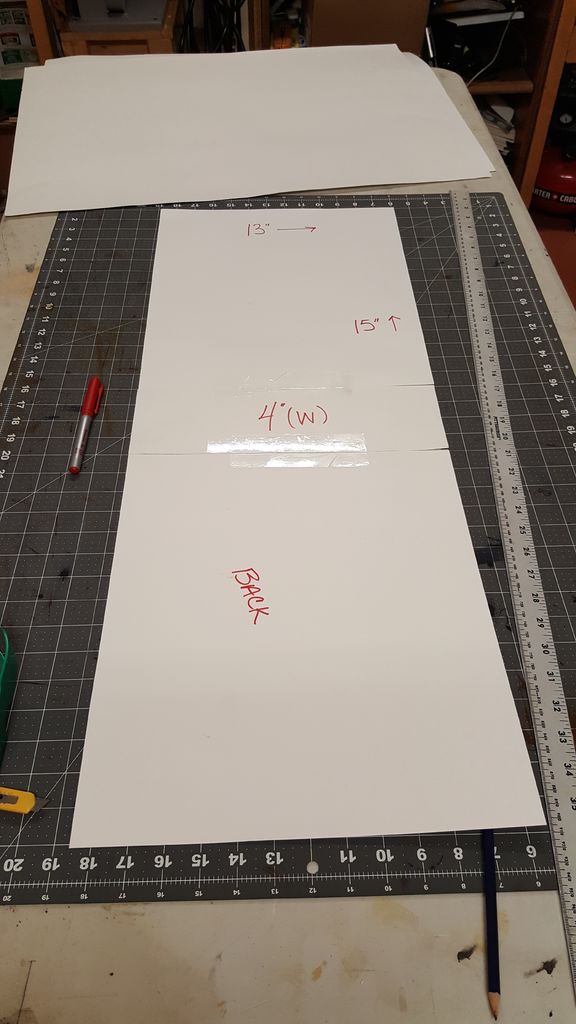
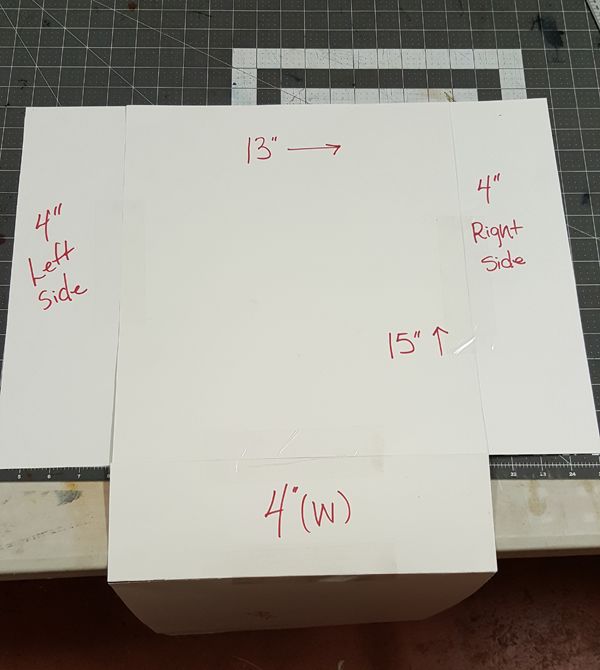
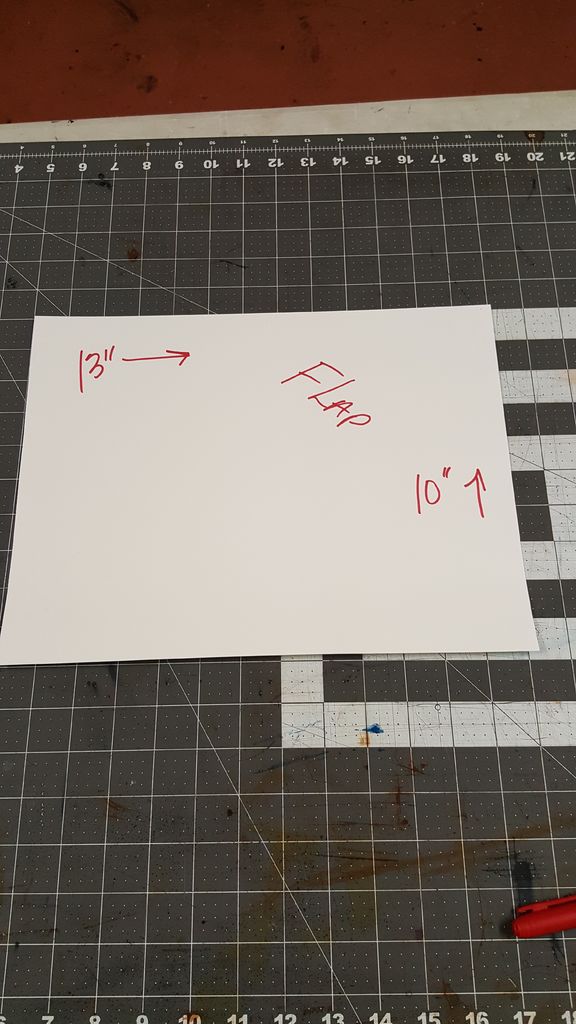
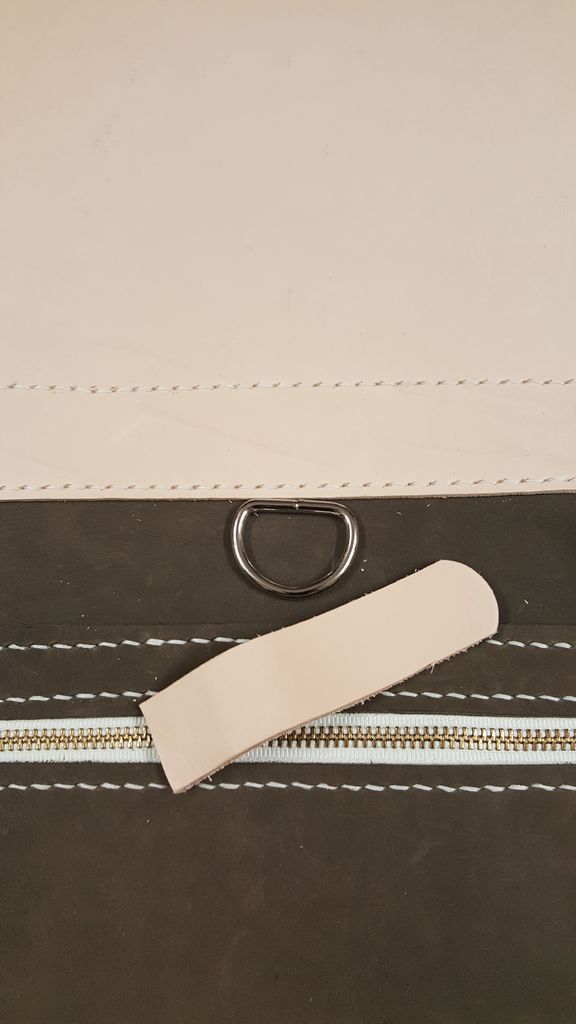
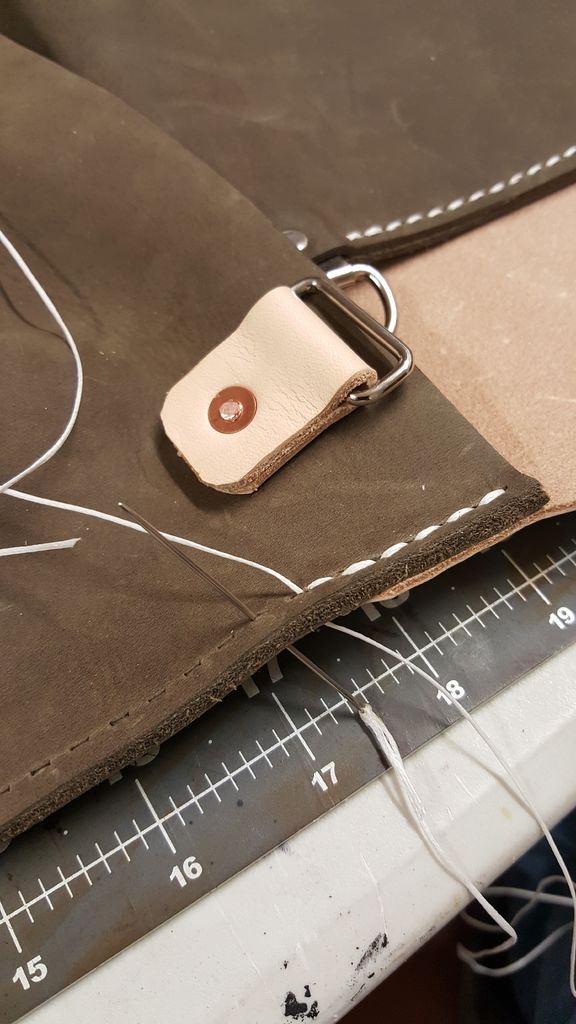
It is now time to secure the front cover flap on the bag. Cut a piece of vegetable tanned leather approximately 13" (W) x 10" (L). Lay the piece in place to get a look at how the bag is progressing at this time. I decided to make a design change and add a grab handle to the cover flap, once I look at the possible grab handles in place, I quickly get the idea to add a Dee-Ring instead. This would allow me to use the bag as a back pack, as well as a cross body bag.
To include the Dee-Ring, I cut a strip of leather 1" (W) x 3" (L), and sat it aside for now.
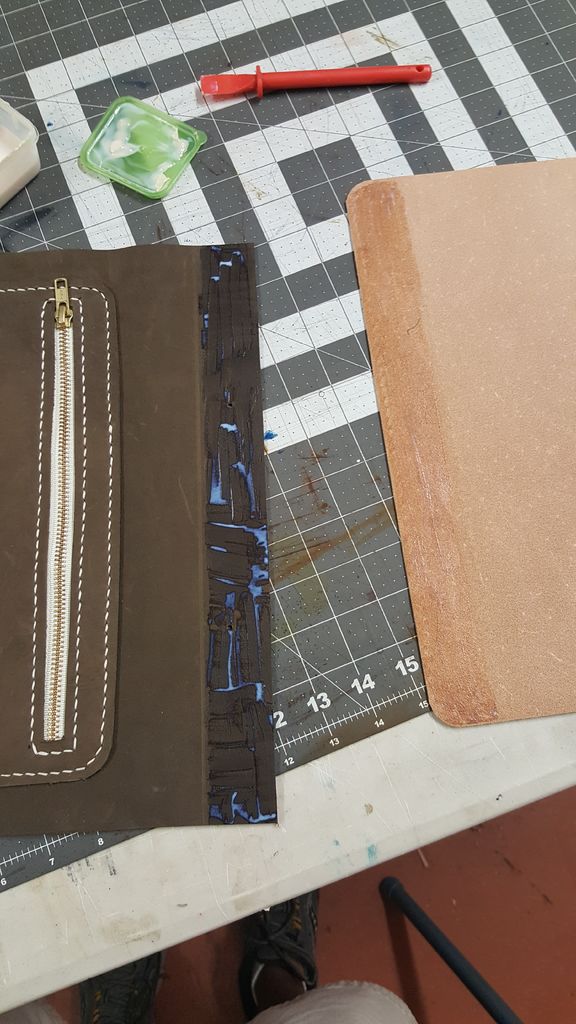
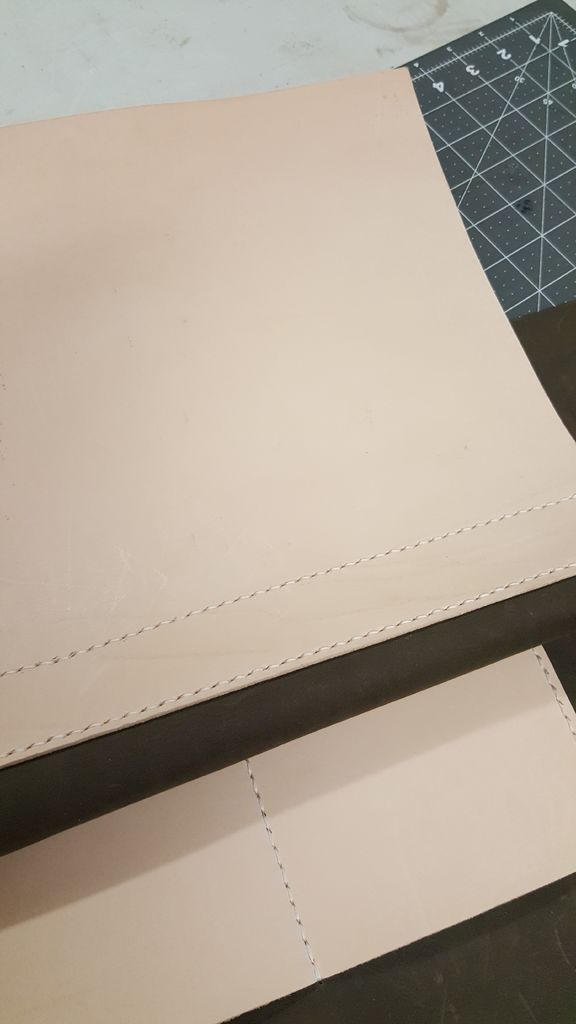
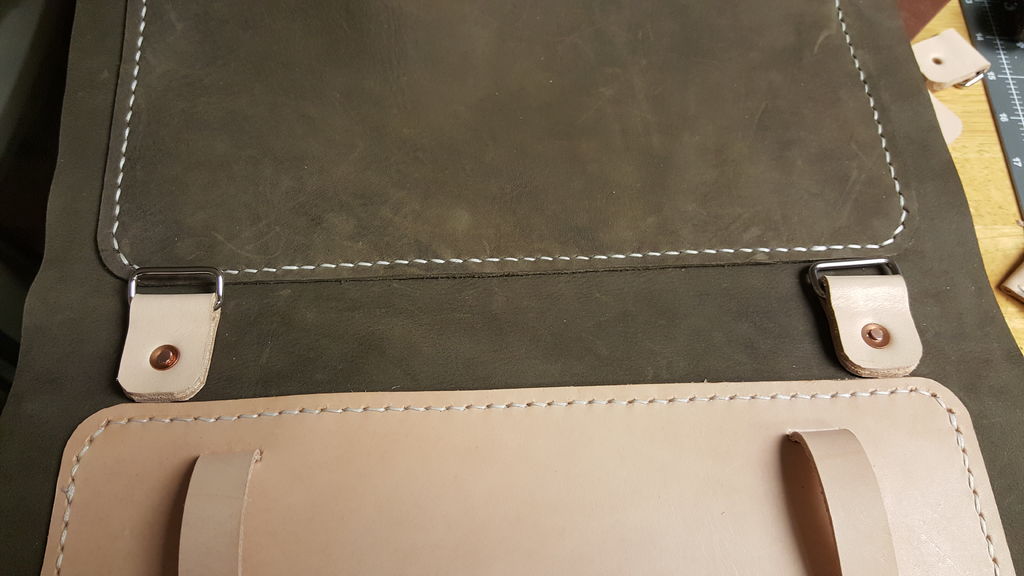
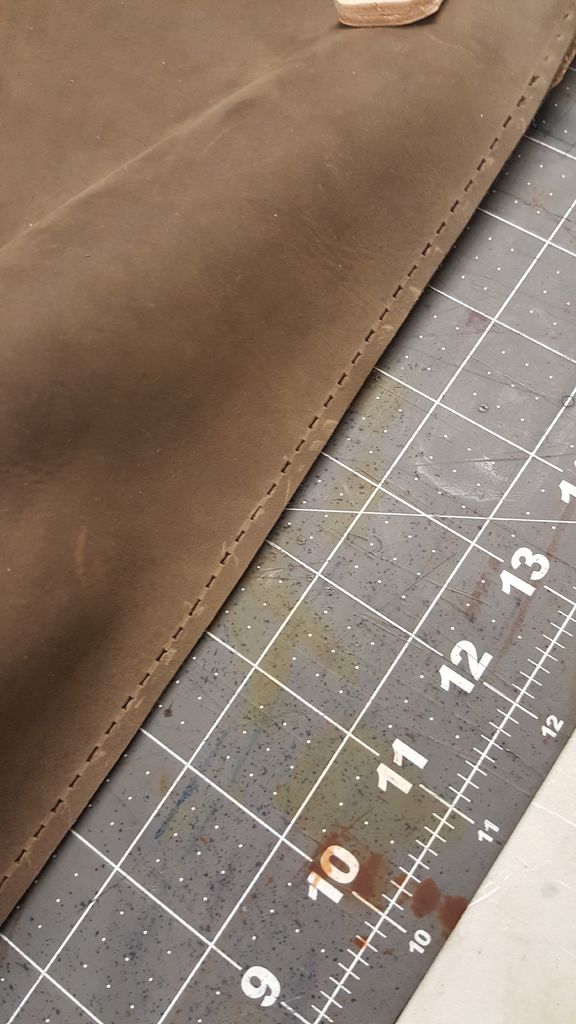
Back to adhering the cover flap to the bag: Measure down 1.5" from the bottom edge of the cover flap, and 1.5" up on the top rear of the bag, and placed leather weld glue on both pieces in preparation for gluing the two pieces together. Once the glue is tacky, carefully secure the two pieces. Using a ruler, mark your stitching line 1/4" inside the edge of the two pieces. Using a stitching chisel, mark your stitching holes, and sew the two pieces together using the saddle stitch.
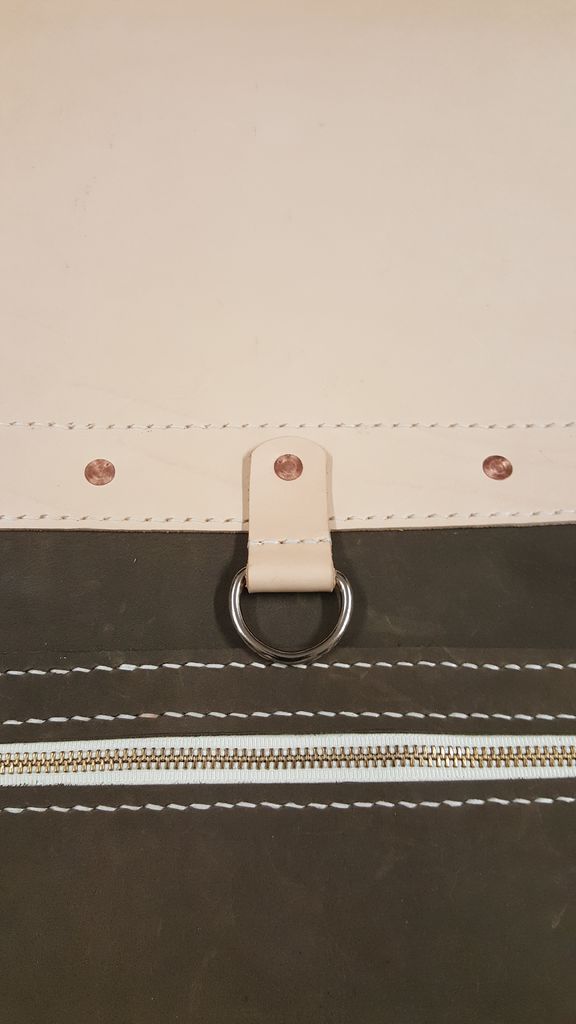
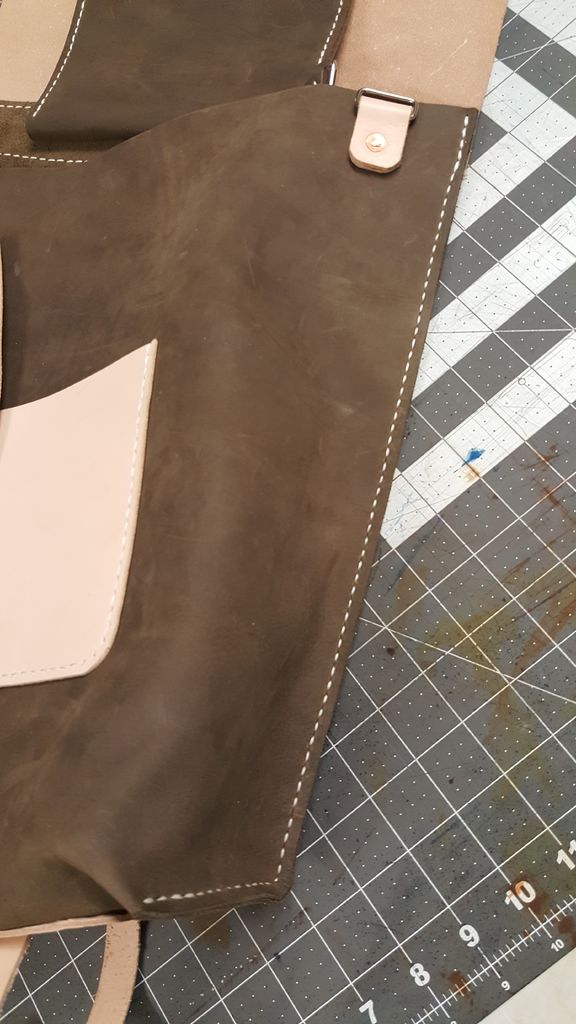
Now I will secure the interior pocket from the Design Feature 4, and secure the Dee-Ring on the flap with copper rivets. (See photos #10 and #11 to see result.)
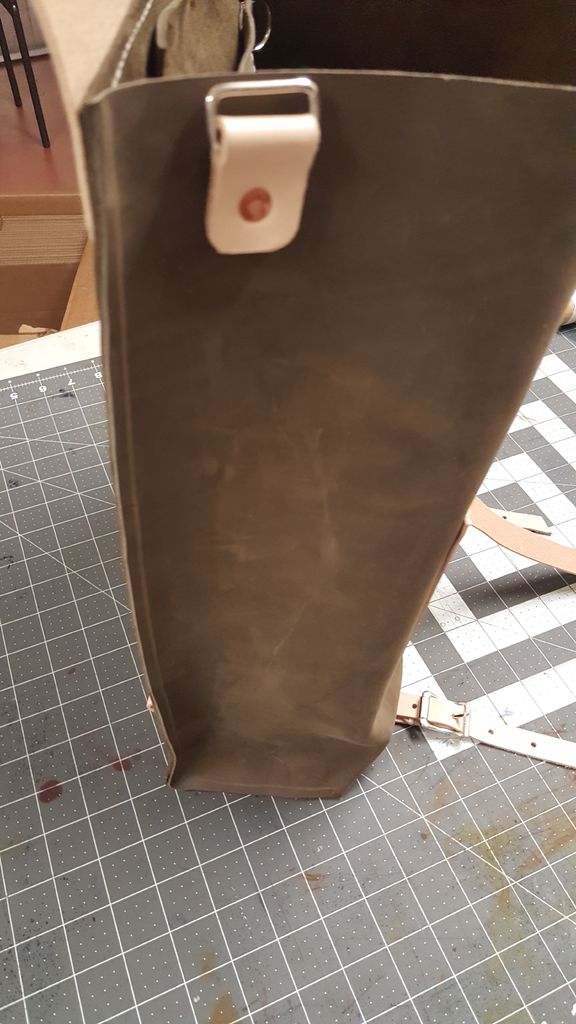
Step 9: Bag Progress
Photos of the bags progress up to this point. It is now time to close up the bag, Make sure everything you want to include on your bag is sewn before you close up the bag. Once the sides are permanently attached, it may be difficult to add other elements.
Step 10: Adding Strap Ring Holders


To carry this bag as a Cross body bag, and as a backpack, I need to attach ring holders to the side and rear of the bag.
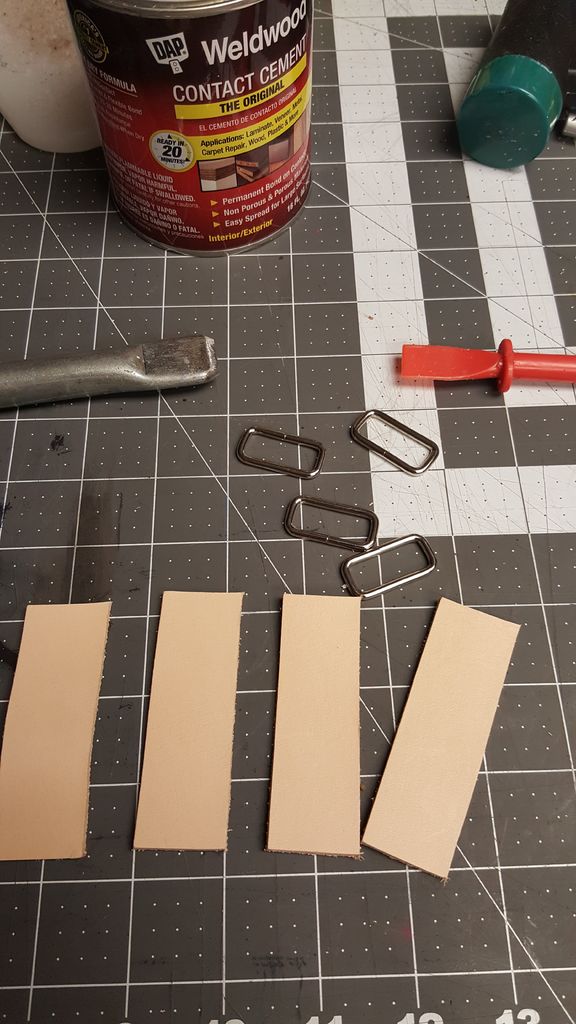
I cut four strips of leather 1" (W) x 3" (L). (Typically I would use Dee-Rings for this but I was out so I used what I had on hand. I used Square rings instead and they worked just as well.) After rounding out the corners of the leather strips, I coated the flesh side of the leather with leather weld glue, preparing to glue the square rings in place. (See pic 3)
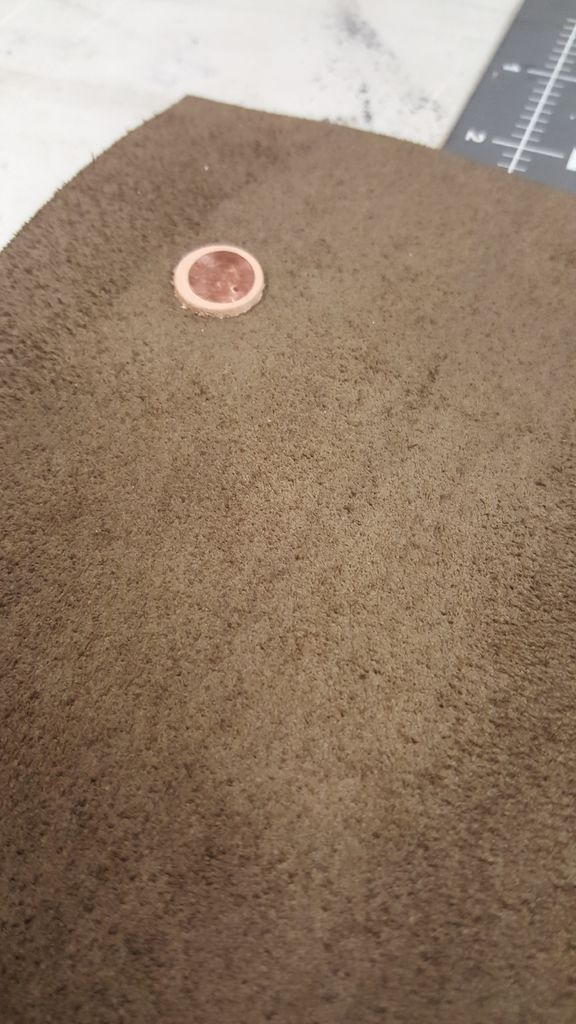
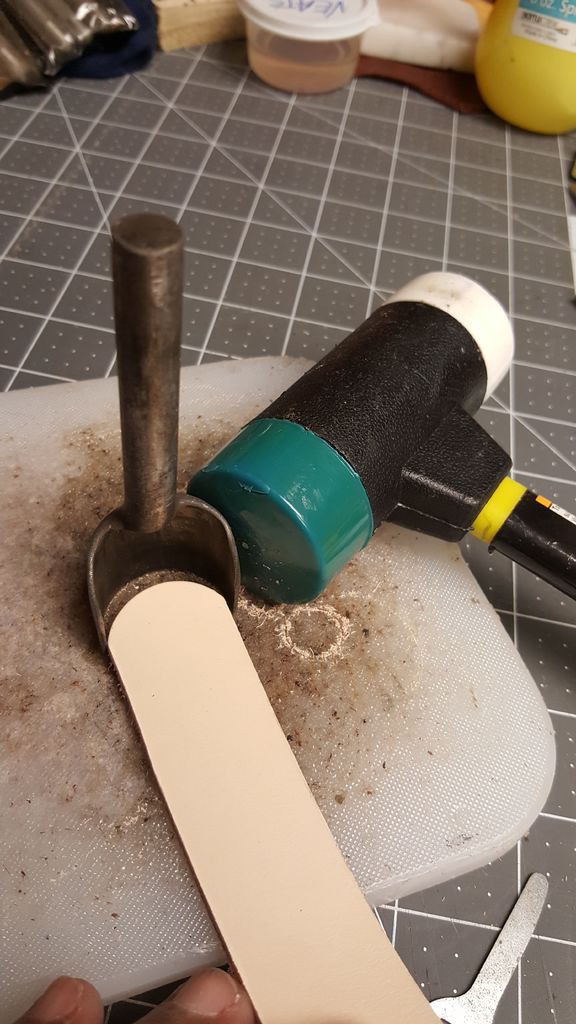
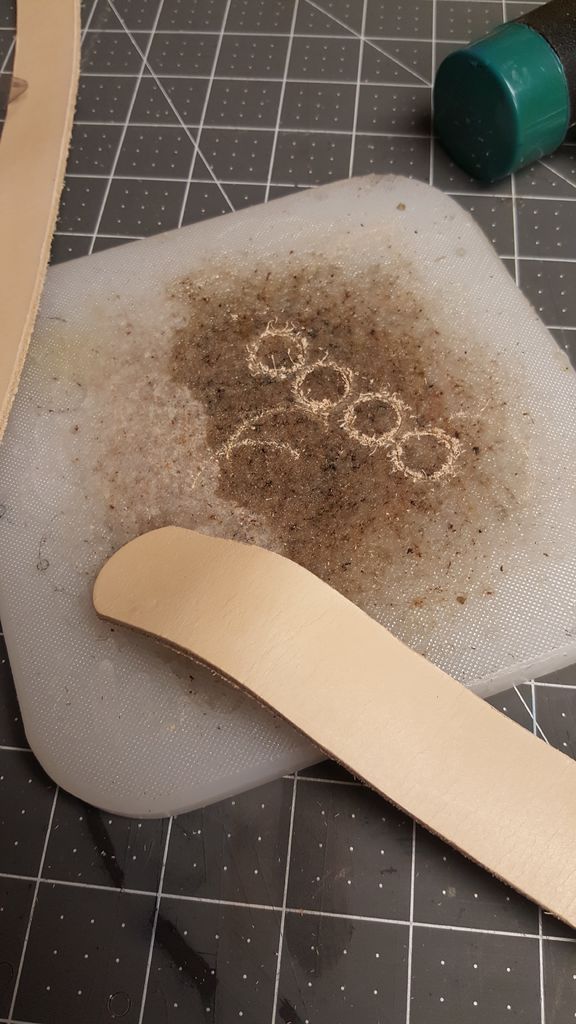
After gluing the square rings in place, I punched a hole so that I could attach the ring to the bag via a copper rivets. Because the cooper rivet will be going through the body of the leather, and will be stress points when carrying the the bag. I decided to add a leather washer to the rivet, to ensure the leather does not stretch in those areas (The leather washer was made by using the largest hole punch I had and punching several holes. See pic 5 and 6.)
Next up, sewing up the bag.
Step 11: Sewing Up Your Bag

Sewing up the sides of the bag is pretty straight forward. I will start with the right side. Using leather weld glue, apply glue down the entire length of the right side of the bag. Once the glue is tacky, bond the two sides together, and mark your stitching holes 1/4" from the edge of the bag. Sew the right side of the bag up with a saddle stitch. Once the right side is sewn together, move to the left side of the bag and repeat the above step.
Your bag is nearly complete and ready for the finishing touches.
Step 12: Finishing Touches

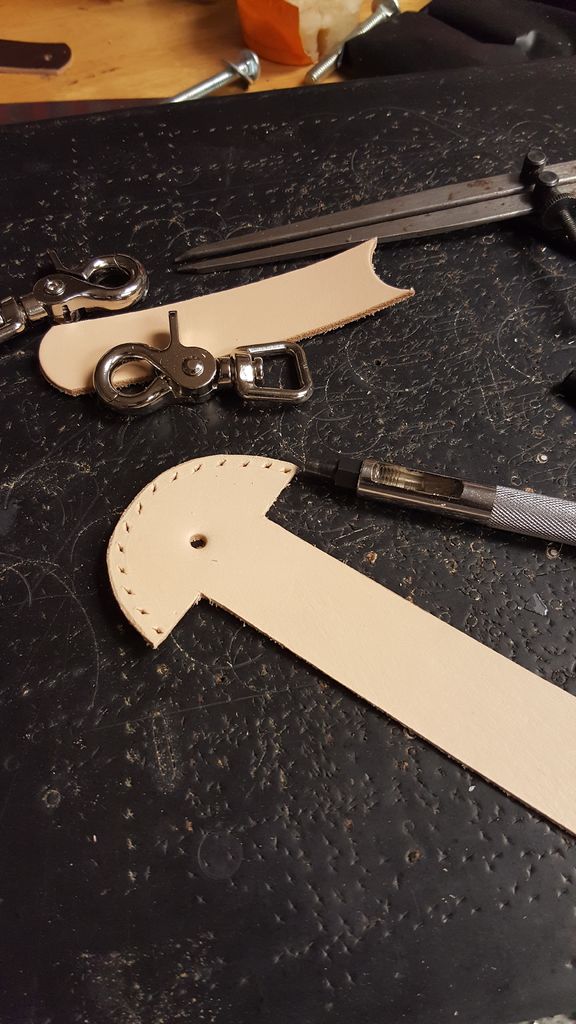


Closure
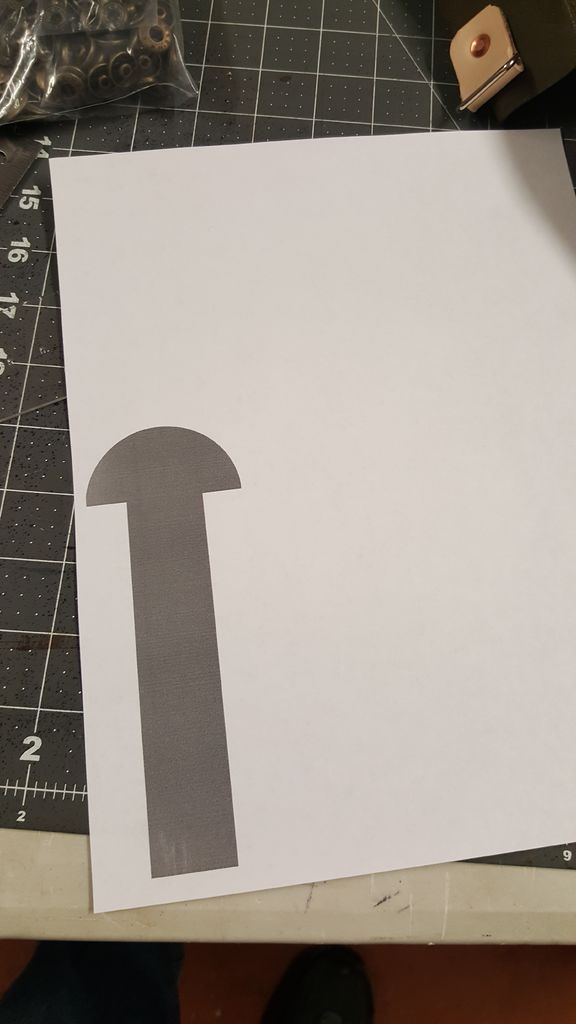
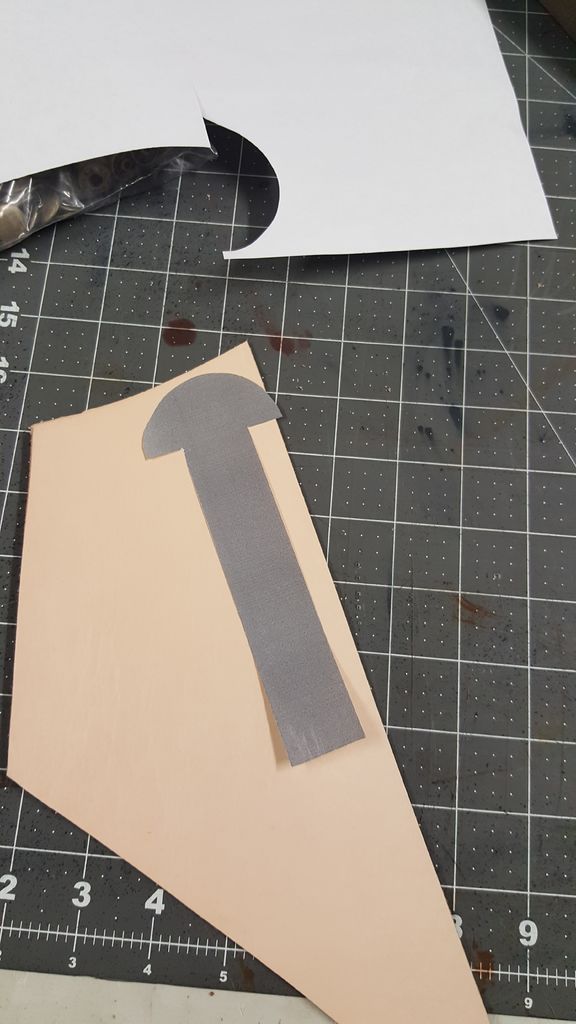
Next I need a way to keep the bag closed. I designed a strap on the computer and printed it out to use as a template. Using scissors, I cut out the template, placed it on a scrap piece of vegetable tanned leather and traced around it. I then carefully cut out the design in leather.
I will stitch this piece to the bag, as well as attach with a copper rivet, ensuring the closure can handle any stress place upon it. (See pic 5)
Adjustable Strap
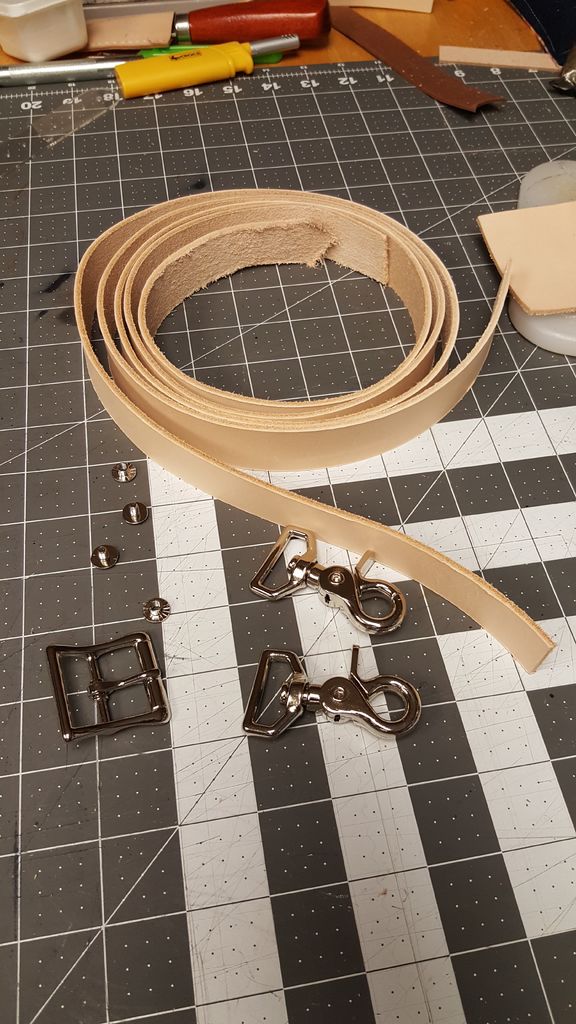
I want to be able to use this bag as a cross body bag, and as well as a back pack so I will make an adjustable strap for it.
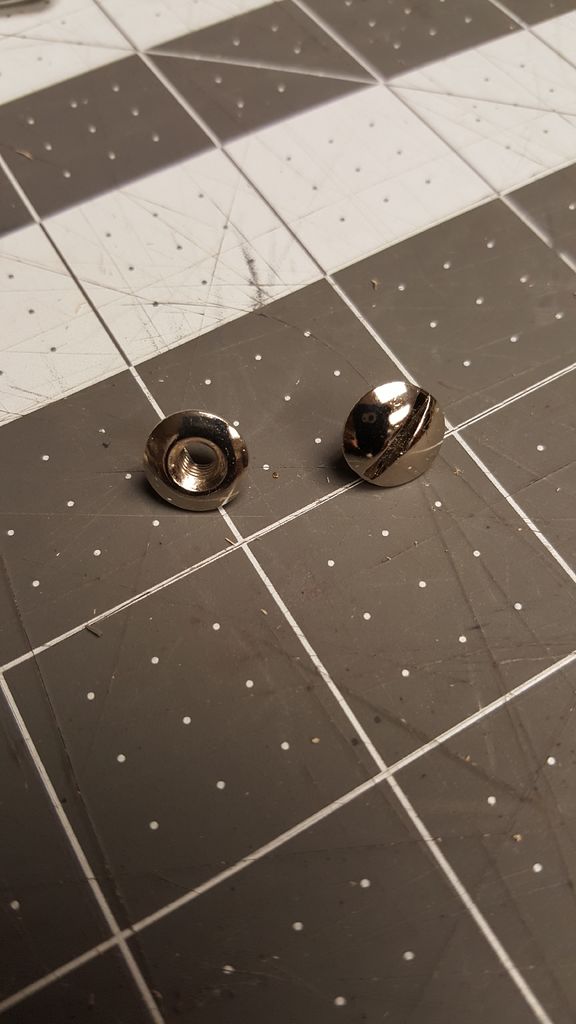
I will need two 1" straps, 2 trigger snaps, a 1" buckle, and two Open back screw posts.
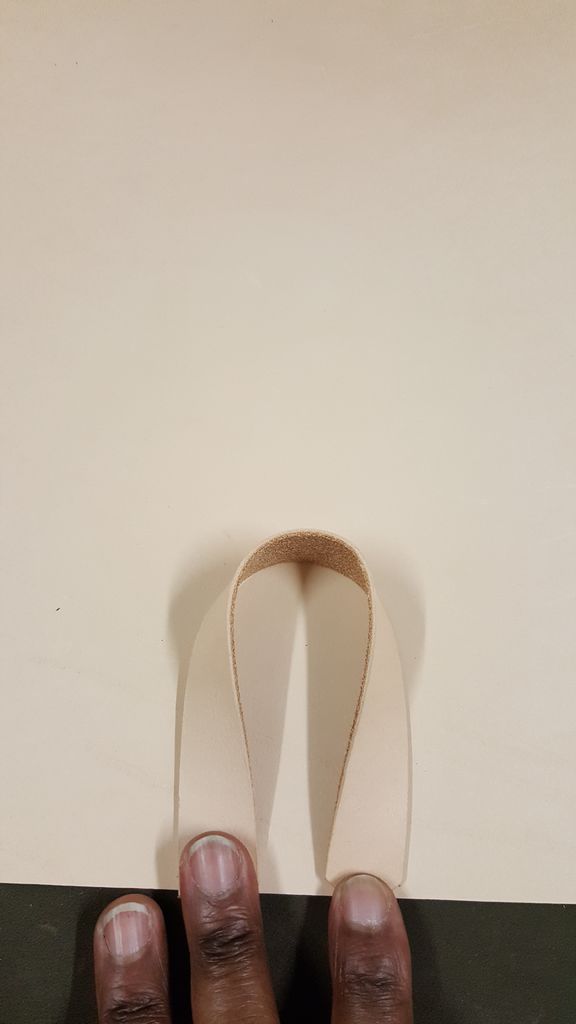
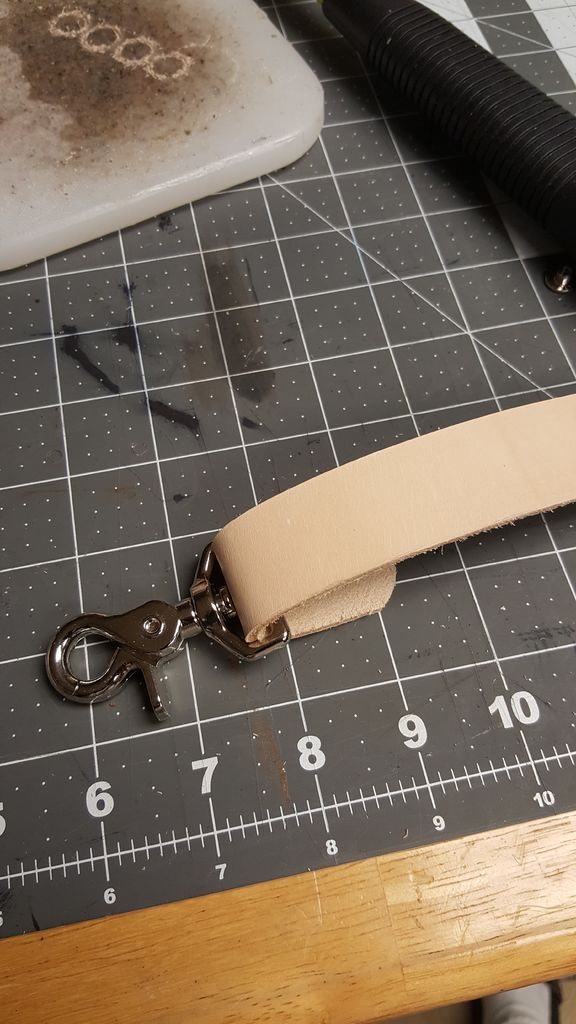
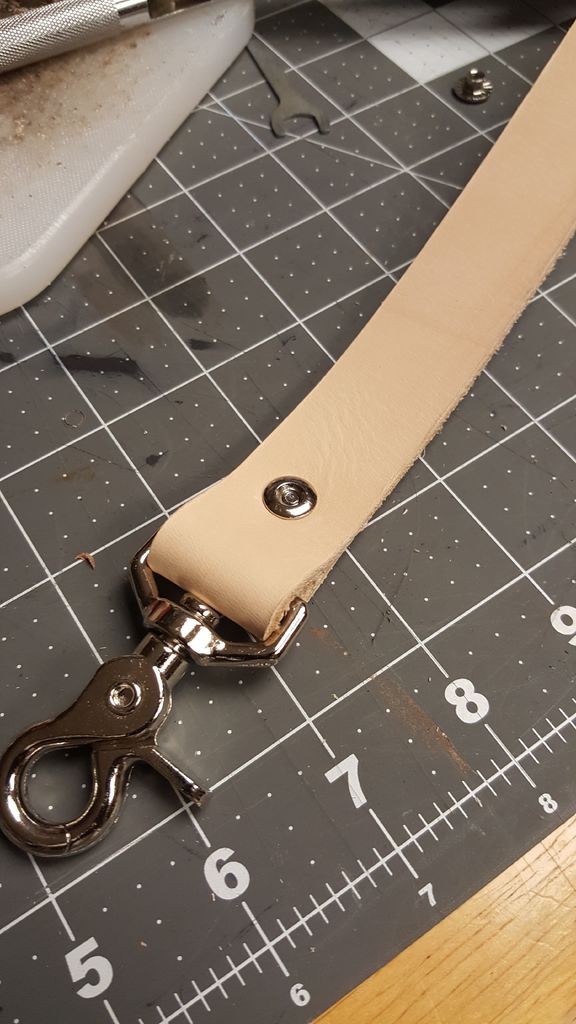
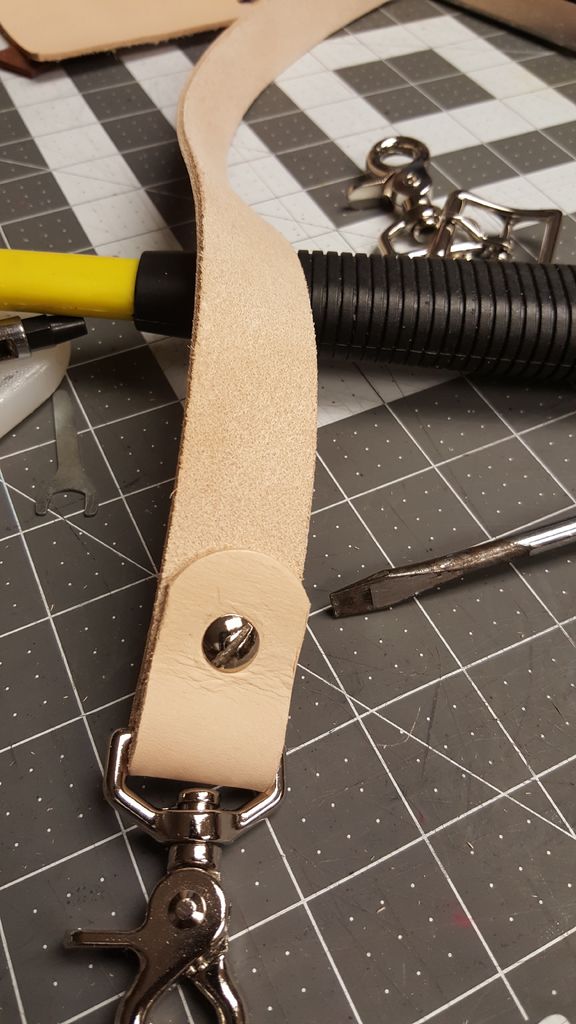
Take one end of one of the straps, and fold it over at about the 1.5" mark. Slide the trigger snap over the leather strap, punch a hold in both pieces of leather, then secure it with an open back screw. Take the other end of the strap and fold it over at the 2" mark. Using a oblong punch, punch out the center of the fold to accommodate the buckle. Insert the buckle, and secure in place with an open back screw post. One half of your adjustable strap is complete.
Take the other 1" strap and fold it over at the 1.5" mark. Slide the trigger snap over the strap, and secure in place with an open back screw post. take the other end of the strap and measure and mark with an awl, 1" increments from the end of the trap, until you reach 6 inches, using a hole punch, punch out each of the 6 marks. You have now completed the remaining part of the adjustable strap.
Attach to your bag, you bag is now finished!!
Step 13: Finished Photos of the Bag.
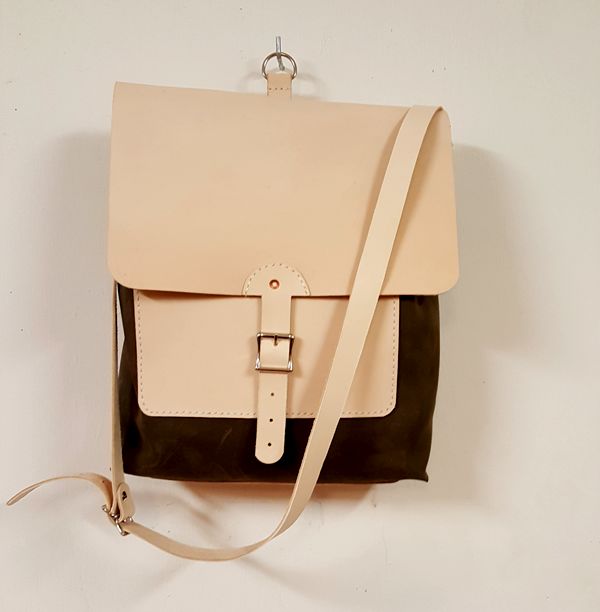
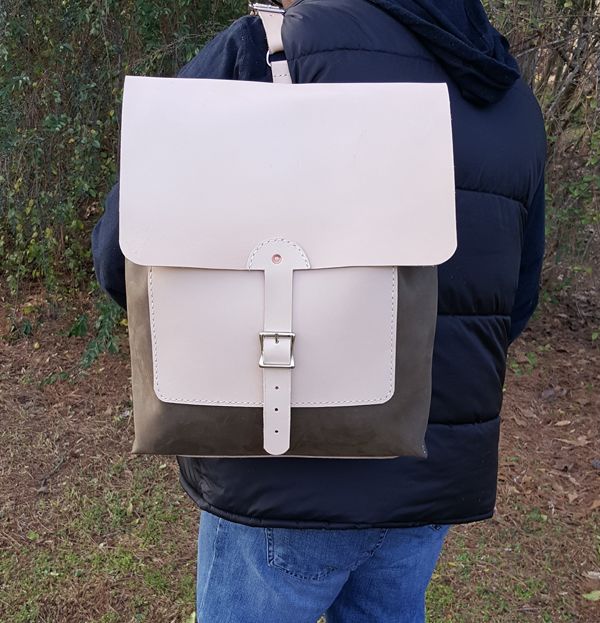

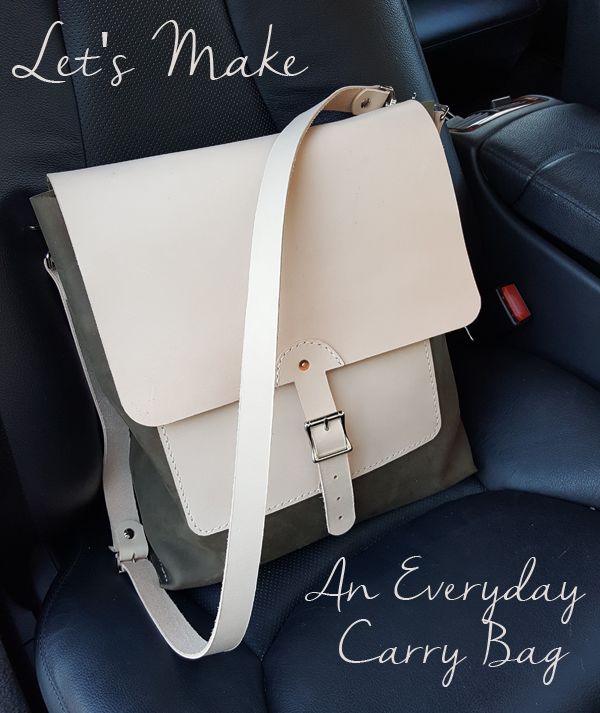
The Finished Bag!
The bag can be carried as a cross body bag or a backpack. To use as a back pack, undo the buckle on the adjustable strap, and thread the strap end through the top Dee-Ring. Reattach the buckle, and clip the trigger snap to the bottom ring holders. Your bag is now in backpack mode.
The straps under the bag can be removed and replaced very easily. Remove them when moving about through the city, replace them when traipsing through the great outdoors.
I hope you enjoyed this Instructable, and thank you again for taking the time to read it.