NICOLA BAG
FINISHED SIZE: 8 1/2” WIDTH X 10” HEIGHT X 4” DEPTH (APPROX.)
图纸
http://www.exiaodian.com/pattern/314
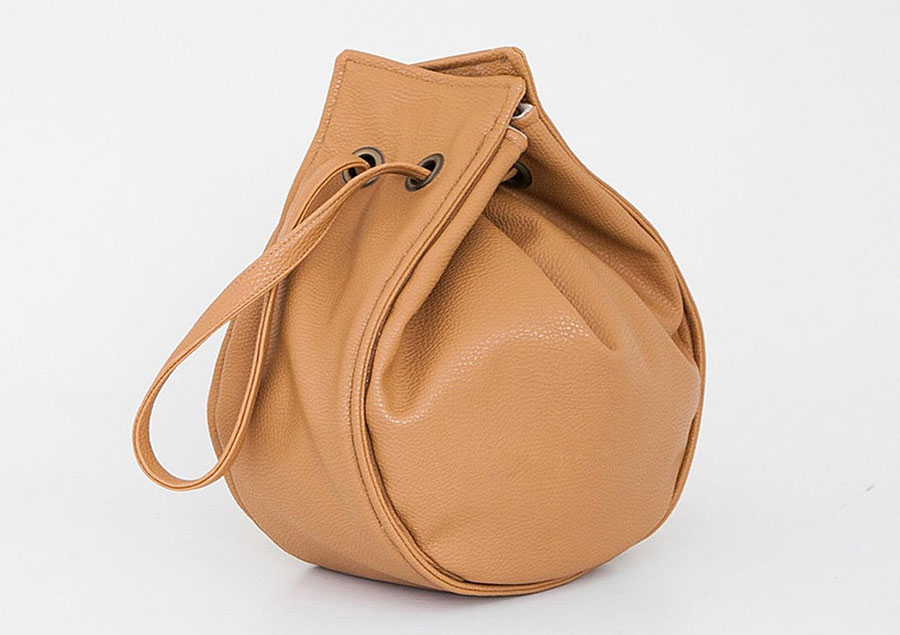
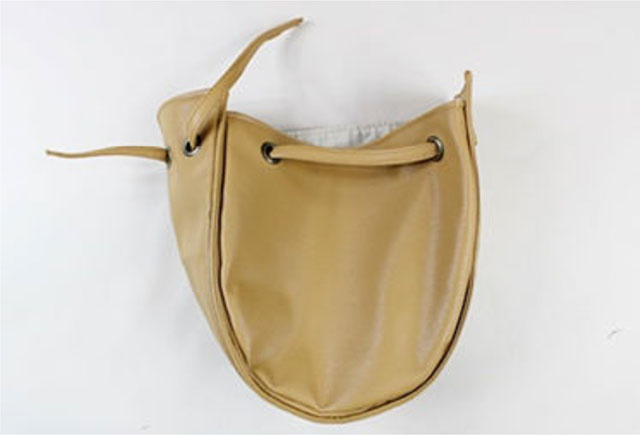
The Nicola Bag is an adorable drawstring purse with a simple and modern designed pattern. The extra outer gusset attached to the bag creates a refined and finished outcome, perfectly designed for the minimalists. With a unique yet essential bag, this piece can be a great companion for any outings! With its roomy interior and useful pockets, the Nicola Bag has been structured to conveniently store belongings. It is recommended to make the bag with faux leather or heavy weight fabric that can accentuate the stout design. The simplistic design allows you to quickly finish this bag within a few hours! Start this wonderful bag today!
Make the Exterior
1 Place the exterior gusset pieces with the right
sides together. Stitch the shorter edge, backstitching on both ends.
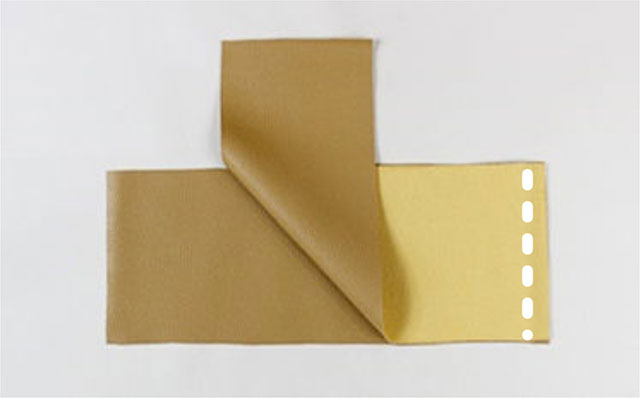
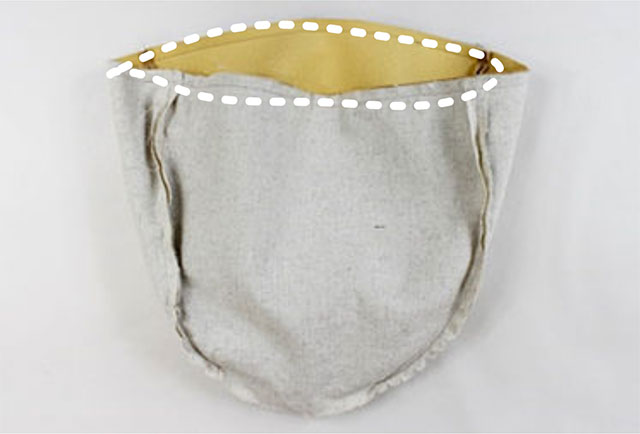
2 Place the assembled gusset piece onto the exterior front piece with right sides together,
matching the center and both ends.
Pin, matching the rest of the points and stitch together, backstitching on both ends. Clip the gusset seam a little, while stitching together, it will ease the process when stitching.

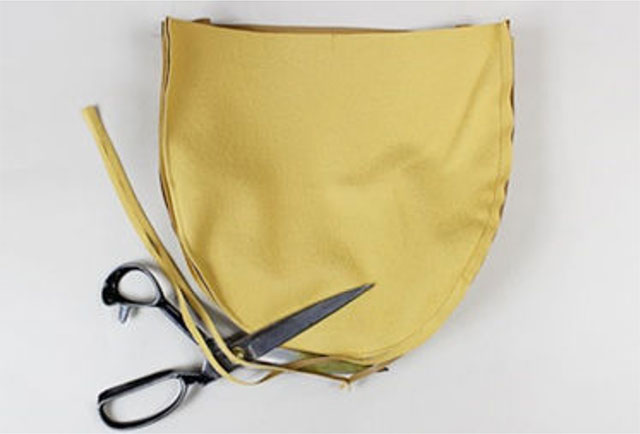
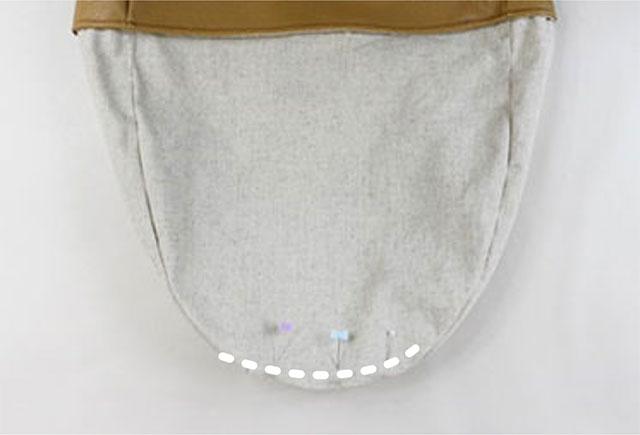
3 Attach the back piece in the same manner. Trim the seams (clip the curved seams if using fabric).
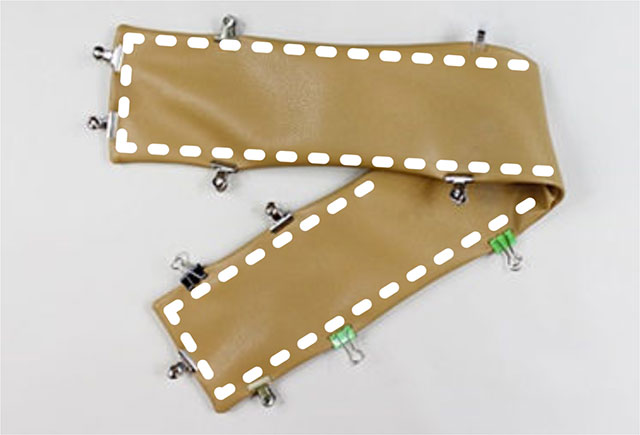
4 Place the outer gusset panel with the right sides together. Pin and stitch all around the
gusset piece, leaving a 4” opening, backstitching on all ends.

5 Trim all four of the corners of the assembled outer gusset panel.
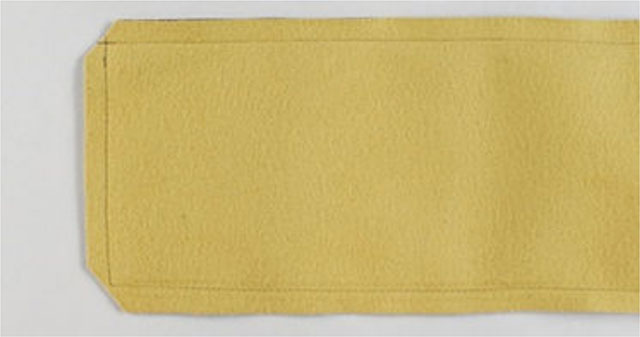
6 Turn the outer gusset panel right side out. Tuck in the opening seam and topstitch all
around the outer gusset panel piece 1/8” away from the edge. Backstitching on all ends.
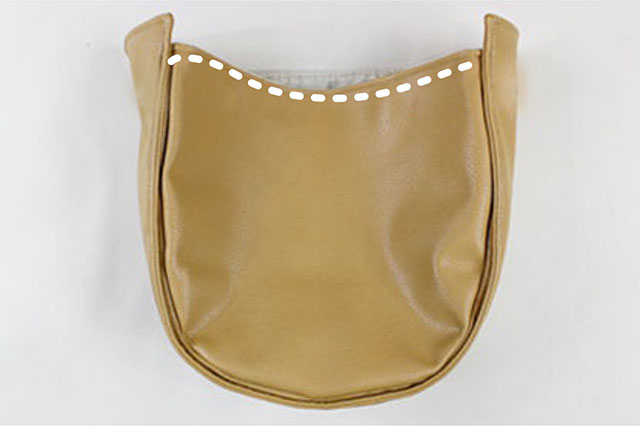
7 Place the assembled gusset panel piece onto the assembled exterior bag piece matching the
center and point A. Pin and stitch the gusset piece onto the bag piece following the previous topstitch line from a point A to the other. Repeat this step for the other side of the gusset. Tip: Use fabric glue or clip to hold the leather in place.

Make the Lining
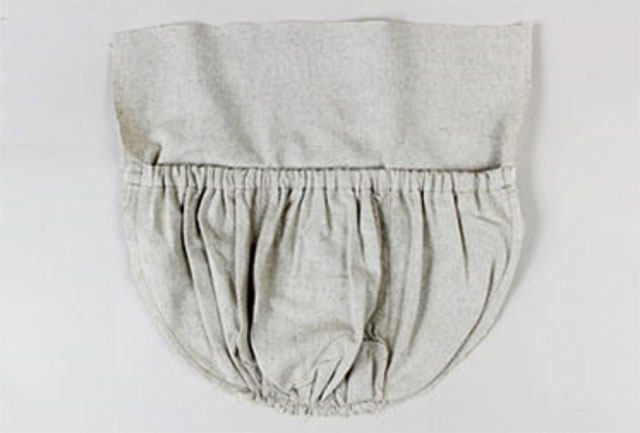
1 Make elastic pocket. See Appendix A, Make the Elastic Pocket.
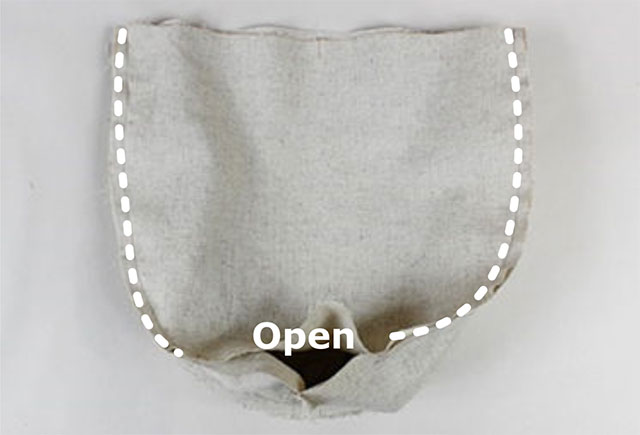
2 Repeat steps 1 to 4 on ‘Make the Exterior’ to assemble the lining bag. Leave a 6” gap for turning the bag right side out.
Assemble the Bag
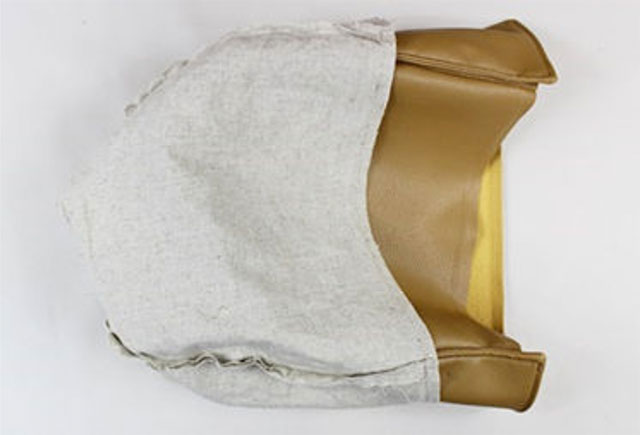
1 Press the exterior and lining seams open. Turn the assembled exterior bag right side out. Tuck
the exterior into the lining with right sides together.
2 Pin and sew the top opening of the exterior and lining pieces. Make sure to tuck the outer gusset panel piece into the lining so that it won’t be sewn together. Backstitch on both ends. Trim the corner seams. Clip the round seams.
3 Turn the bag right side out through the opening. Stitch the opening closed.
4 Tuck the lining into the exterior (press the top opening of the bag when using fabric). Topstitch
around the opening 1/8” from the edge. Make sure not to topstitch the outer gusset piece to the bag.
Make the Straps
1 Assemble the eyelets as indicated on pattern. See Appendix D, Assemble the Eyelet.
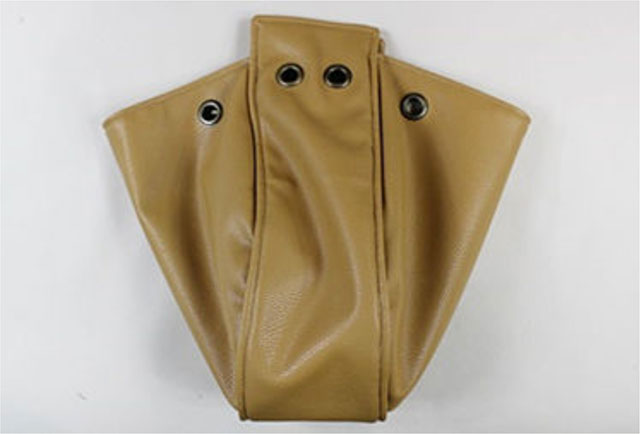
2 Make the leather strap. See Appendix B, Make the Leather Strap. Or make the fabric strap See
Appendix C, Make the Fabric Strap. Insert them through the eyelets, starting from one side of the gusset and make sure the strap ends come through the bag as shown on picture.
3 Then overlap the strap’s ends, before stitching them together make sure the strap is not
twisted. Sew them together multiple times backstitching both ends. Then tuck in the sewn ends into the bag so it does not show when used.

抽绳包