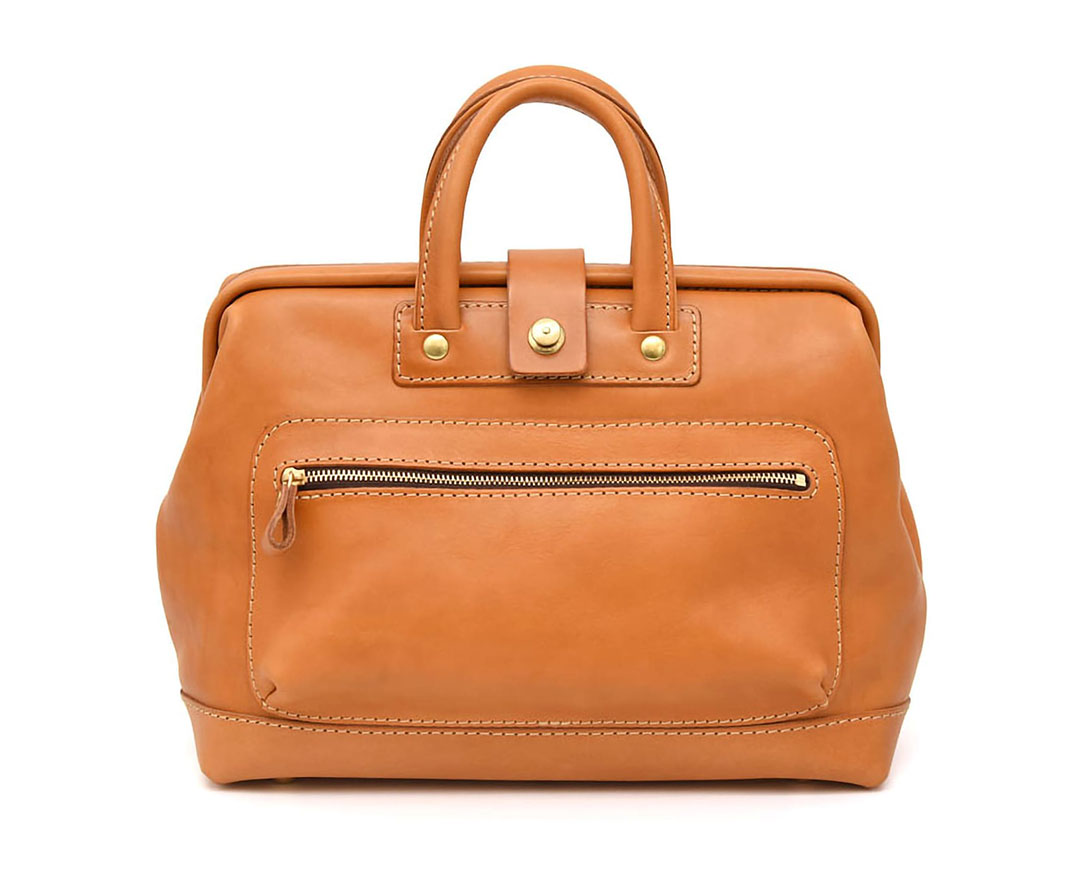
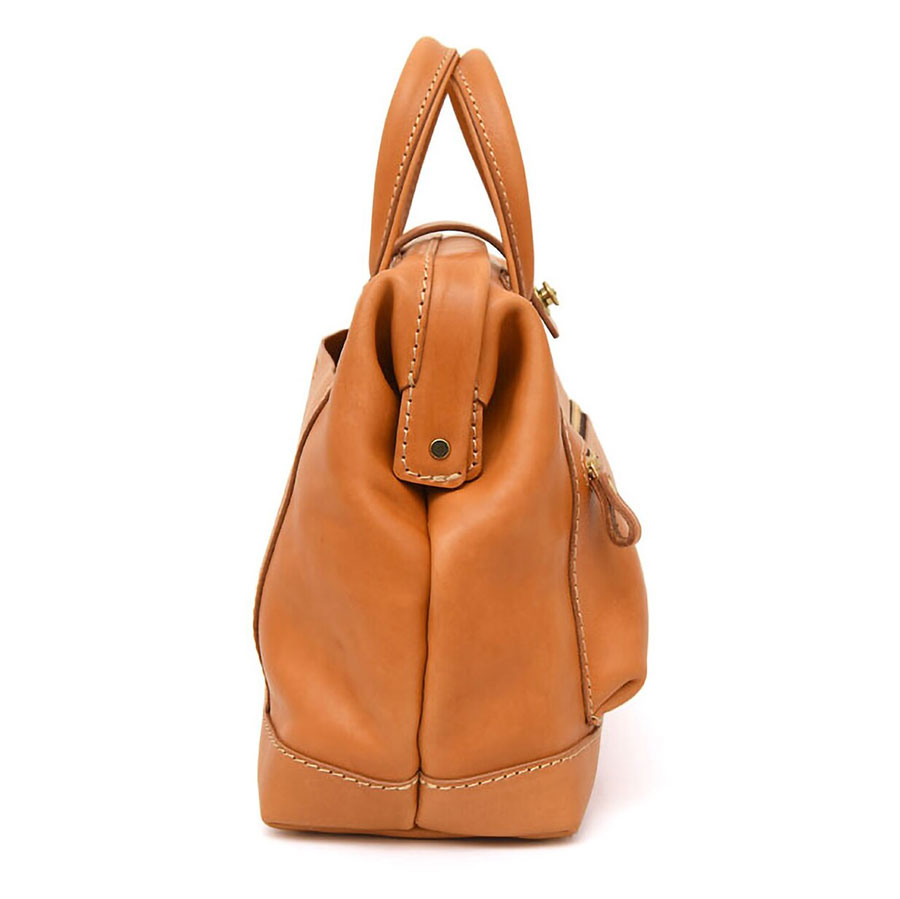
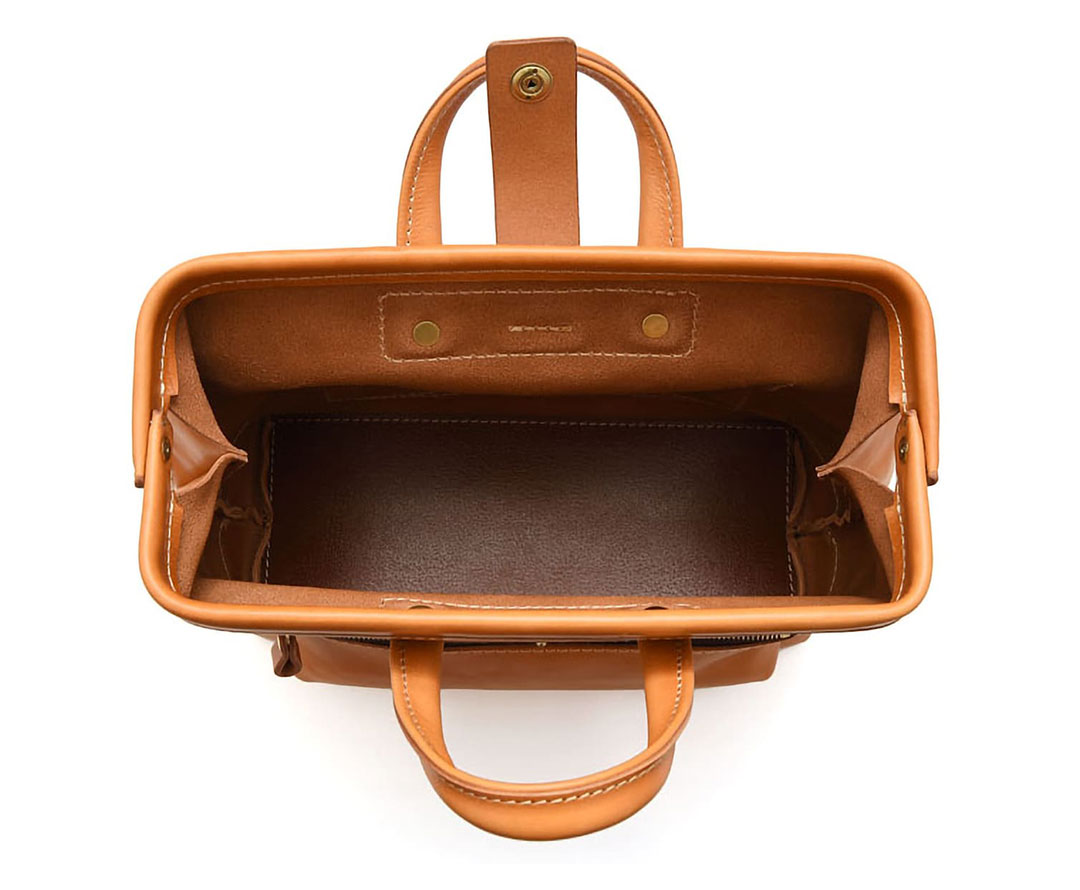
成品图


HERZ官网产品页https://www.herz-bag.jp/webshop/products/detail226.html
- Step 1: sew the zipper pocket A03 to the marked position on the main body panel A01
- Step 2: sew the back pocket A04 to the marked position on the main body panel A01
- Step 3: sew the two pieces A01 to the bottom panel A02 in the order: A01 + A02 + A01
- Step 4: make the mouth of the bag. The leather piece A07 is to cover the metal clip at the mouth of the bag, cover the metal clip with the leather piece A07 and glue it
- Step 5: sew the two parts of the mouth of the bag to the top edge of the bag body, sew along the punched hole marked on the pattern of the A01 panel
- Step 6: make the two bag straps. Fold the A08 panel along the blue dashed line, fold it into 3 and sew along the marked stitching line on the pattern
- Step 7: attach the mushroom screw to the A06 panel and sew the A06 panel to the front body panel A01. Then attach the bag strap to the 2 oval holes at position A06 and install the rivet.
- Step 8: sew piece A09 to piece A05 and sew piece A05 to the back panel A01
- Step 9: install the remaining bag strap into the 2 holes of A05 and install the rivet
- Step 10: finally, we make a reinforcement plate for the bottom of the bag using pattern plate A10. This is a separate plate, not sewn to the bag, you can use any material as long as it is strong enough and insert it into the bottom of the bag to make the bottom of the bag more sturdy.
So you have completed this bag!
百度翻译
-第一步:将拉链口袋A03缝到主体面板A01上的标记位置
-第二步:将后袋A04缝到主体面板A01上的标记位置
-第三步:将两片A01按顺序缝到底板A02上:A01+A02+A01
-第四步:做袋口。皮革件A07用于覆盖袋口的金属夹,用皮革件A0七覆盖金属夹并粘合
-第五步:将袋口的两部分缝合到袋体的顶部边缘,沿着A01面板图案上标记的冲孔缝合
-第六步:制作两条包带。沿蓝色虚线折叠A08面板,将其折叠成3,然后沿图案上标记的缝线缝合
-步骤7:将蘑菇螺丝连接到A06面板上,并将A06面板缝到前车身面板A01上。然后将包带连接到A06位置的2个椭圆形孔上,并安装铆钉。
-步骤8:将件A09缝到件A05上,并将件A05缝到背板A01上
-步骤9:将剩余的包带安装到A05的2个孔中,并安装铆钉
-步骤10:最后,我们使用图案板A10为袋子的底部制作一个加强板。这是一个单独的盘子,没有缝在袋子上,你可以使用任何材料,只要它足够坚固,并将其插入袋子的底部,使袋子的底部更加坚固。
你已经完成了这个包!
行李包


