免费教程 • 26 天前 • 暂无回复
免费教程 • 63 天前 • 暂无回复
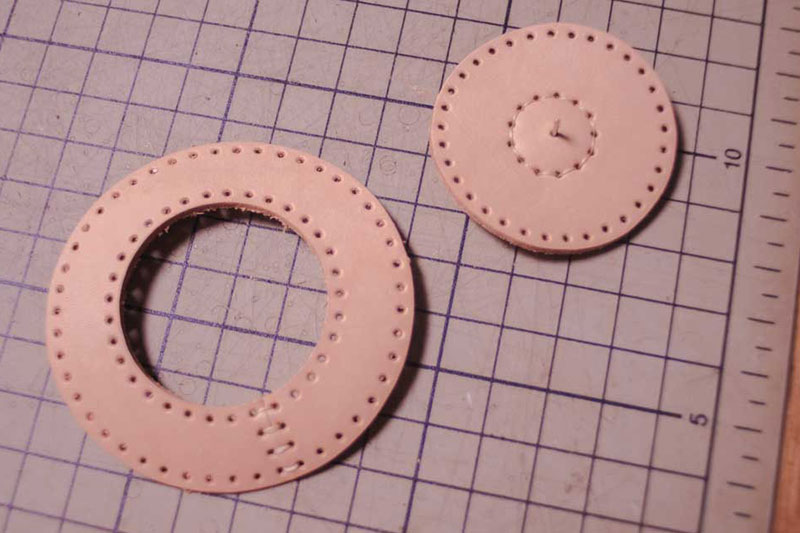
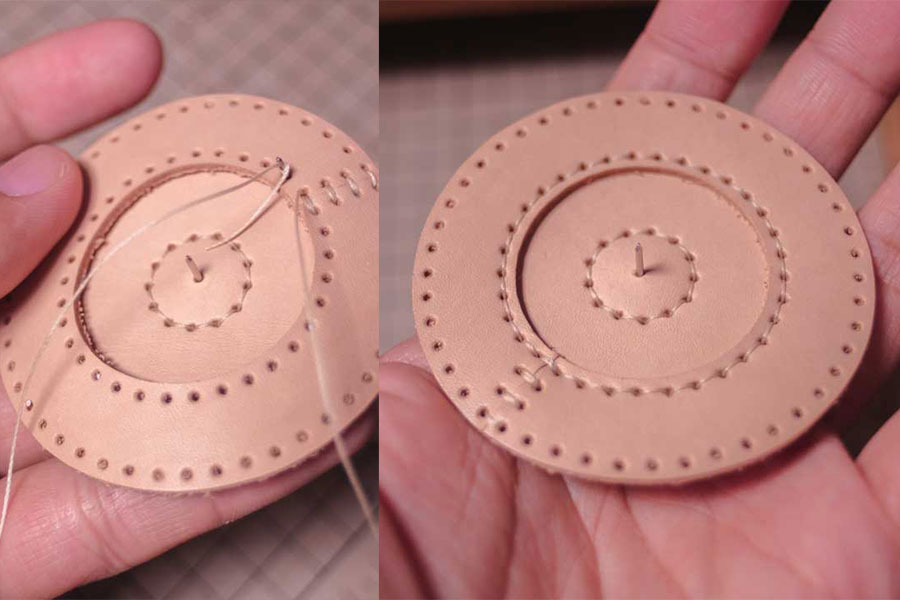
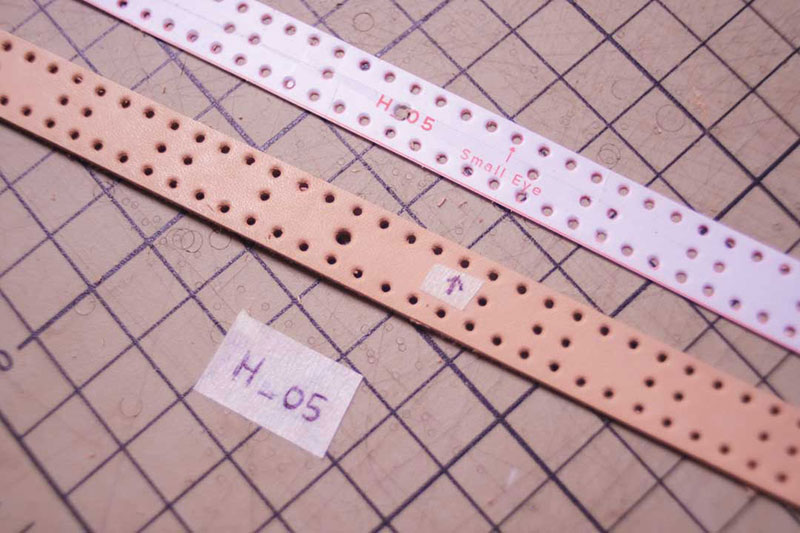
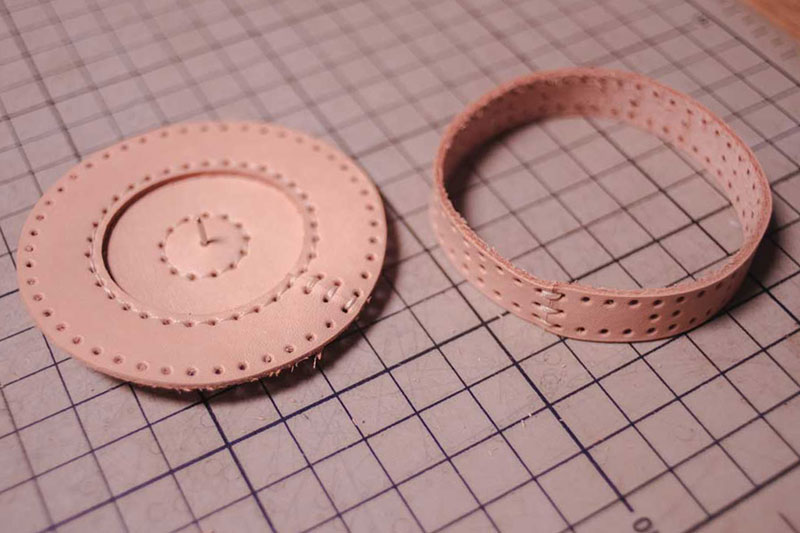
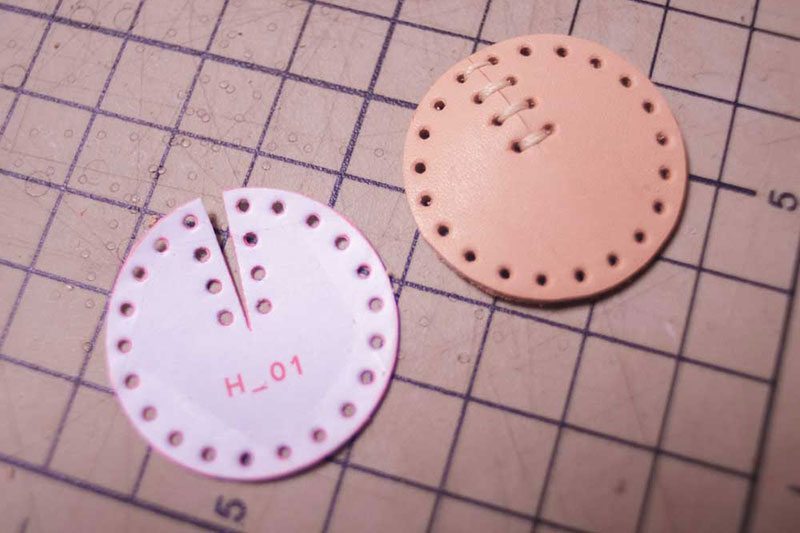
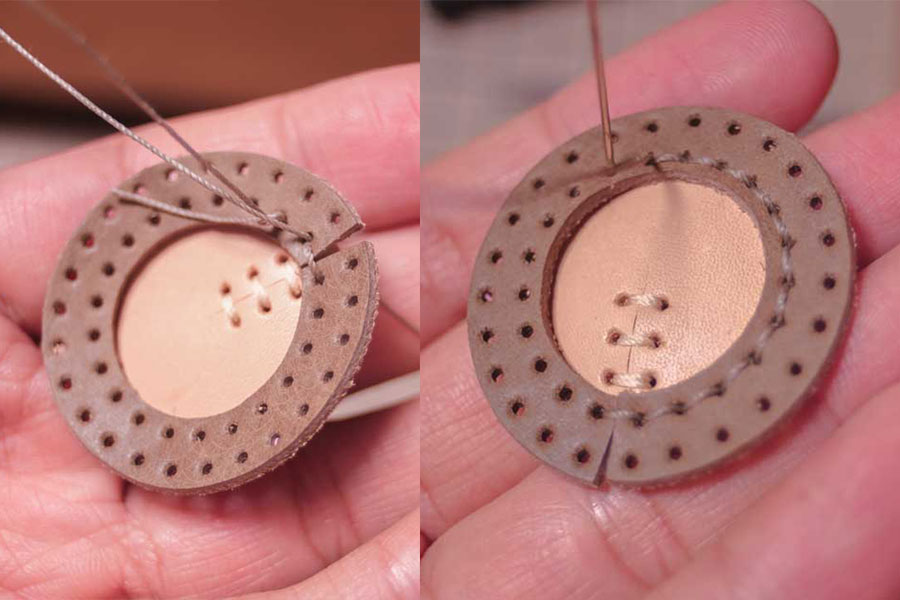
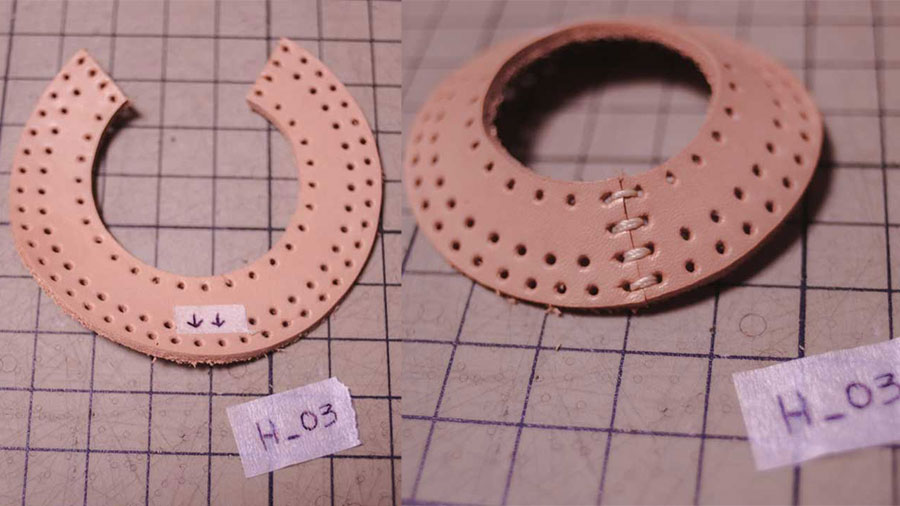
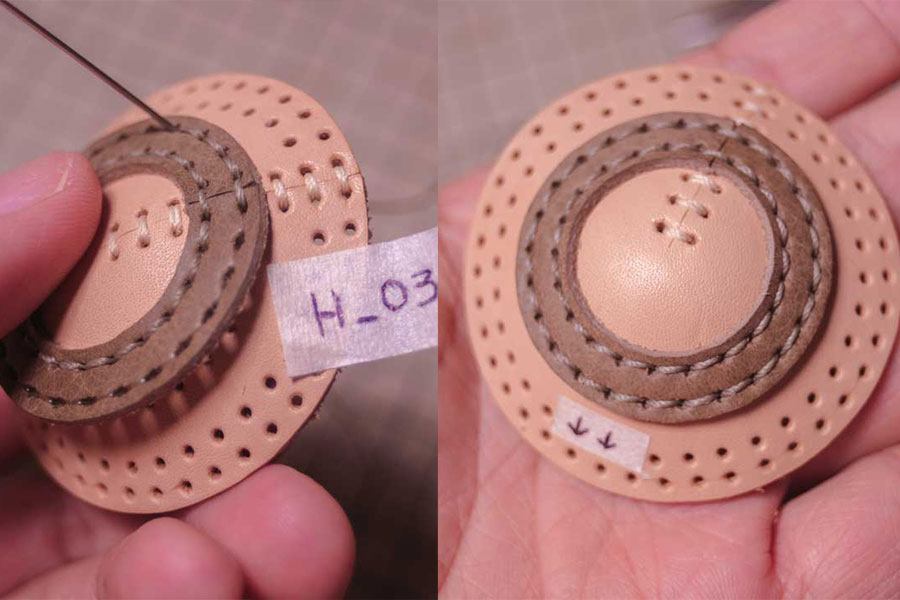
以下是头部制作教程
12 天前
红茶决斗是用中国红茶吗?
红茶文化源远流长,起源于中国明朝福建武夷山,以正山小种为鼻祖,后经海上丝绸之路传入欧洲,衍生出英国下午茶等全球性文化传统,并形成祁门红茶、利川红等地域特色品种。
历史起源与发源地
中国明朝诞生:1567-1610年间,福建武夷山桐木关茶农意外发明正山小种红茶(因军队压茶发酵后松柴烘干得名),成为世界红茶鼻祖。
文献佐证:明代刘基《多能鄙事》首次记载“红茶”一词,1610年荷兰东印度公司首次将正山小种运往欧洲。
全球传播与文化影响
欧洲贵族化:1662年葡萄牙凯瑟琳公主将正山小种作为嫁妆带入英国宫廷,推动其成为上流社会象征,衍生出“下午茶文化”(民谣“当时钟敲响四下时,世上的一切瞬间为茶而停”)。
命名渊源:因厦门出口的武夷茶色泽深黑,欧洲称“Black tea”(黑茶),后成为红茶代称。
文化融合:英国下午茶配司康饼,象征优雅社交。中国文人雅士以红茶伴书,体现静谧生活哲学。 32 天前
维多利亚时代是什么?
维多利亚时代(Victorian era) 指的是英国历史上维多利亚女王在位统治的时期,具体时间为1837年至1901年。
这个时代对英国和整个世界都产生了极其深远的影响。在流行文化中(比如你之前了解到的蒸汽朋克美学),它既代表着极端优雅、繁复的礼仪,也代表着工业革命带来的巨大社会变革。
工业革命与科技井喷
这是人类从传统农业社会彻底迈入近代工业社会的关键时期。
蒸汽重器:蒸汽机得到广泛应用,蒸汽火车、巨型铁甲轮船和纺织工厂彻底改变了生产和出行方式。
科技发明:电报、电话、照相机、白炽灯等现代发明纷纷涌现。这种对蒸汽机械和未来科技的无限崇拜,正是如今“蒸汽朋克(Steampunk)”文化的灵感来源。
绅士淑女与下午茶礼仪
随着资产阶级的崛起,中产阶级开始追求极端的“体面”与“教养”。
繁文缛节:严格的社交礼仪、华丽且层层叠叠的维多利亚服饰(如紧身胸衣、大裙摆、绅士高礼帽)成为身份的象征。
红茶文化:下午茶社交正是在这个时期被发扬光大,成为展示家庭财富和教养的舞台(这也解释了为什么蒸汽朋克里连决斗都要用红茶和饼干)。 32 天前
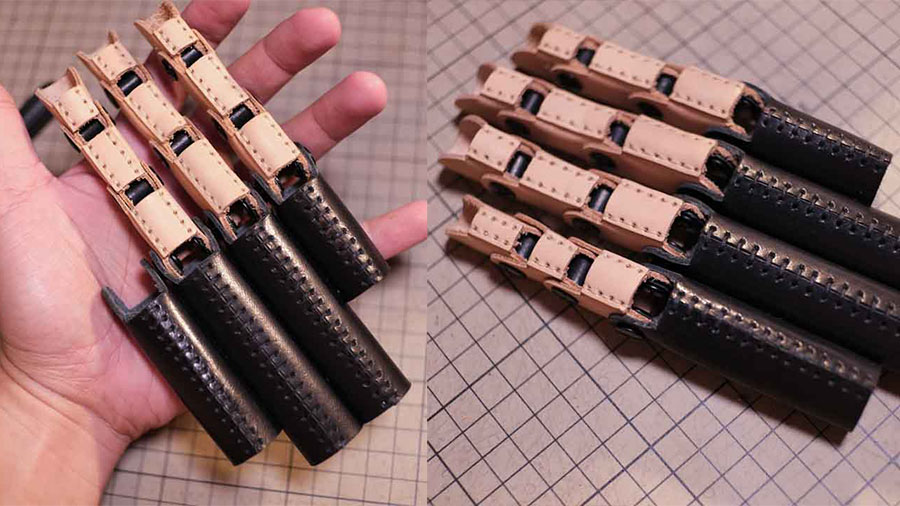
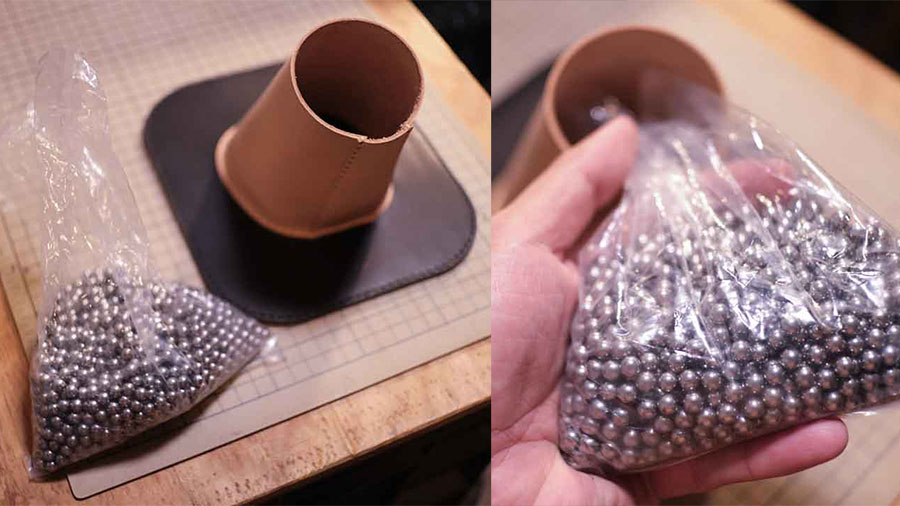
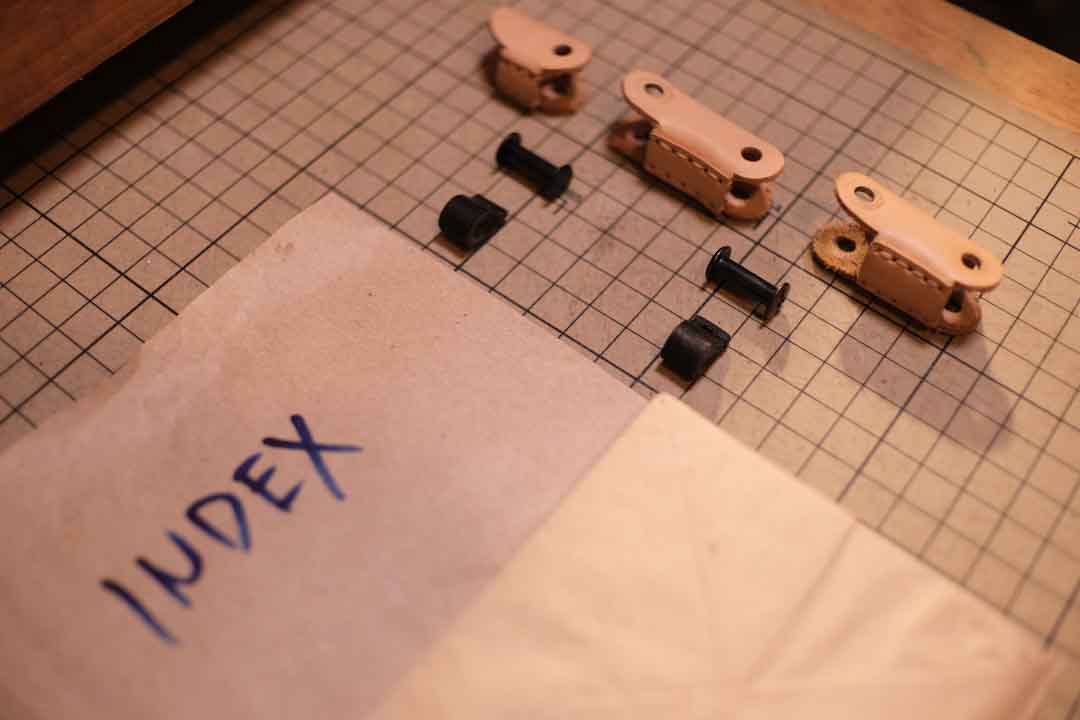
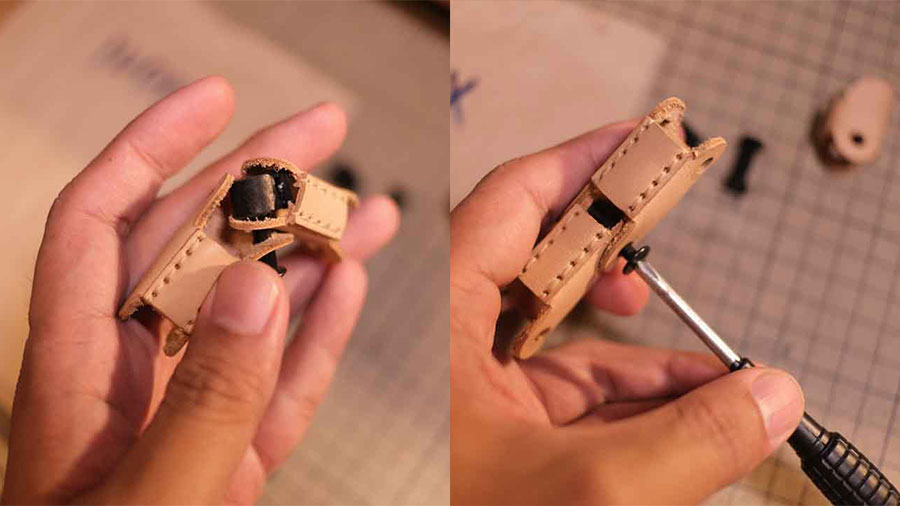
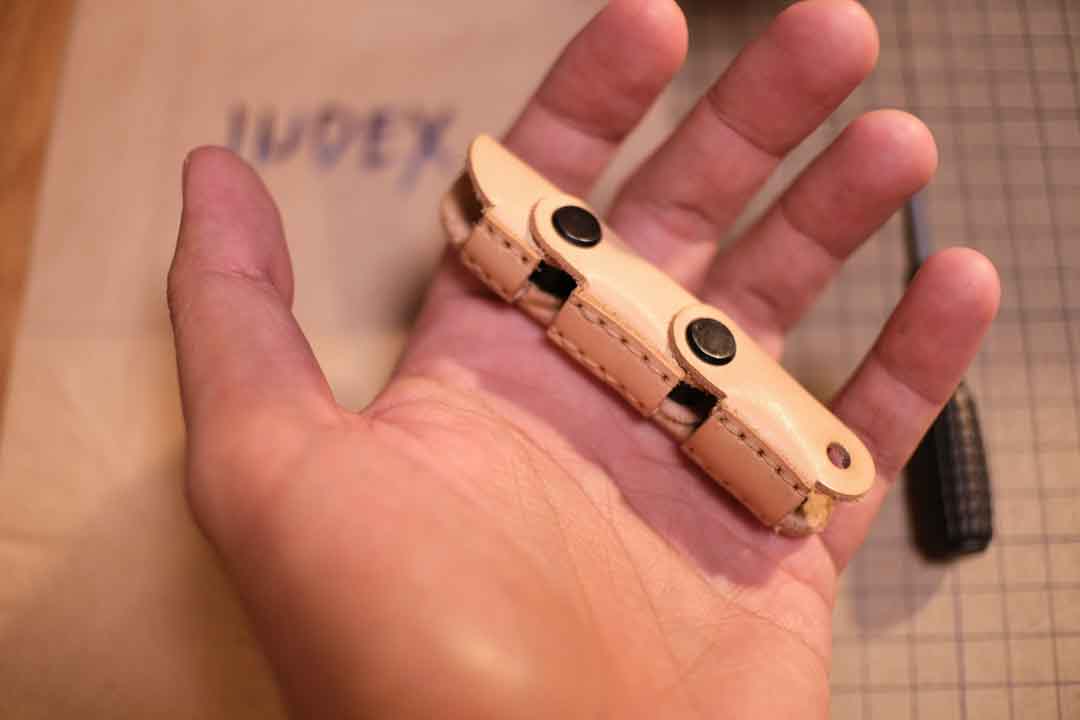
05 - Full Assembly
124 天前
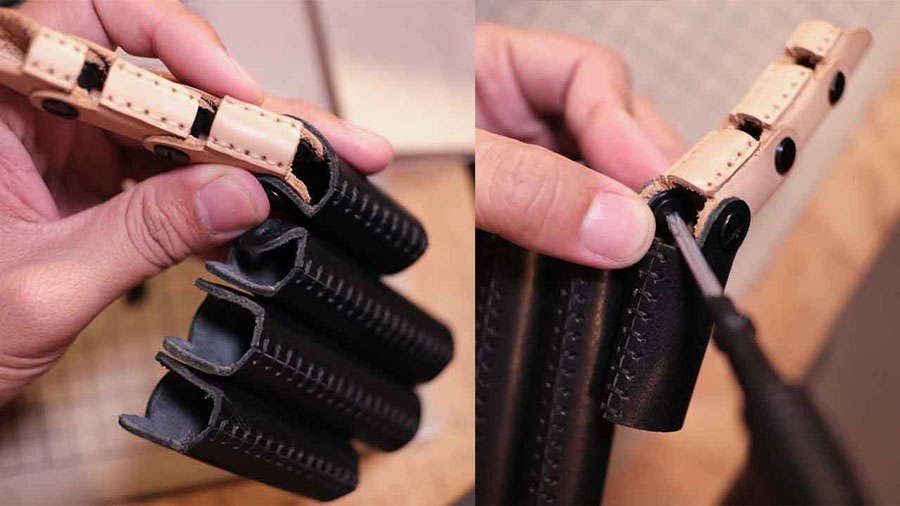
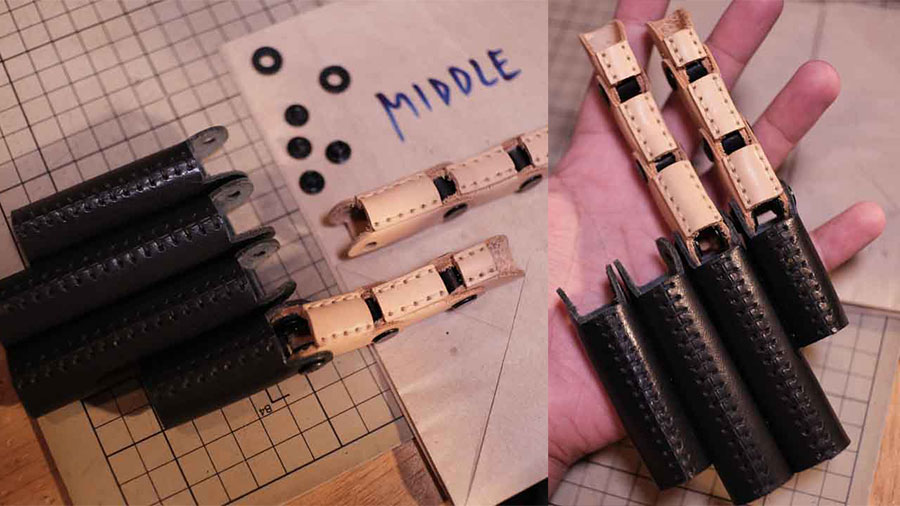
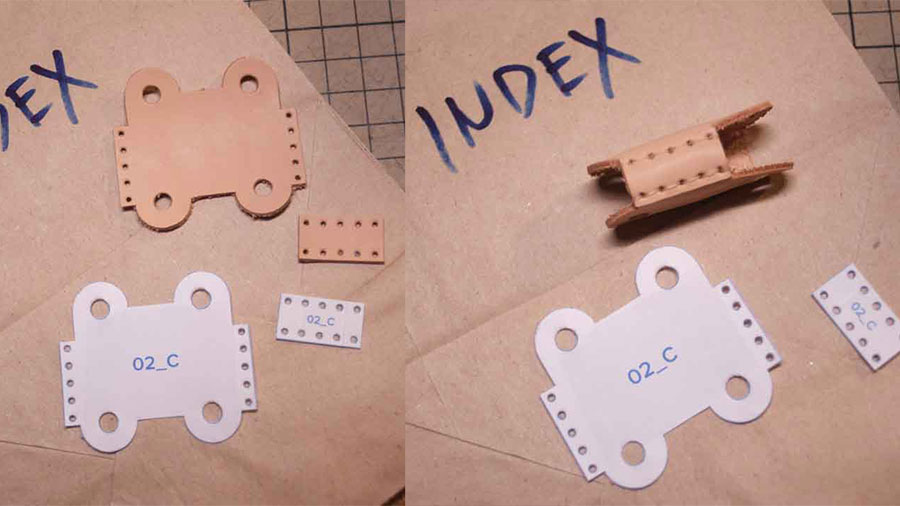
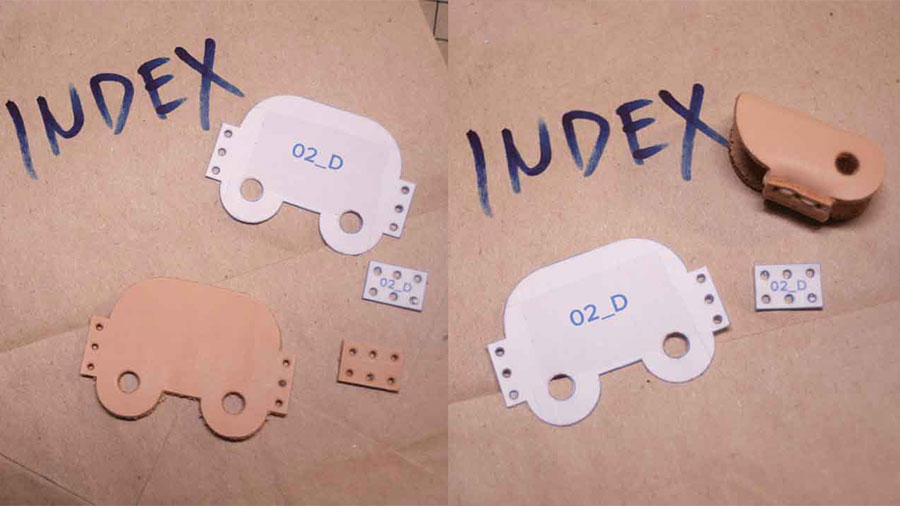
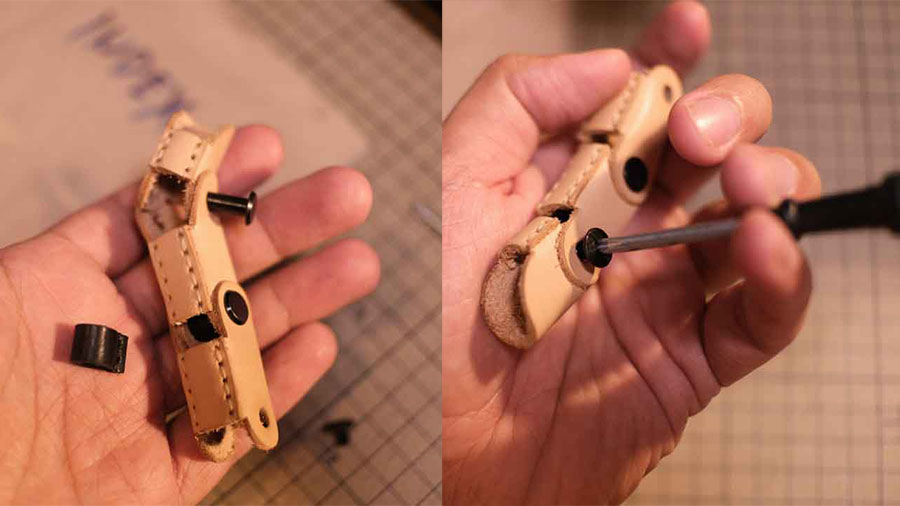
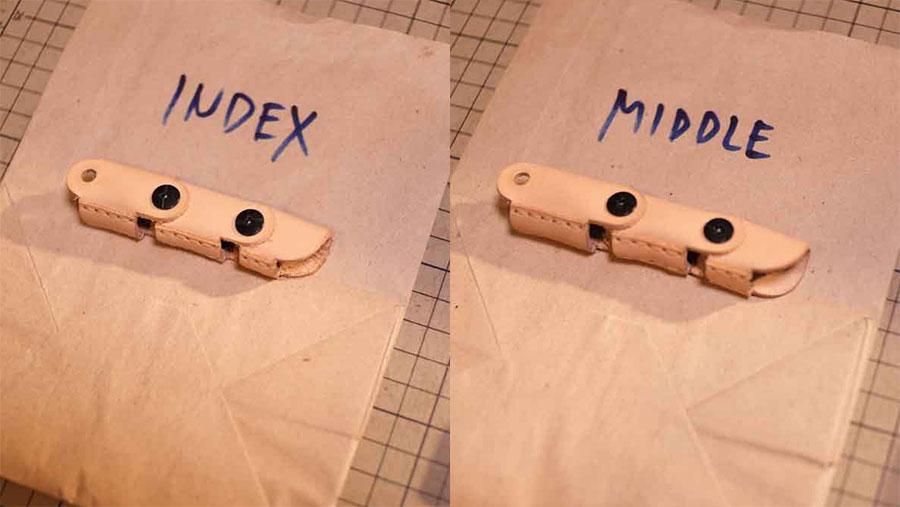
04 - Four Fingers
124 天前