棒球帽图纸http://www.pixiaojiang.cn/pattern/1981
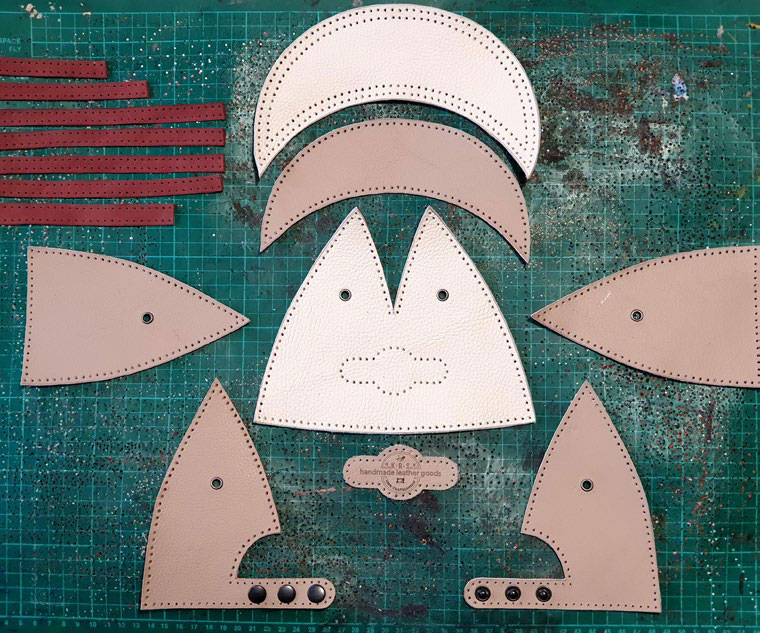
STEP 1
After you cut all the leather pieces, you can start stitching
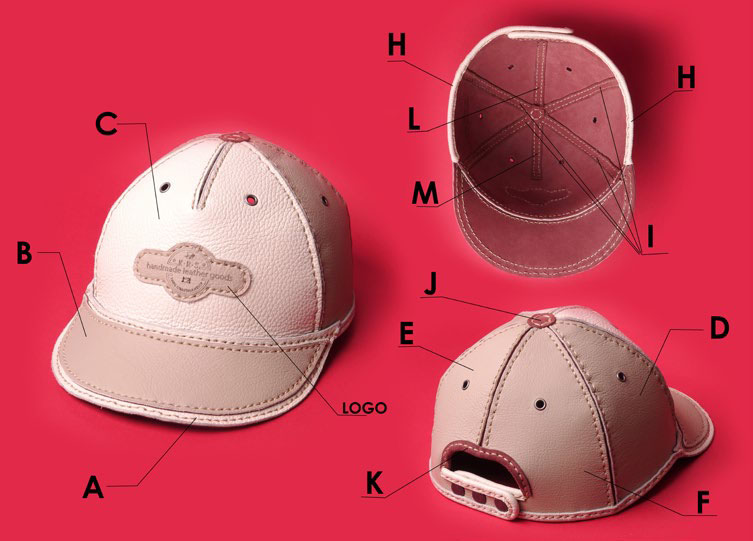
STEP 2
Every piece of the baseball cap is indicated by a letter.Follow the picture
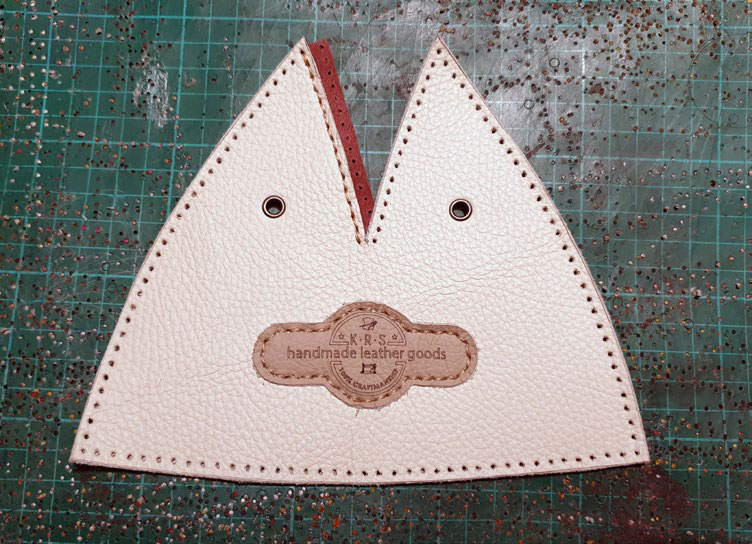
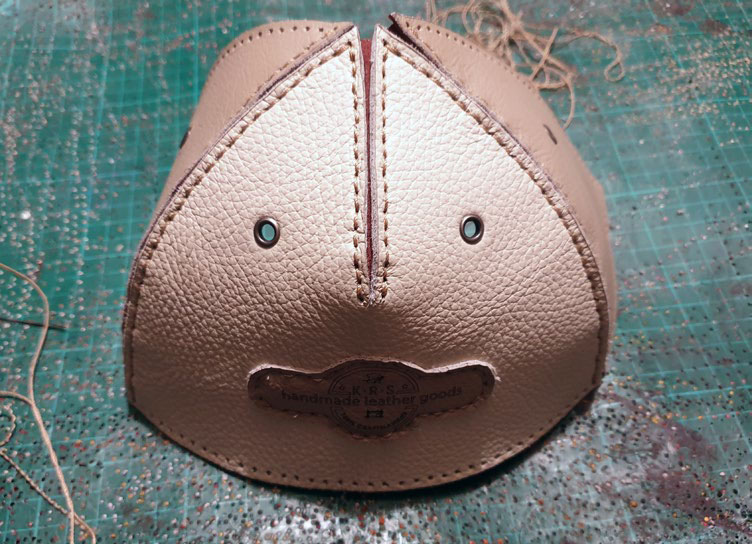
STEP 3
Start with the pieces C and M. Attach and stitch them to- gether and if desired, you can put and stitch your own logo

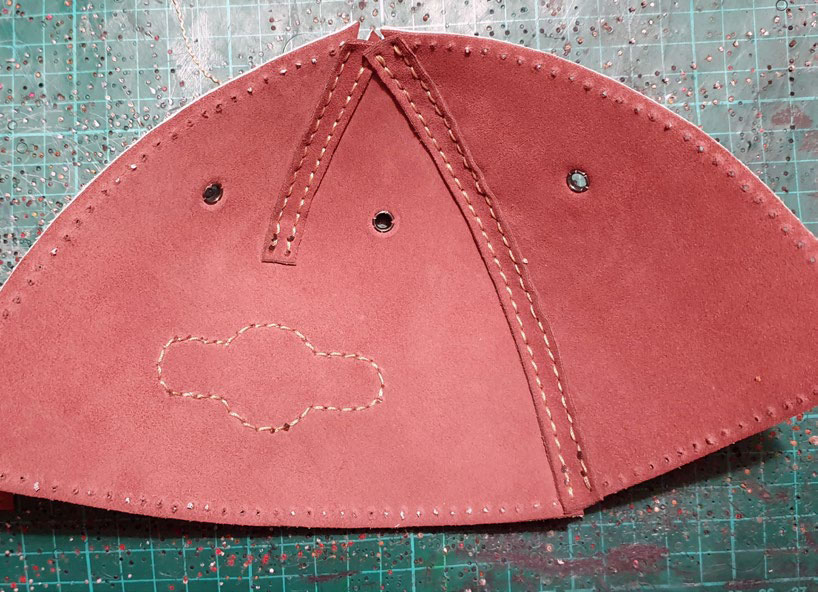
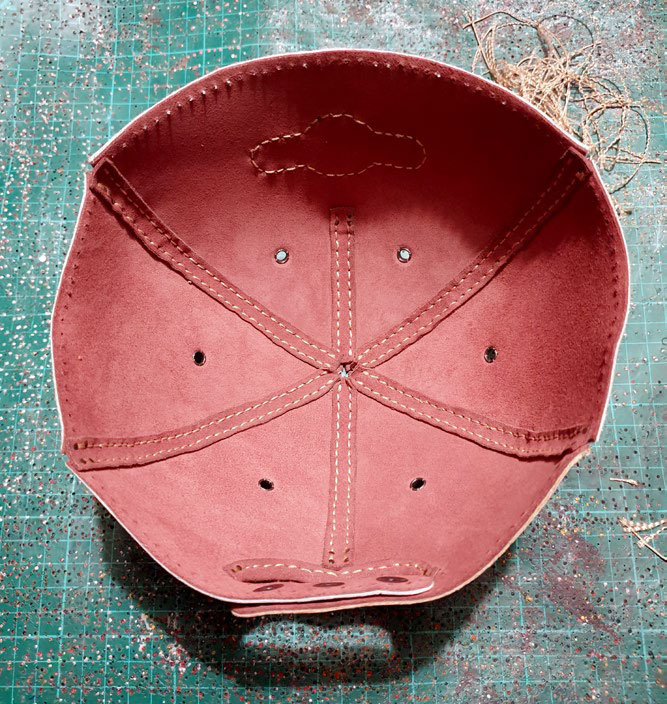
STEP 4
That is what it should look like the piece of STEP 3 on the back.
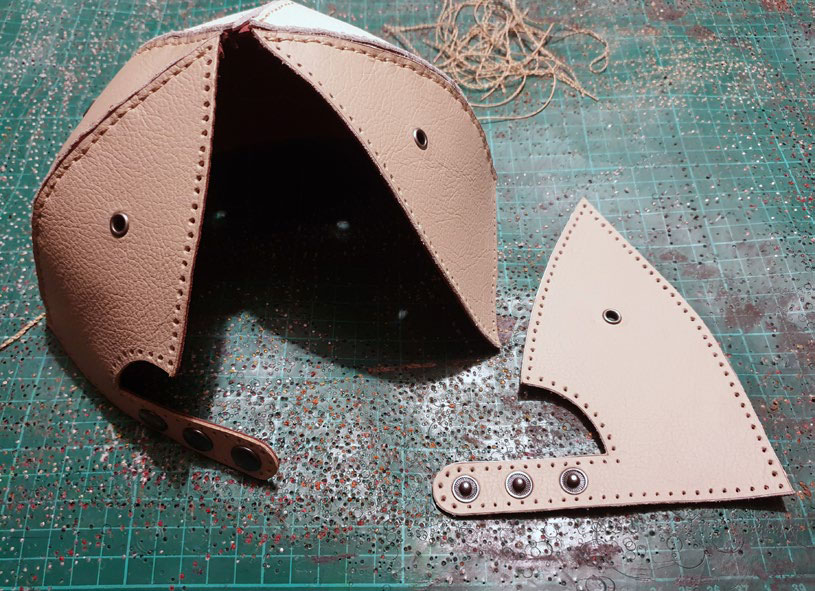
STEP 5
Now you attach the pieces D and I and stitch them to the resulting piece from STEP 4
STEP 6
That is what it should look like the result
STEP 7
Take piece E, F and L and stitch them together. After that stitch it together to the cap.
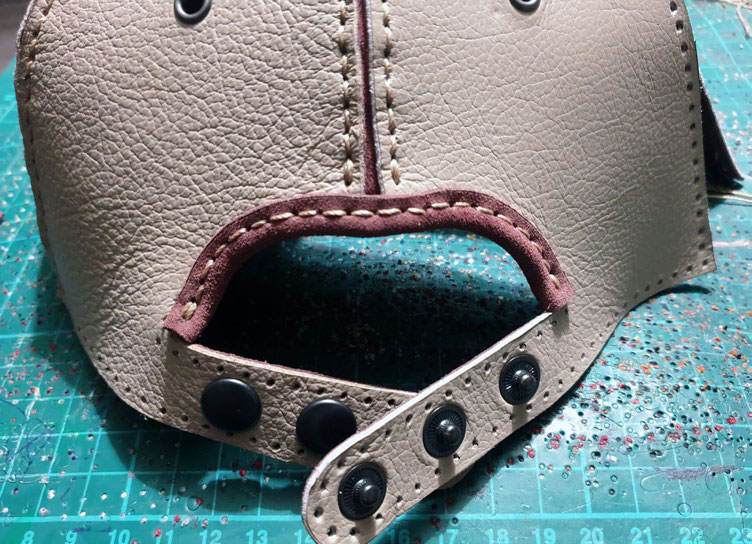
STEP 8
Stitch piece K , as shown in the picture
STEP 9
You are almost ready with the baseball cap, looking like that
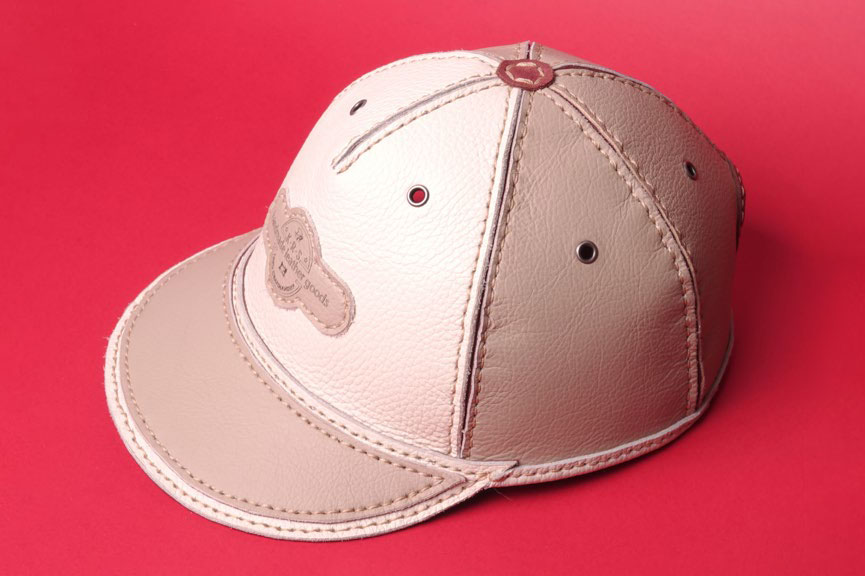
STEP 10
Finally, stitch piece A and B to the cap, after that you stitch the piece J( the small circle on the top) and in the end we stitch pieces H from both sides (left and right) and the baseball cap is ready. Well done!