


MAKE THE ZIPPER PANEL AND
GUSSET
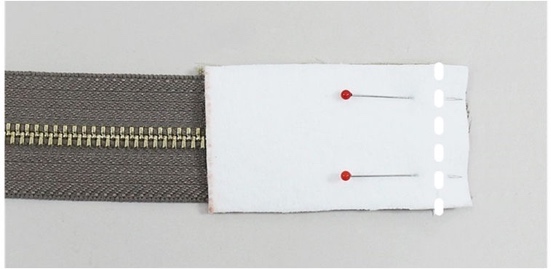
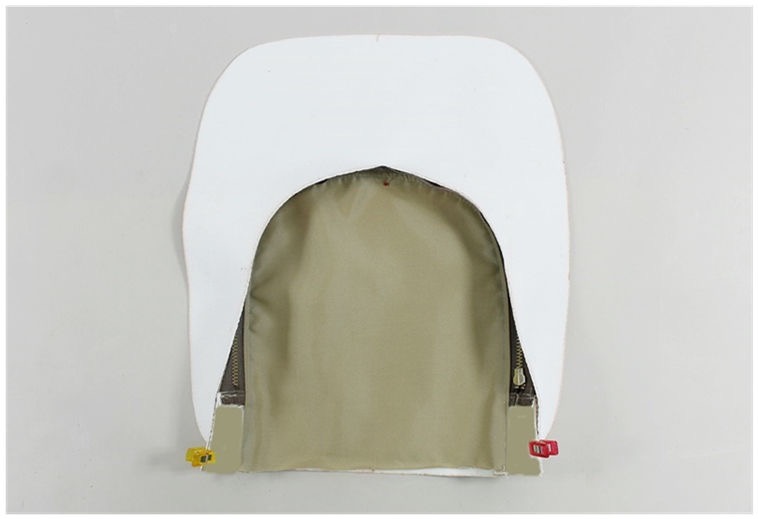
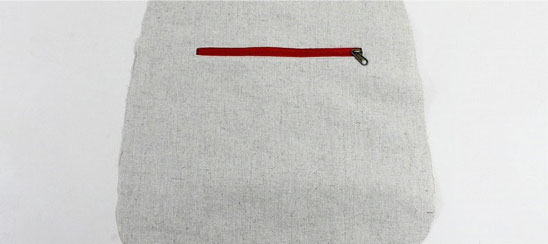
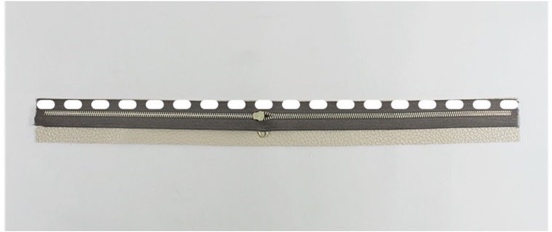
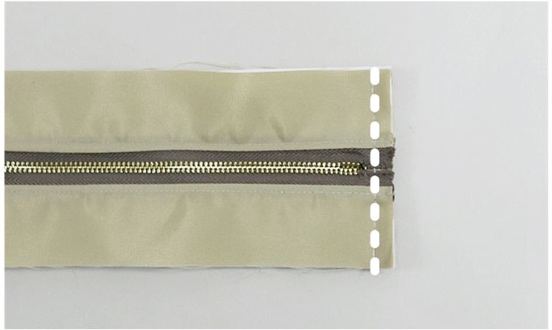
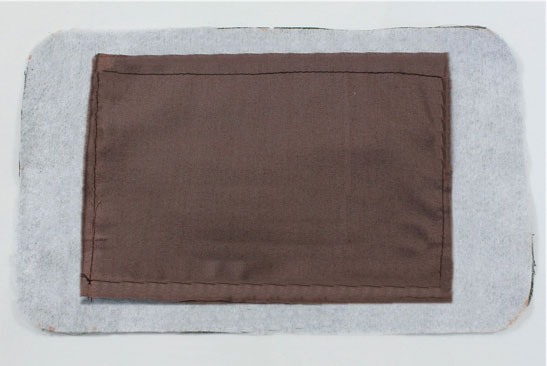
Place the zipper onto the exterior zipper panel with right sides together. You will be able to see the wrong side of the zipper. Measure the width of the zipper coil, and cut off any excess tape after 1/2". Pin the zipper and panel in place. Stitch the two using a zipper foot, sewing close to the tape edge. Backstitch on both ends to secure.
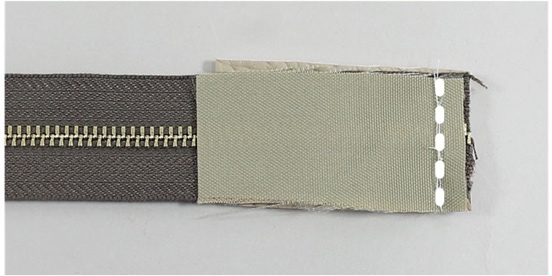
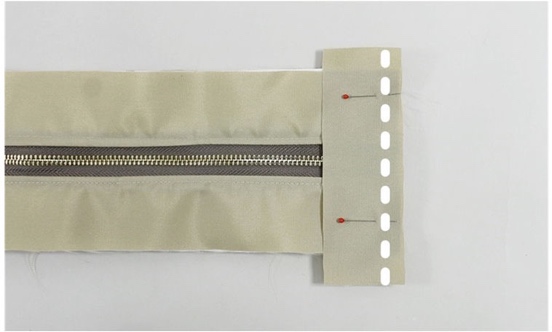
Place the lining zipper panel piece onto the zipper. The right side of the lining piece should be facing the right side of the exterior piece. Pin the lining panel and zipper together. The zipper will now be between the exterior zipper panel and lining zipper panel. Sew the lining close to the zipper coils, backstitching on both ends.

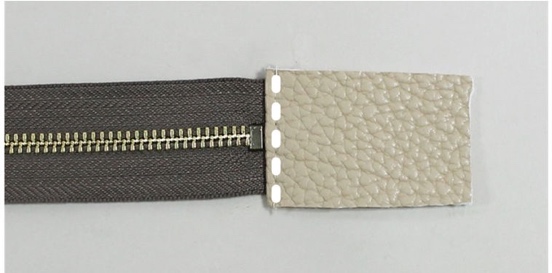
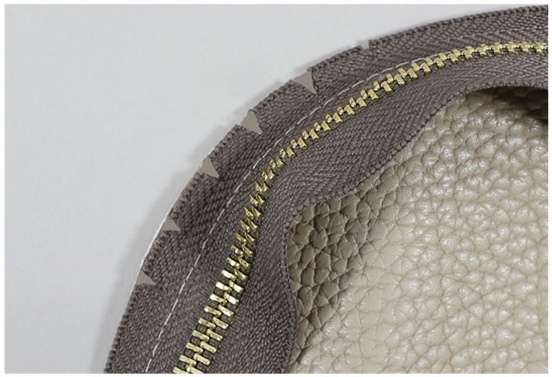
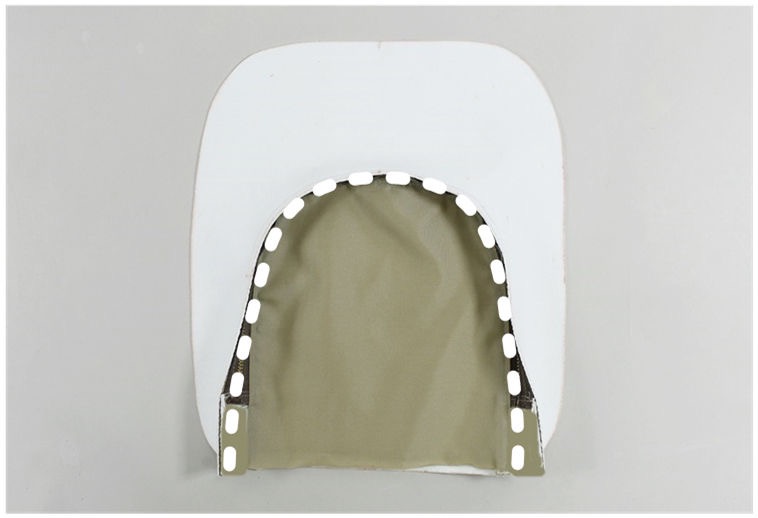
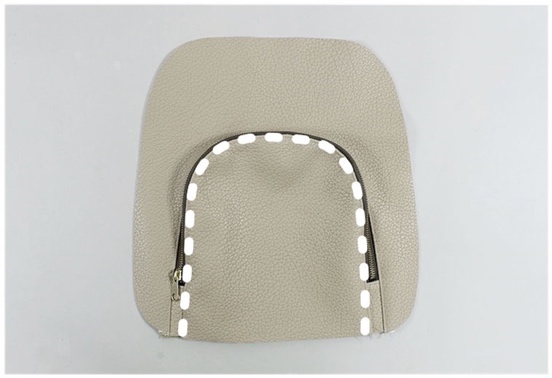
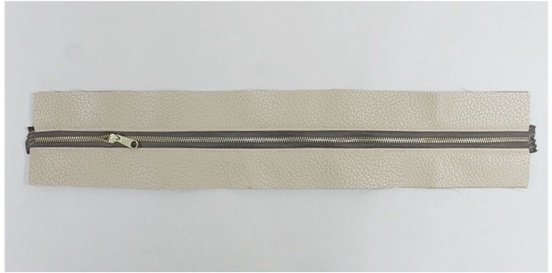
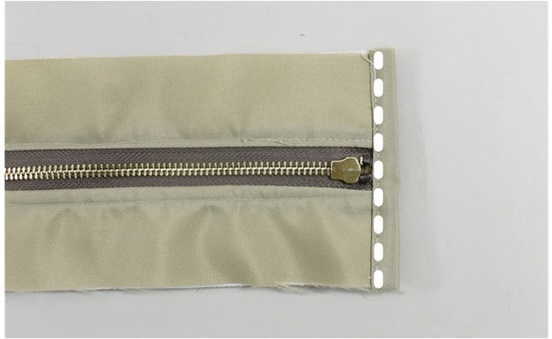
After sewing the zipper with the lining, flip the lining towards the exterior so the wrong sides are together, and press. Topstitch the zipper panel close to the coils.

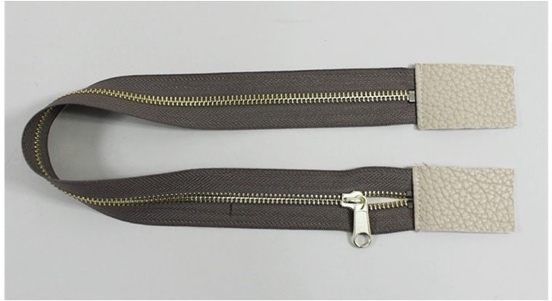
Attach the zipper to the remaining exterior and lining zipper panels in the same manner.
Pin the lining panel and zipper together. The zipper will now be between the exterior zipper panel and lining zipper panel. Sew the lining close to the zipper coils, backstitching on both ends.
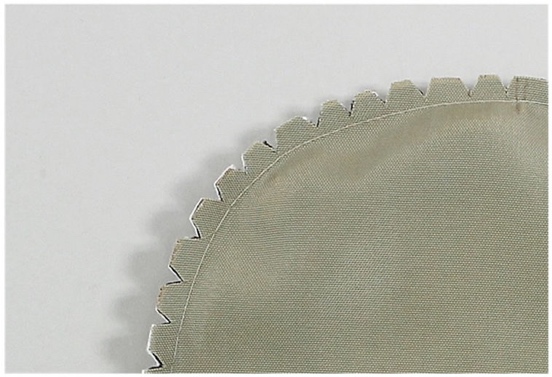
Match the both gusset pieces with right sides together. Pin and stitch the seam and press the seam open. Topstitch on each side's 1/8" from the seam for reinforcement.
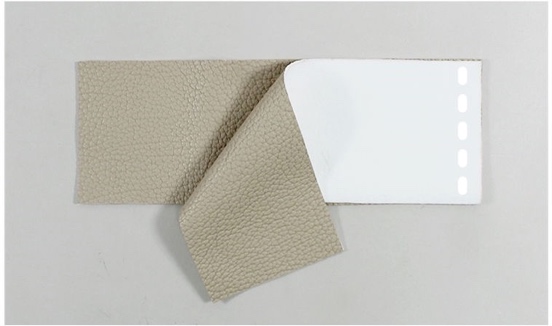
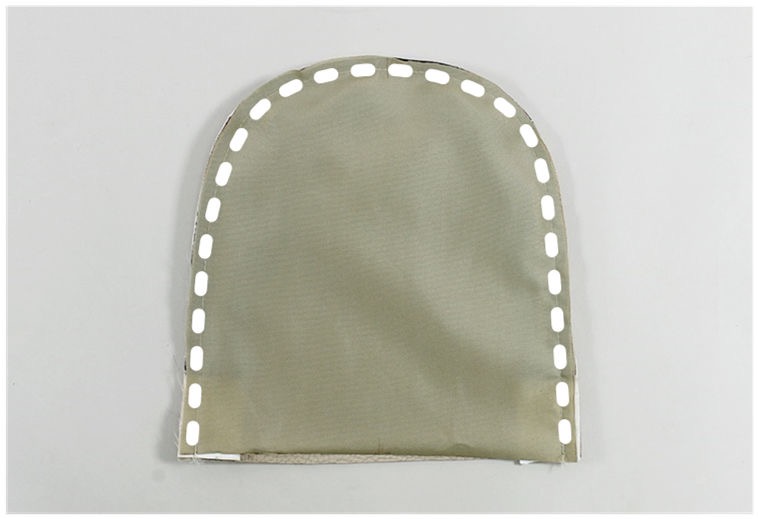
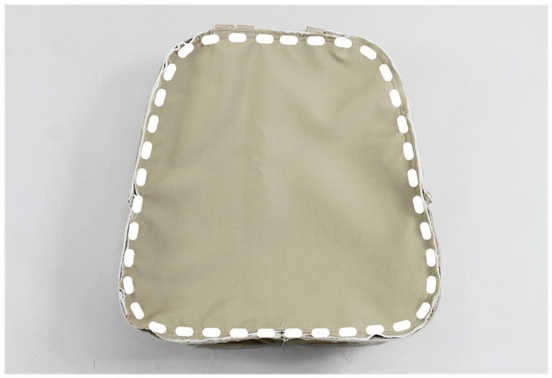
Place the gusset panel onto the lining gusset panel. Pin and baste the exterior and lining pieces with wrong sides together.

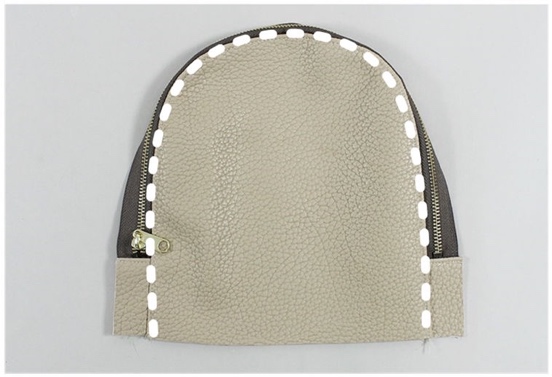
Pin the gusset to the assembled zipper panel with exterior right sides together.
Sew the short ends together, backstitching on all ends.

Align the bias along the short end of the assembled zipper. Pin and sew with right sides together, backstitching on both ends.
Encase the seam with the bias. Pin and sew the bias 1/8" away from the edge, backstitching on both ends. Repeat for the other short end. Open the zipper.
SEW THE EXTERIOR AND LINING
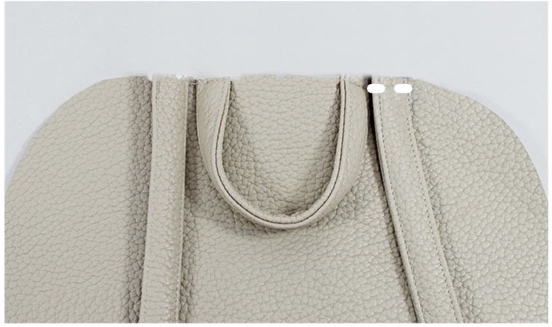
Pin and baste the exterior front and lining front pieces with wrong sides together. Pin the front piece to the assembled gusset piece with exterior right sides together. Pin the centers and zipper ends first, then pin the rest of the seam. Sew the front and gusset together, backstitching on both ends.
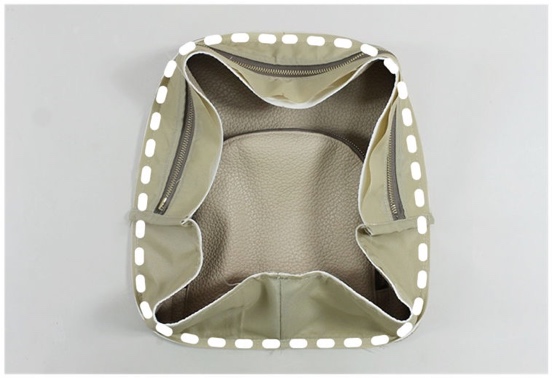
Attach the back in the same manner.
Bind the bias, see Appendixes J-1, Bias Binding.
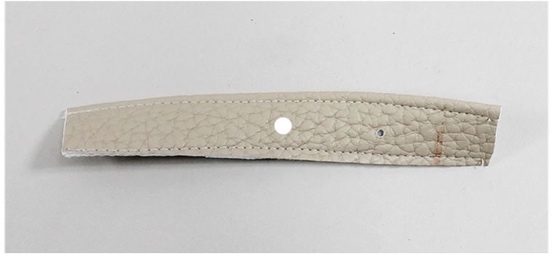
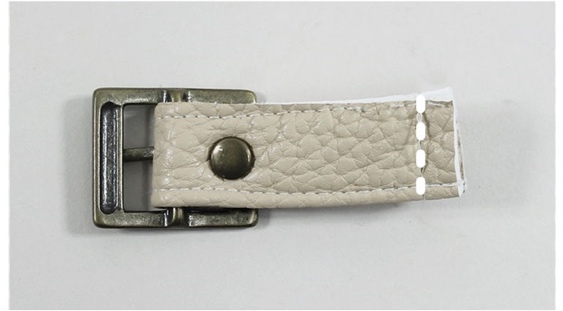
FINISH THE BACK STRAP
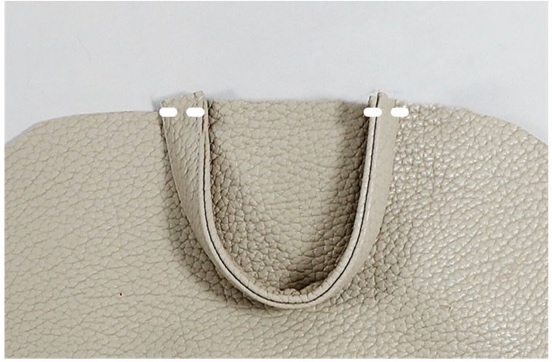
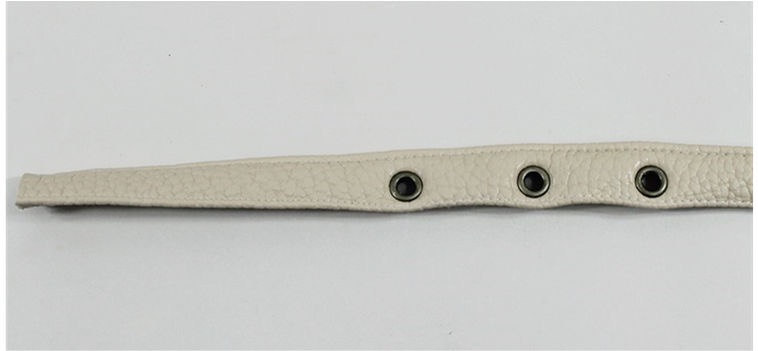
Punch the first hole 4" from the end of the strap. Punch the second hole 2" from the first and the third 2" from the second. Assemble the Eyelet. See Appendixes R, Assemble the Eyelet
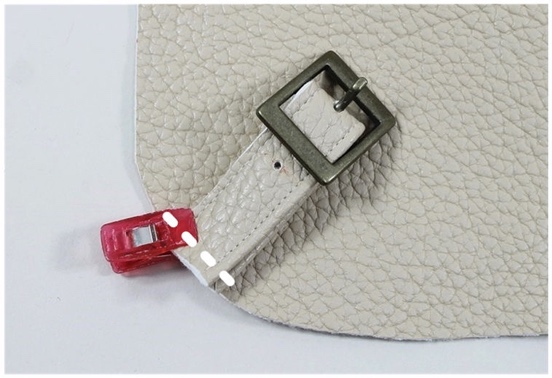
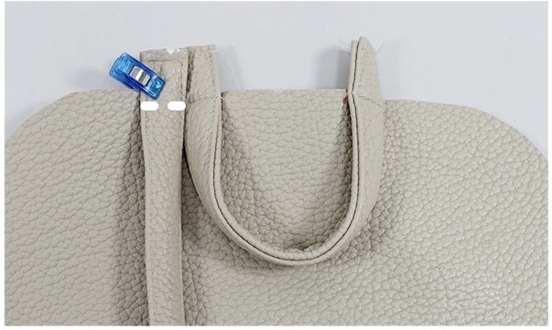
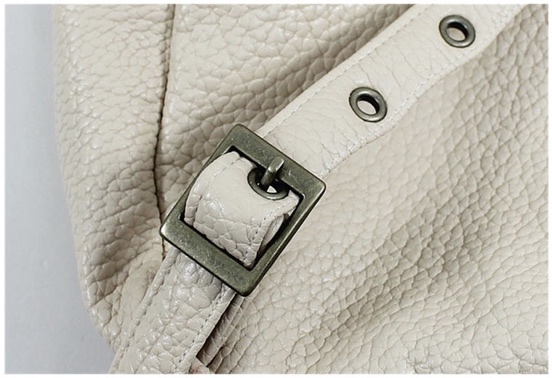
Thread the end of the backstrap through the buckle. If you want to paint or finish the edge of the strap, see Appendixes L. Finish the Edge of the Leather Strap.
Appendix A. Make the Zipper Pocket
1 Draw the zipper line onto the wrong side of zipper pocket piece as indicated on the pattern.
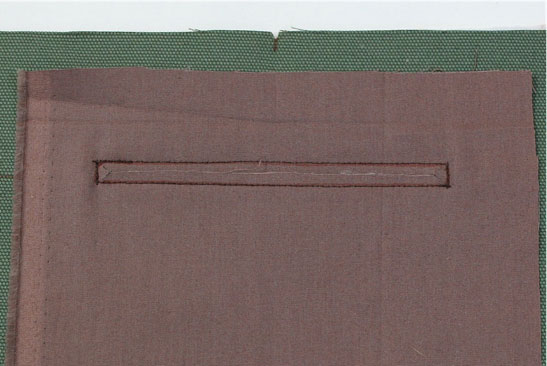
Place the zipper pocket piece onto the fabric with right side together. Pin and stitch in an rectangular shape. Backstitch on starting and ending points.
2 Cut out the inside as indicated on the zipper pocket pattern.
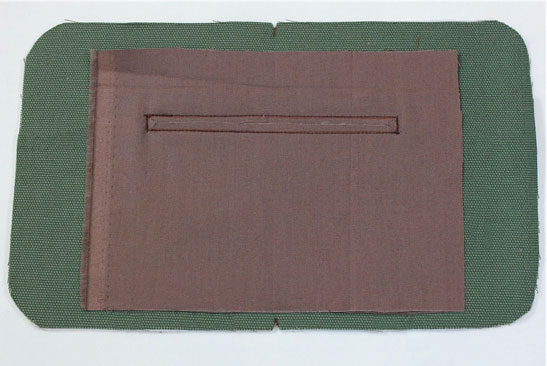
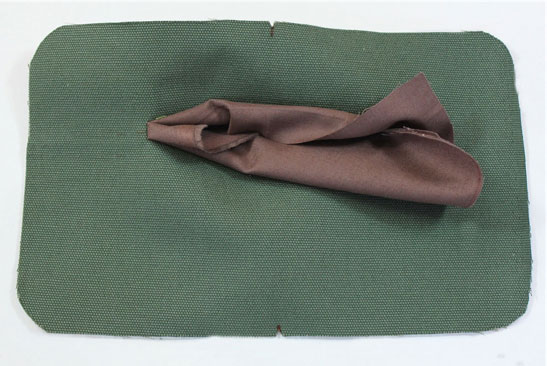
3 Insert the fabric toward the wrong side of lining.
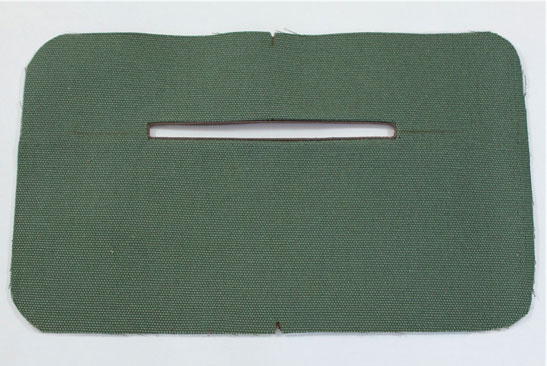
4 Press the seam. The right side of fabric will look like the picture.
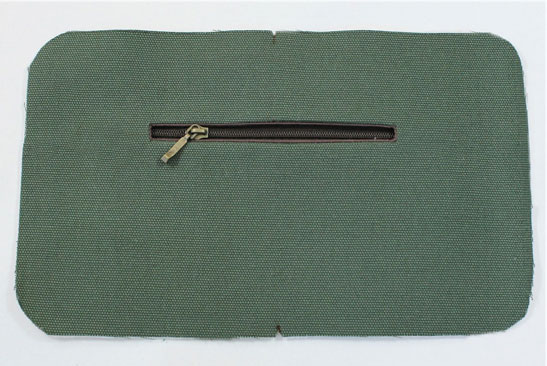
5 Match the zipper's right side with the fabric's wrong side, pin in place and stitch in a rectangular shape.
6 Flip the fabric piece, so you can see the wrong side of the fabric. Place the other zipper pocket piece with right sides together. Stitch in a rectangular shape. Stitch only the two zipper pocket pieces.
Appendix C-1. Make the Leather Strap
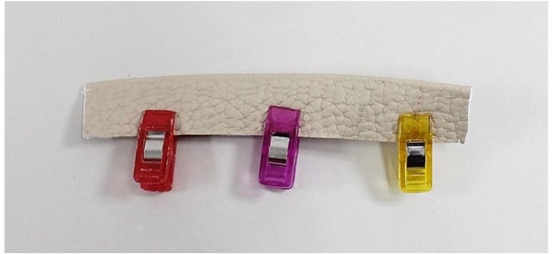
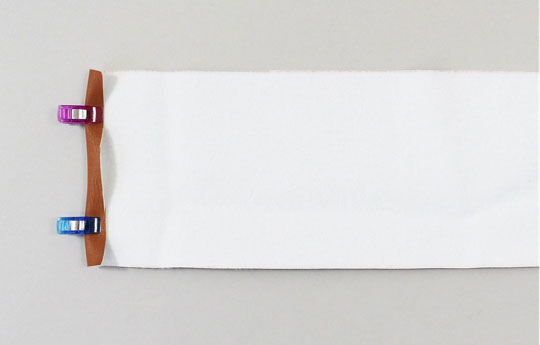
1 Fold one end of the strap inward 1/2". Hold in place by using fabric clips or fabric glue. Press for the fabric strap. Skip this process for the thick leather.
20mm STRAP
(1) 2 5/8" Width x 40" Height of Leather for Leather Strap
Or (1) 3" Width x 60" Height of Adjustable Fabric Strap
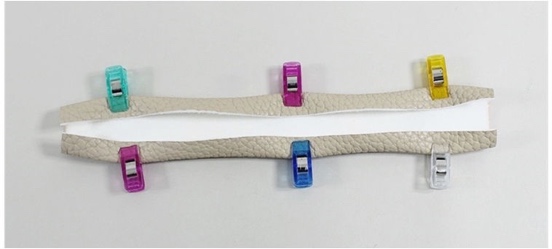
2 Fold each side of the strap inwards 1/2". Hold in place using fabric clips or fabric glue.
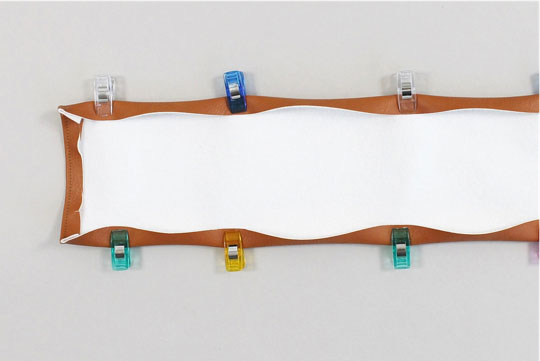
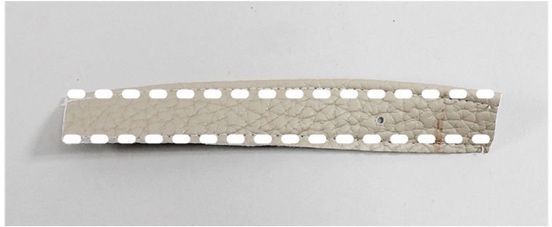
3 Fold the strap in half lengthwise. Topstitch around the strap 1/8" from the edge.

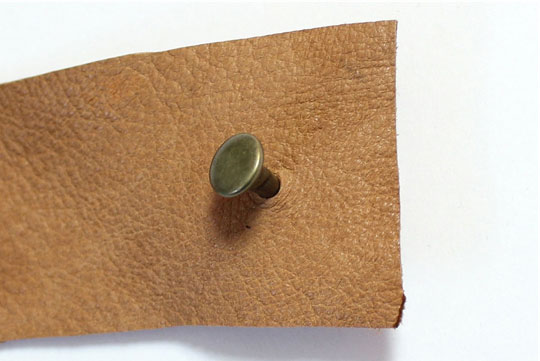
Appendix G. Assemble the Double Cap Rivet
1 Punch a hole through the leather and fabric using a hole puncher.

2 Place the long rivet onto the mount.
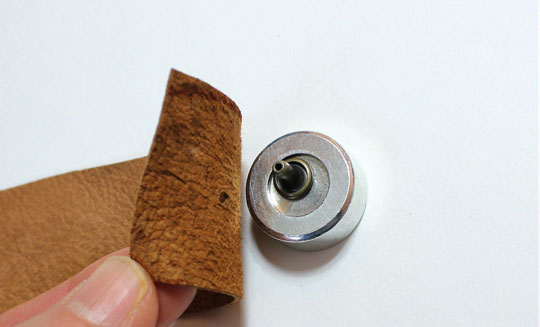
3 Insert the long rivet into the hole from wrong side through to the right side.

4 Place the cap on top of the long rivet.
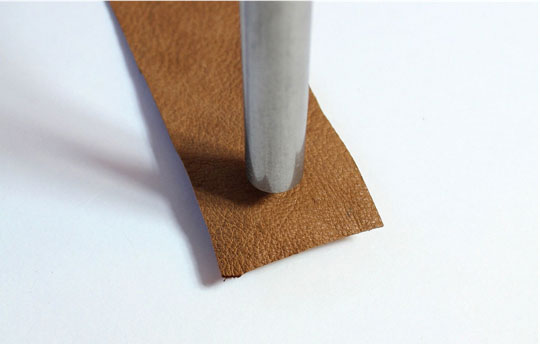
5 Place the rivet settler on the cap and hit the rivet settler using a hammer.
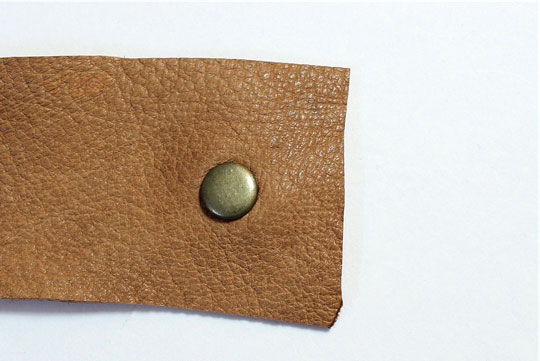
6 Assembled rivet.
Appendix J-1. Bind the Bias
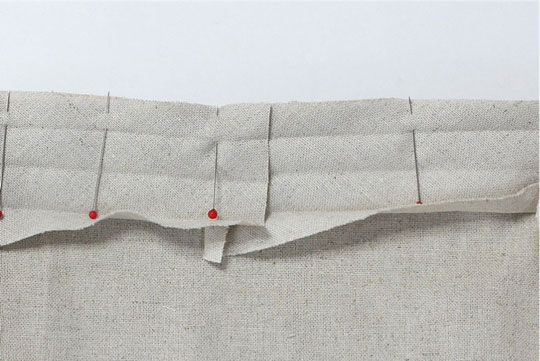
1 Fold the 3/8" bias end and align the bias along one lining seam of the assembled bag.

2 Pin and sew with right sides together, backstitching on both ends.
3 Encase the seam with the bias. Pin the bias, topstitch the bias 1/8" away from the edge, backstitching on both ends. Repeat for the other side lining seams. Turn the bag right side out.
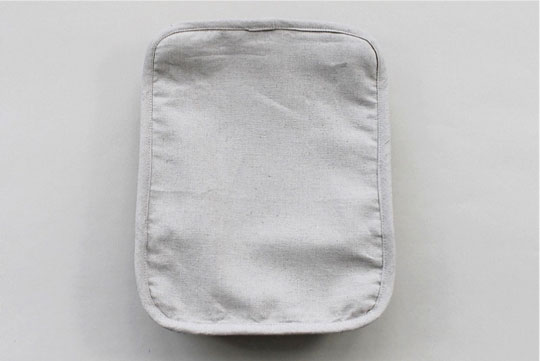
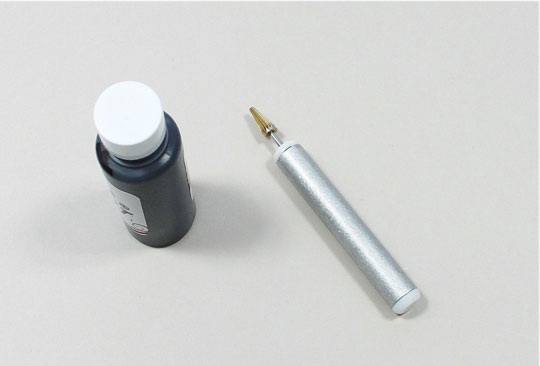
Appendix L. Finish the Edge of the Leather Strap
1 Prepare the edge coat pen and the leather edge paint.
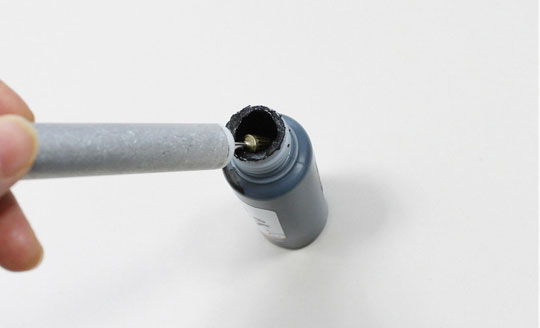
2 Dip the edge coat pen into the leather paint.
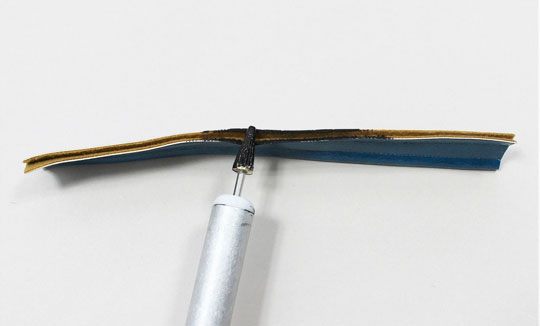
3 Carefully color the edge of the leather strap. Let it dry.
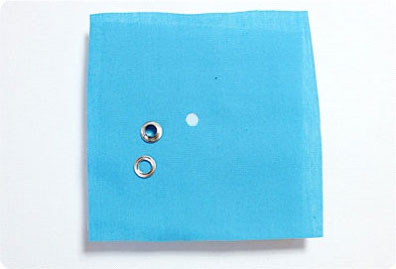
Appendix R. Assemble the Eyelet
1 Punch the holes as indicated on the patterns.
2 Place the eyelet onto the mount.
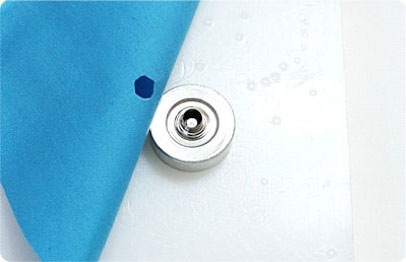
3 Insert the eyelet into the hole from right side through to the wrong side.
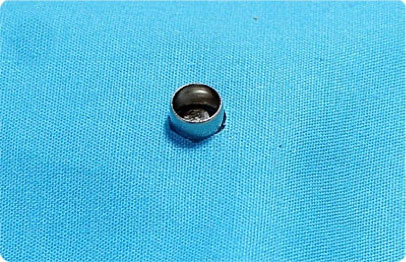
4 Place the other eyelet on top of the first one.
5 Place the screw on the eyelet and hit the eyelet using a hammer. Do this until the eyelet opens up and clings firmly onto the fabric.

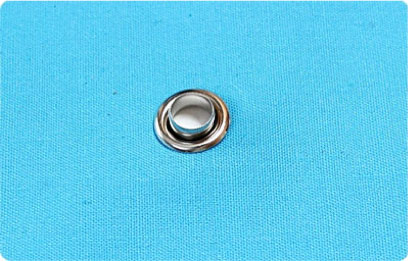
6 Assembled eyelet.

皮小匠-手工皮具教程,免费分享图纸

关注我们,及时查看教程